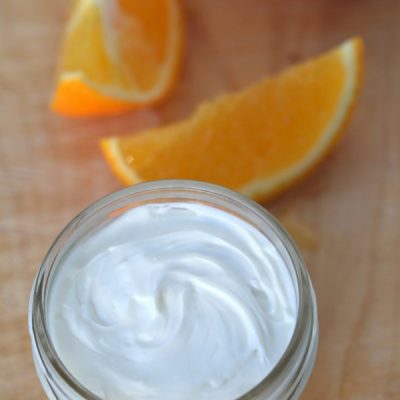
Mango Citrus Whipped Body Butter
A perfectly light and silky butter that’s more like whipped cream. The uplifting citrus scent plus the healing … Read More
A perfectly light and silky butter that’s more like whipped cream. The uplifting citrus scent plus the healing … Read More
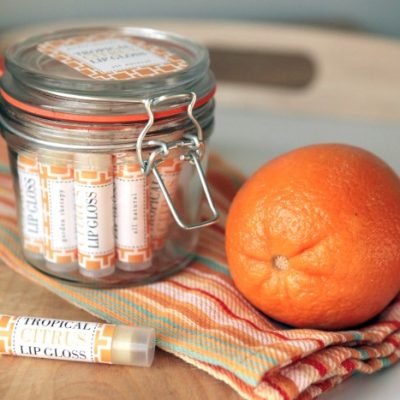
This citrus lip gloss is anything but sour, but it will surely make you pucker up those kissable … Read More
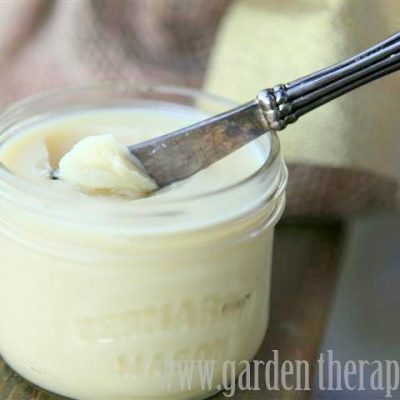
As part of the Natural Skincare Series I’ve shared recipes and tutorials for soap, scrubs, and bath products all … Read More
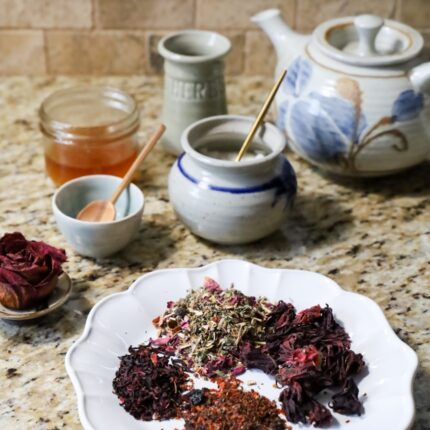
Have you ever tried tea blending? Making your own herbal tea blends is an excellent but gentle way … Read More
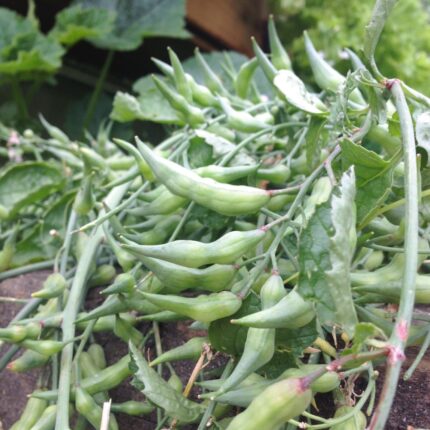
You won’t find these at the grocery store! These rare vegetables and fruits are hard to come by … Read More
Your zodiac signs can do more than rule your destiny. They can also control the outcome of your … Read More
This FREE 5-day mini course will teach you the small changes you can make to your skincare practices that will make a HUGE difference in how you feel.
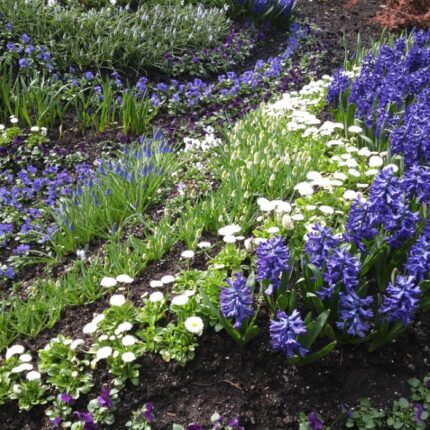
I want the free course!This FREE 5-day mini course will help you set up a thriving garden for wellness and joy, quickly and easily.
I want the free course!