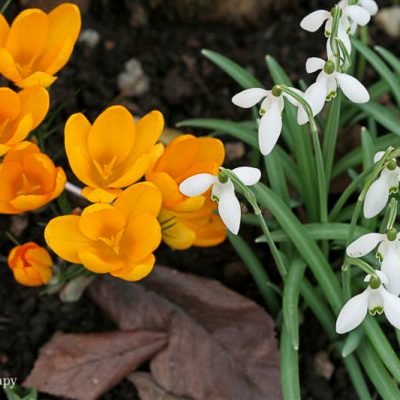
Charming Flower Legends & Histories From Around the World
From the flowers carried as a lucky charm to the flowers that became a tourist destination in Arizona, … Read More
From the flowers carried as a lucky charm to the flowers that became a tourist destination in Arizona, … Read More
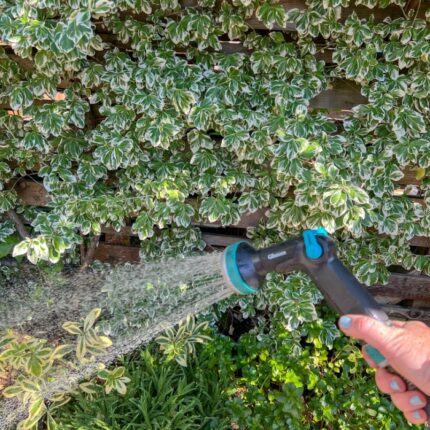
Have water, will thrive. We must do our part in limiting our water usage when it comes to … Read More
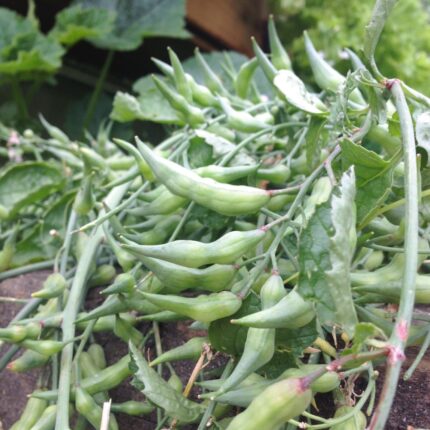
You won’t find these at the grocery store! These rare vegetables and fruits are hard to come by … Read More
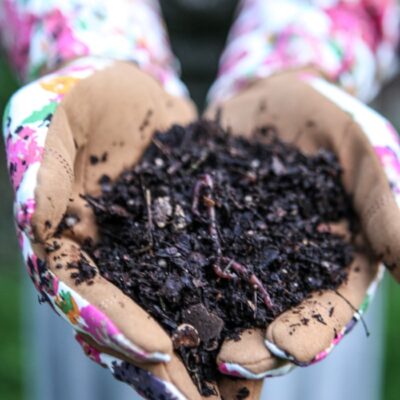
Adding compost to your soil is one of the best things you can do for your garden. So, … Read More

At some point, annual veggies took over the popularity contest. We’re so used to seeing neat rows of … Read More

From cherry blossoms in December to spring bulbs in January, I’ve seen some flowers bloom exceptionally early. If … Read More
This FREE 5-day mini course will teach you the small changes you can make to your skincare practices that will make a HUGE difference in how you feel.
I want the free course!This FREE 5-day mini course will help you set up a thriving garden for wellness and joy, quickly and easily.
I want the free course!