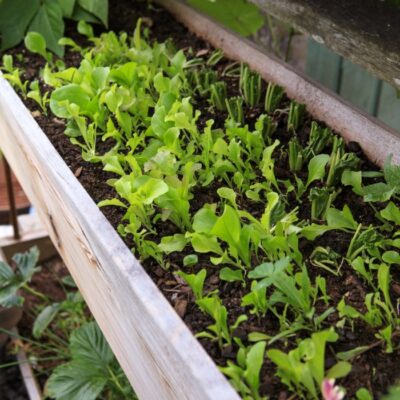
How Deep Should a Raised Garden Bed Be?
Designing a raised garden bed will look different for everyone based on your garden, the types of plants … Read More
Designing a raised garden bed will look different for everyone based on your garden, the types of plants … Read More

Growing strawberries in containers is the best way to enjoy this pretty, easy-to-grow berry. Learn how to do … Read More
When designing your garden or finding that a current setup isn’t working for you, consider permaculture zones. Zoning … Read More

Wine barrels are the ultimate planter. Made of wood, they add a rustic and homey look to your … Read More
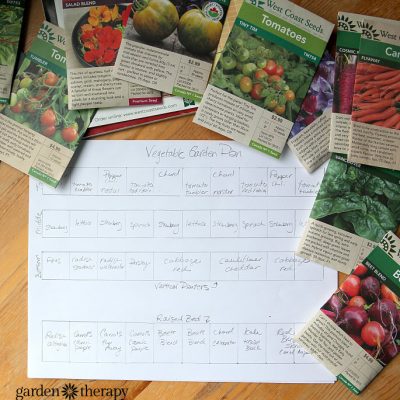
If you have begun working on how to make a garden, you may feel a bit overwhelmed at … Read More
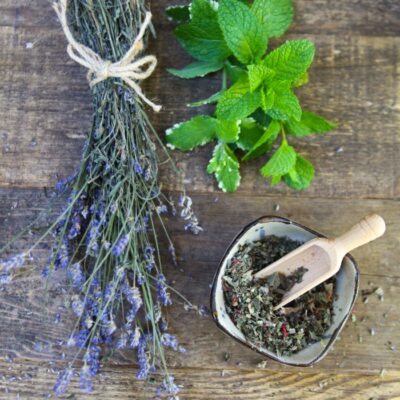
Have you ever bought a jar of herbes de Provence and wondered what you were even seasoning with? … Read More
Your guide to creating a stunning outdoor space using found materials, free resources, community connections, and your own creativity.
My weekly newsletter full of tips for gardening and green living, including timely insights on how gardens can nurture our emotional well-being.

