
10 Simple Mocktails Inspired by the Garden
At the end of a day in the garden or soaking in some sun, I love kicking my … Read More
Here, you will find our large collection of inspired recipes using fresh ingredients that bring the garden to your table. Homegrown, organic produce is not only healthier and more nutrient-rich than fruit and vegetables from the store, it tastes much better too! There is absolutely nothing like a sun-ripened, warm tomato straight from the plant or fresh, flavorful sprouts. Find seasonal recipes that feature the homegrown produce available at every time of year. In spring, tender baby vegetables and greens are in season. Summer features plump, juicy tomatoes, fruit, leafy greens, and more. The autumn garden is a wealth or hearty root vegetables, kale, and late-ripening fruit, and for winter you will find preserves and other ways to enjoy garden bounty even when blanketed by snow.
At the end of a day in the garden or soaking in some sun, I love kicking my … Read More
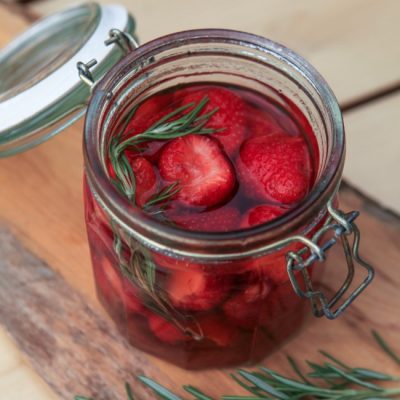
Make an infused strawberry vinegar for a delicious and fresh salad dressing that promotes good digestion. This recipe … Read More

I originally made this batch of edible flower lollipops as favours for a floral-themed birthday party for a … Read More
What’s better for last-minute gift making than something that you can make with items picked up at the … Read More

These last-minute DIY Christmas gift ideas are practically guaranteed to be gobbled up by the recipient! Each of … Read More

You know who deserves a treat? The garden protectors. Well, they may also be the garden destroyers at times—digging … Read More
Your guide to creating a stunning outdoor space using found materials, free resources, community connections, and your own creativity.
My weekly newsletter full of tips for gardening and green living, including timely insights on how gardens can nurture our emotional well-being.

