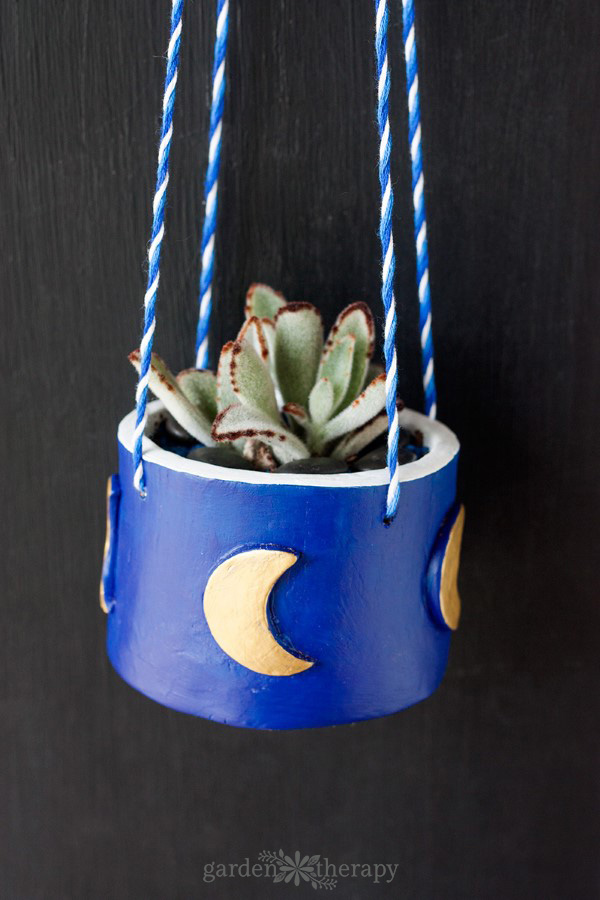
It may be raining day in, day out here in the Pacific Northwest, but that doesn’t stop me from getting my hands dirty indoors with this fun hanging clay planter project. I spent a few dreary afternoons making these air-dry clay planters to display a few of my favorite indoor succulents and I must say my home is a little more cheery now that these little guys are hanging in my window.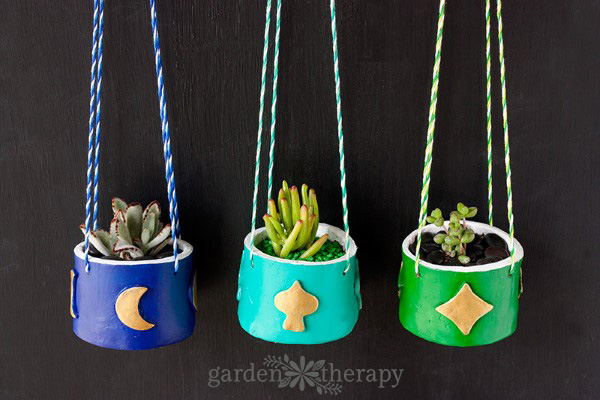
This was my first time working with clay (since I was a kid) and I must say that I’m now addicted! This project, though a little time consuming due to drying times, was both simple and fun and would make a great rainy day activity to do with kids or grandkids too.
Materials:
- Air-dry clay (or oven-bake)
- Rolling pin
- Parchment paper
- X-acto knife
- Ruler
- 3” circle cookie cutter
- Small shape cookie cutters
- Wooden skewer
- Acrylic paint
- Braided chord or string
Make It!
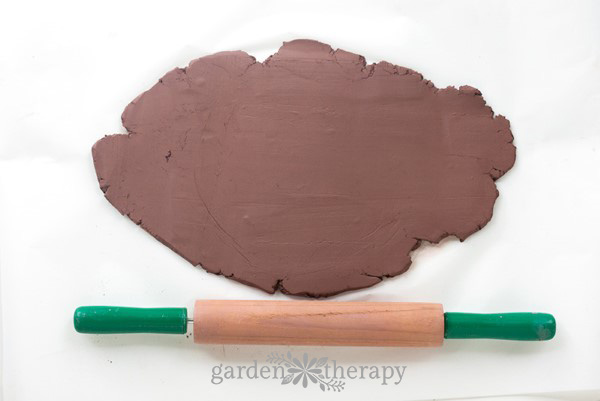
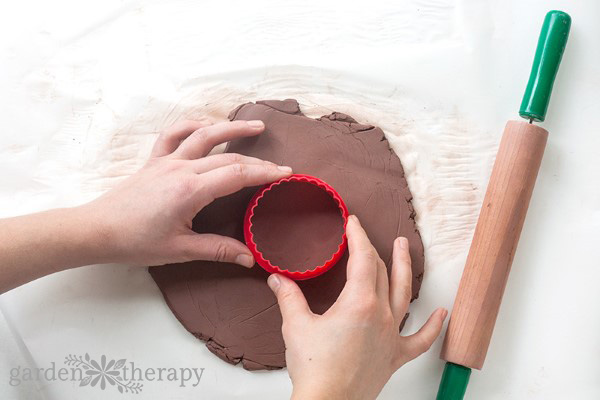
Cover your work surface with parchment paper and roll out the clay to ¼” thickness.
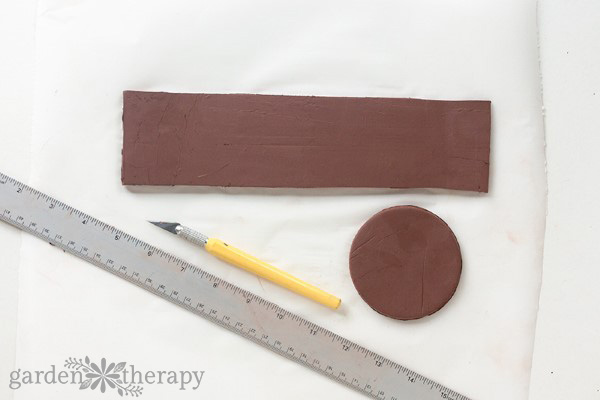
Using a ruler and x-acto knife, cut clay into a 10” x 3.5” rectangle.
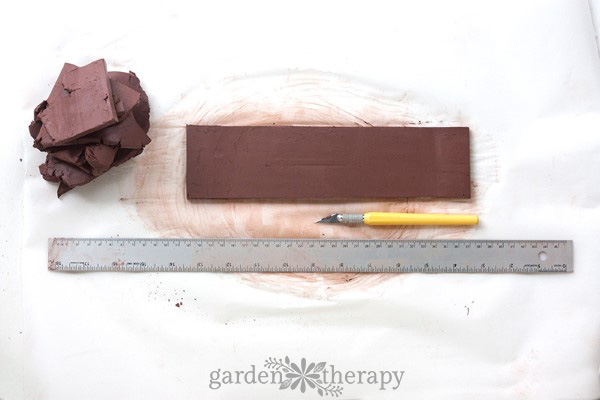
Then cut out a 3” circle using a cookie cutter or pint glass.
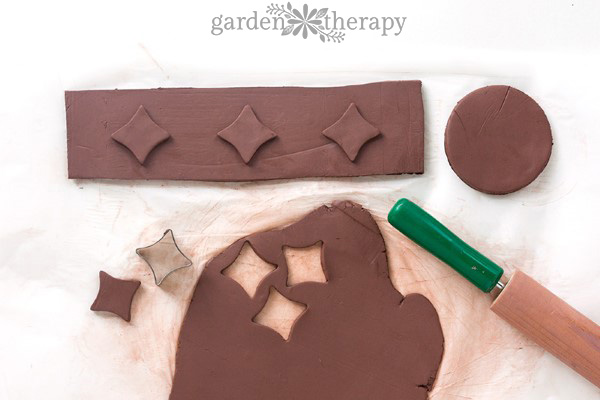
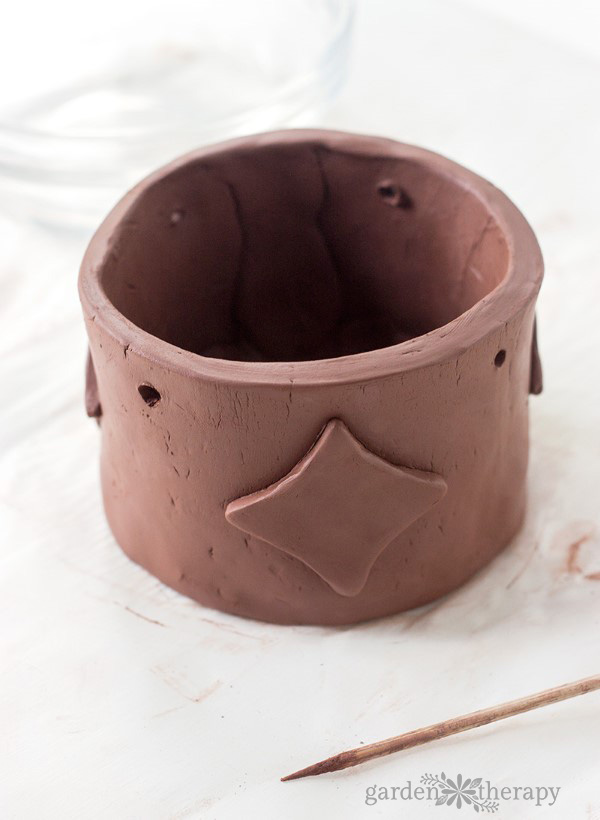
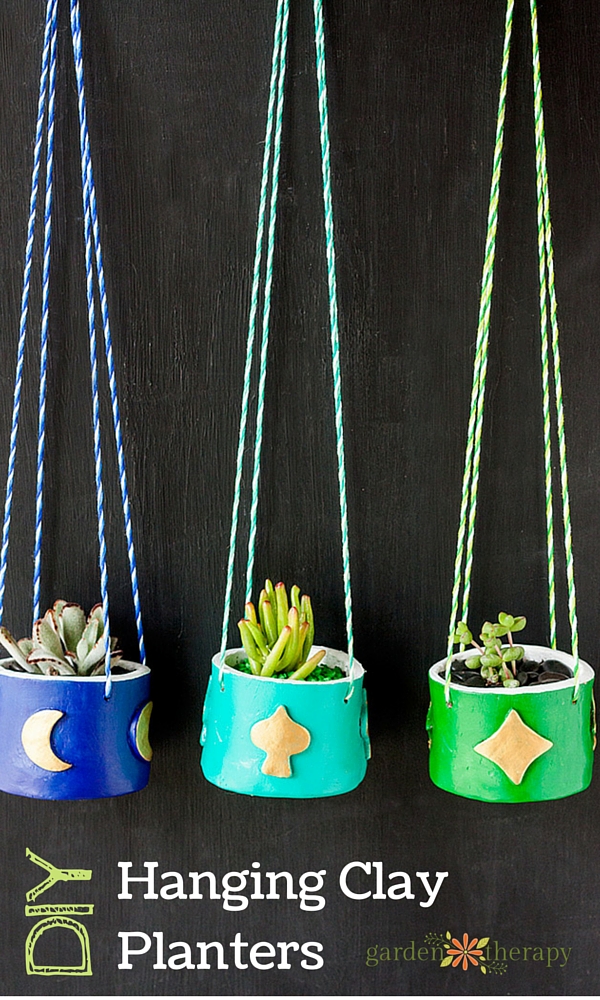
Next, roll out some more clay to 1/8” thickness and cut out some small shapes using cookie cutters. You can also cut shapes free-style using an x-acto knife if you wish. Arrange the smaller shapes onto the rectangle piece. Use a little water to wet one side of the shape and press it (wet side down) onto the rectangle (this will help the clay shapes stick to the clay rectangle).
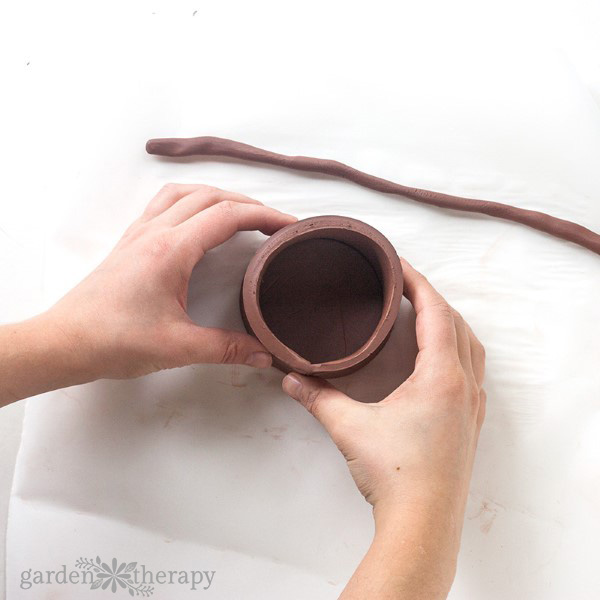
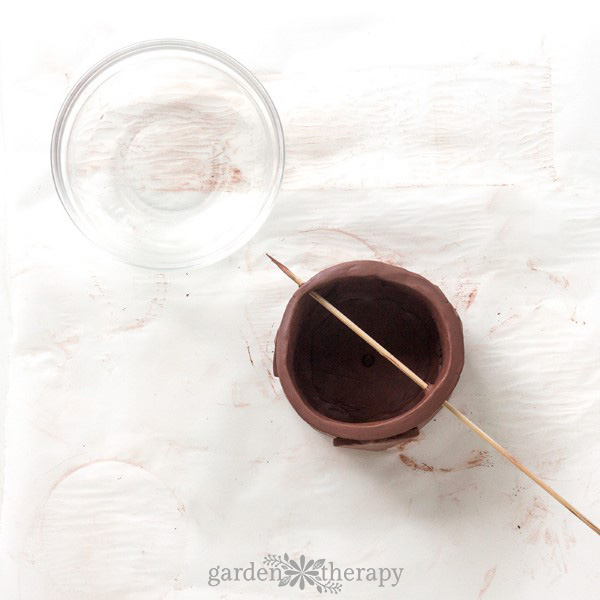
Carefully wrap the rectangle around the circle and press the ends together to create the sides of your planter. Then roll out some thin “snakes” of clay and press one into the inside bottom of the planter (where the walls meet the circle base) as well as where the ends of the rectangle meet to create the sides. Use your fingers to smooth the clay snake into the cracks to create a watertight seal.
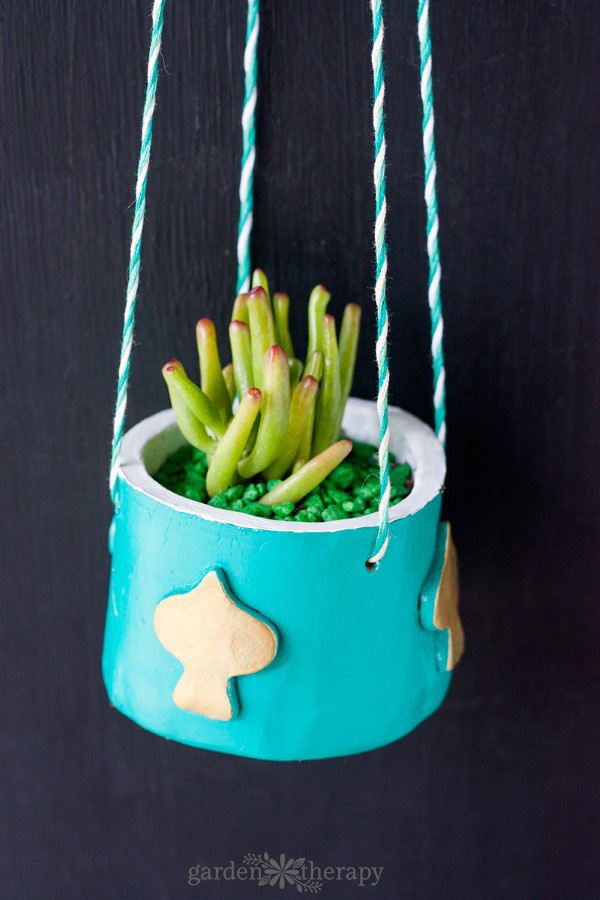
Use a wooden skewer to poke four evenly spaced holes near the top of the planter. I also added a drainage hole at the bottom. Allow planter to dry completely (at least 24 hours).
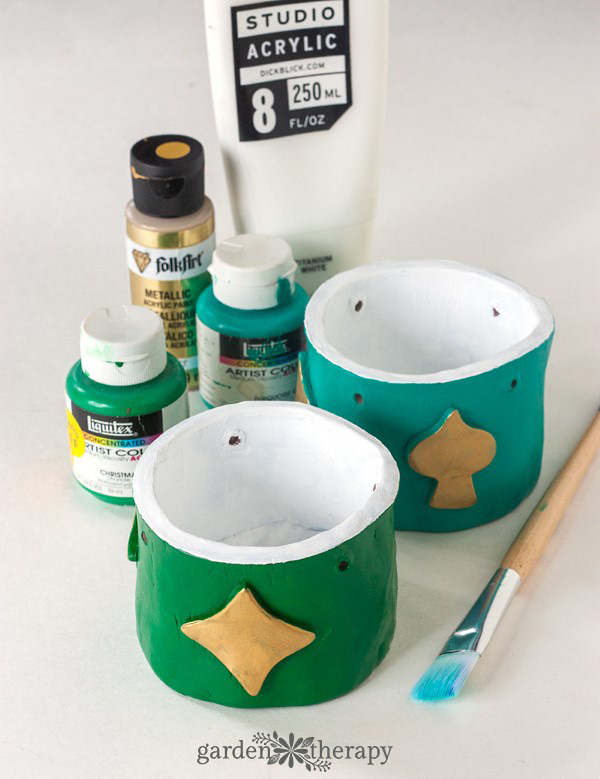
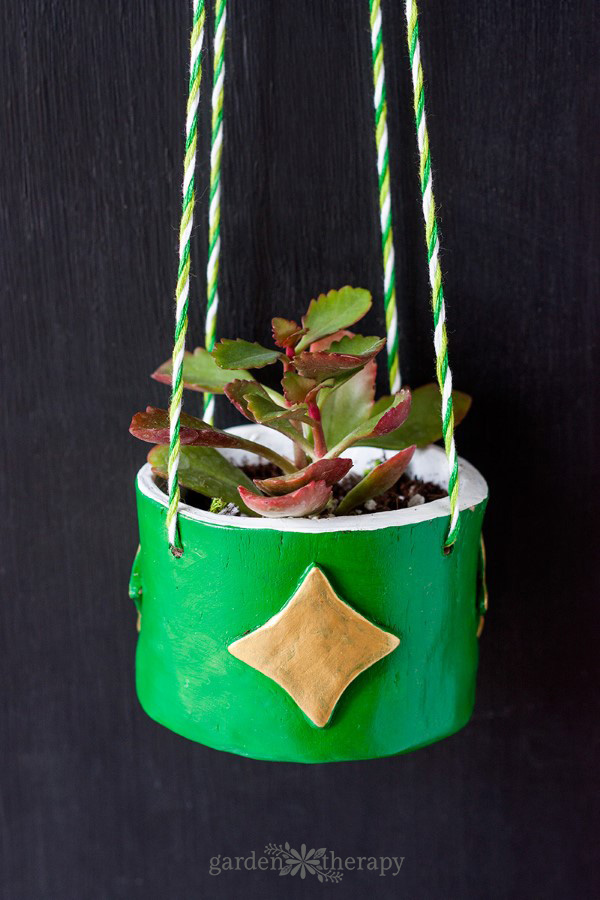
Paint the planter with acrylic paints and thread braided chords (or string) through the holes of the planter for easy hanging.

Note: I made my braided chords using embroidery floss and the lacis cord maker.
Pin it!


These look great. Definitely going to try this next time we have a wet weekend (it probably won’t be long here in England!)