
Set Summer Nights Aglow with Beeswax DIY Floating Candles
Floating candles are a lovely way to add a little fire to a floral centerpiece, and they are … Read More
Floating candles are a lovely way to add a little fire to a floral centerpiece, and they are … Read More
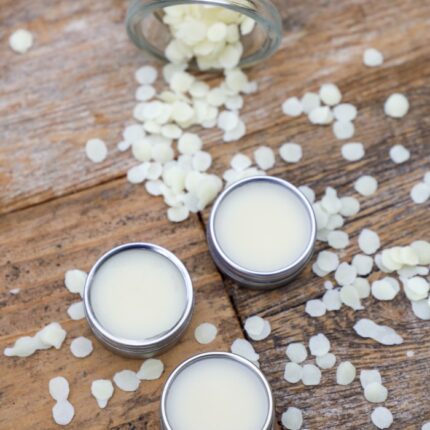
If there’s any product you should take anywhere with you, let it be a good quality lip balm. … Read More
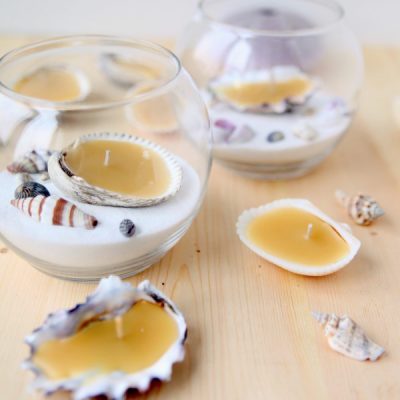
Beach lovers will enjoy these delightful beeswax seashell candles, which look right at home in a glass terrarium … Read More
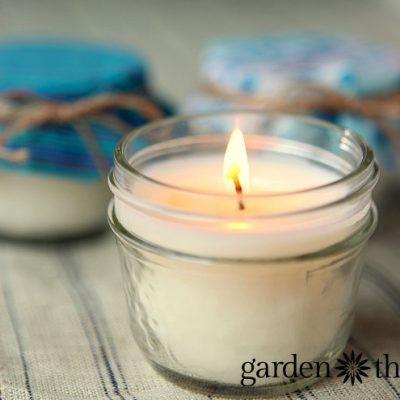
Warming up with the the fragrance and glow of handmade candles is even more pleasurable when you use … Read More
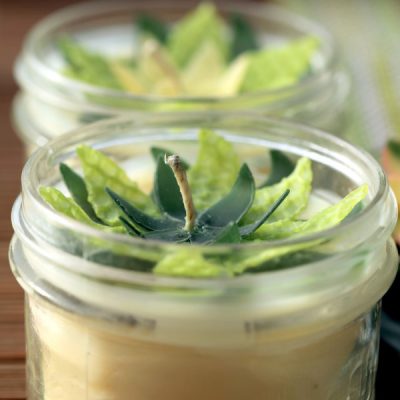
These Mason jar candles topped with beeswax succulents look impressive but are super simple to make. This project can … Read More
Your guide to creating a stunning outdoor space using found materials, free resources, community connections, and your own creativity.
My weekly newsletter full of tips for gardening and green living, including timely insights on how gardens can nurture our emotional well-being.

