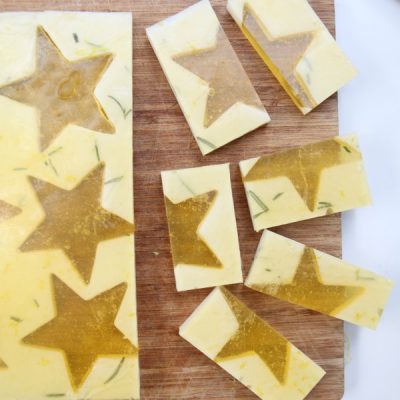
Video: Rosemary Lemon Soap-on-a-Rope {Stars and Bars}
Soap-on-a-rope is more than just a catchy rhyme. It’s a decorative way to display soap that also keeps … Read More
Soap-on-a-rope is more than just a catchy rhyme. It’s a decorative way to display soap that also keeps … Read More
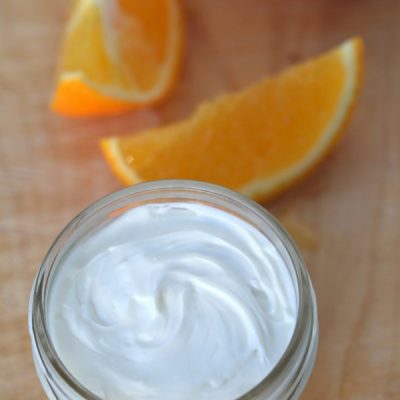
A perfectly light and silky butter that’s more like whipped cream. The uplifting citrus scent plus the healing … Read More
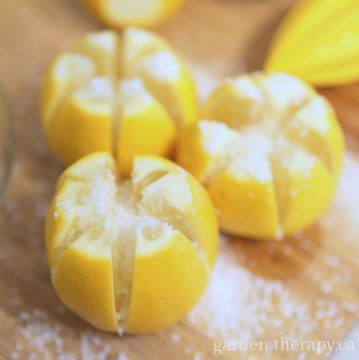
If you haven’t yet tried preserved lemons, now is the time. Primarily used in Moroccan cooking, this unique salty citrus flavour quickly … Read More

This citrus all-purpose cleaner recipe is simple and made with natural ingredients so fresh you could eat it! … Read More
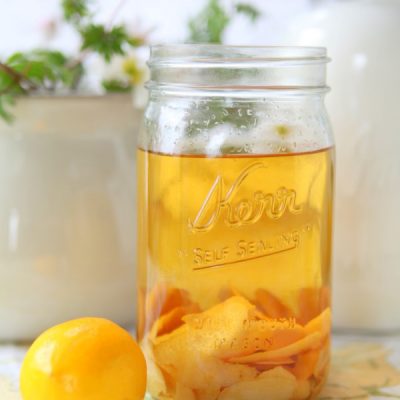
Before you discard the peels of those seasonal Meyer lemons, take a look at this recipe for Meyer … Read More
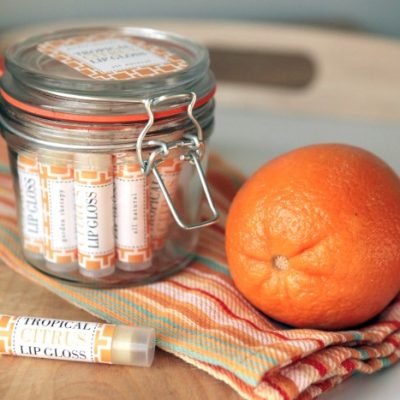
This citrus lip gloss is anything but sour, but it will surely make you pucker up those kissable … Read More
This FREE 5-day mini course will teach you the small changes you can make to your skincare practices that will make a HUGE difference in how you feel.
I want the free course!This FREE 5-day mini course will help you set up a thriving garden for wellness and joy, quickly and easily.
I want the free course!