10-Minute Outdoor Candle Planter
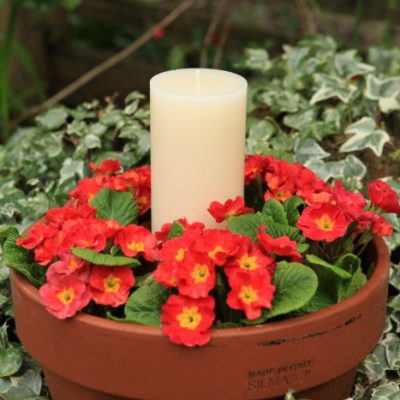
I love quick and easy DIYs that have a big impact. These terracotta pot candle planters are super … Read More
I love quick and easy DIYs that have a big impact. These terracotta pot candle planters are super … Read More
That cabinet may be the perfect shed storage you’re looking for. That bar cart? Call it your BBQ … Read More
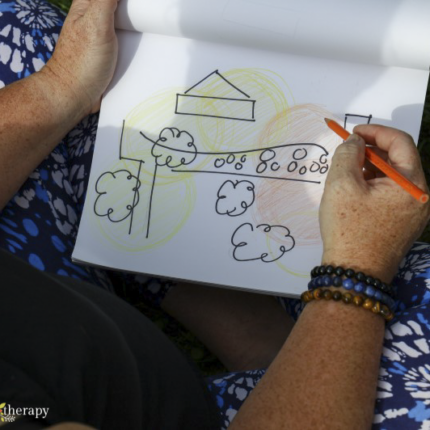
You don’t need a fancy gadget for measuring the sun. With a pencil, a pen, and a careful … Read More
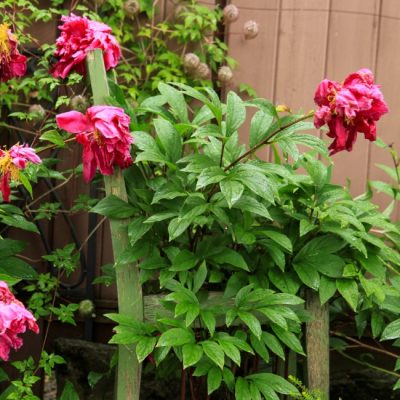
If you don’t have a peony support yet for your peonies, it’s never too late. Since peony blooms … Read More
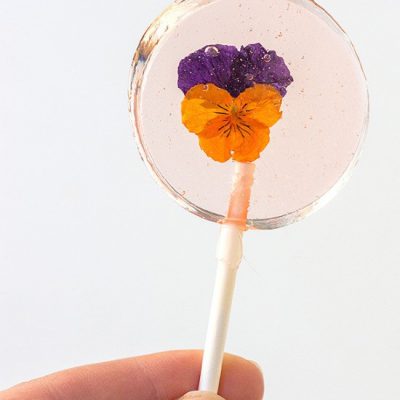
I originally made this batch of edible flower lollipops as favours for a floral-themed birthday party for a … Read More
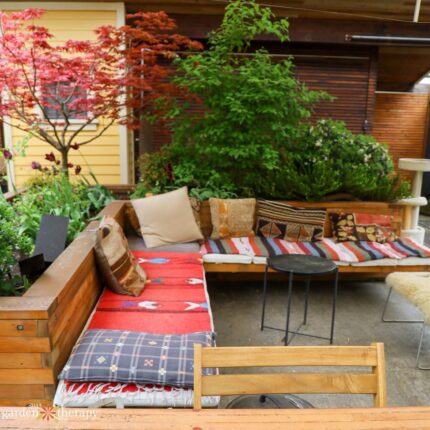
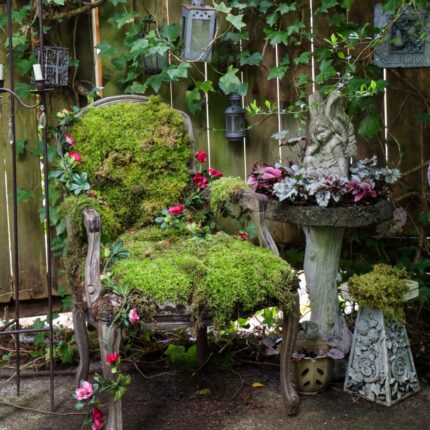
The best bang for your buck lies in second-hand outdoor furniture. If you’re willing to roll up your … Read More
Your guide to creating a stunning outdoor space using found materials, free resources, community connections, and your own creativity.
My weekly newsletter full of tips for gardening and green living, including timely insights on how gardens can nurture our emotional well-being.

