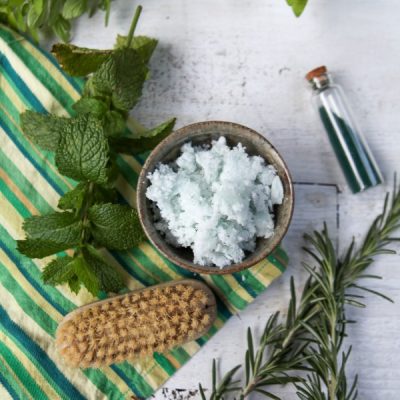
Simple and Energizing Rosemary + Spearmint Sugar Scrub Recipe
Looking for a way to perk yourself up in the morning before you even get that first cup … Read More
Looking for a way to perk yourself up in the morning before you even get that first cup … Read More
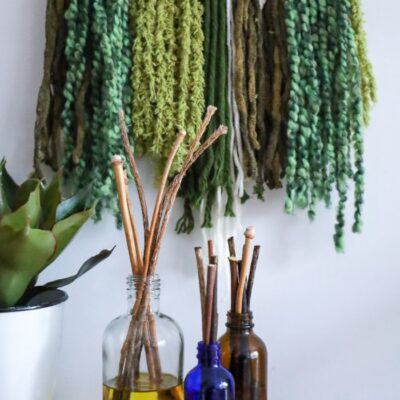
Add a fresh scent to your home without overpowering the senses. This natural reed diffuser uses a blend … Read More

Whenever I feel a little under the weather or sense that I’m coming down with something, these essential … Read More
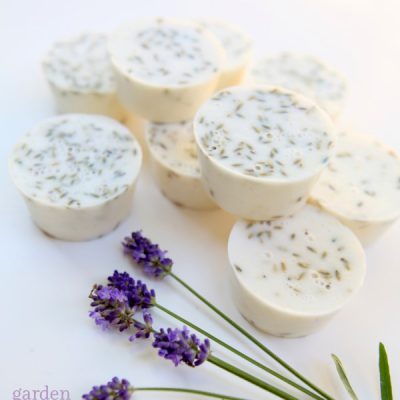
This lavender oatmeal soap is soothing and calming for your skin. And any recipe that uses my garden-grown … Read More
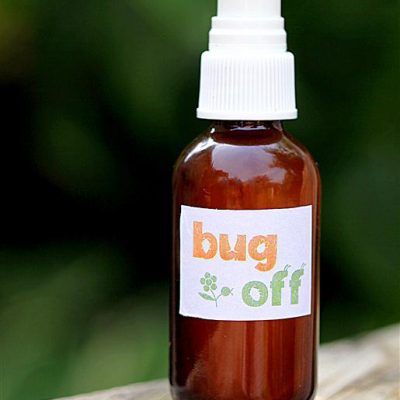
Deter mosquitoes naturally with this natural bug spray that uses witch hazel and essential oils for a pleasant-smelling, … Read More
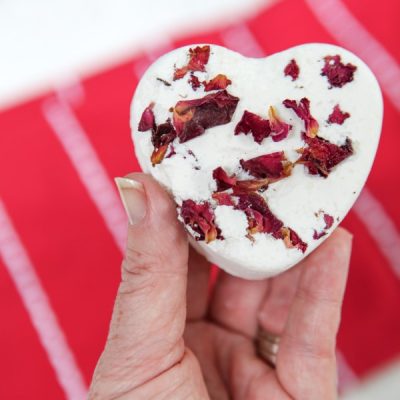
Learn how to make bath bombs! Love those awesome fizzing bath bombs but don’t want to spend $6 … Read More
Your guide to creating a stunning outdoor space using found materials, free resources, community connections, and your own creativity.
My weekly newsletter full of tips for gardening and green living, including timely insights on how gardens can nurture our emotional well-being.

