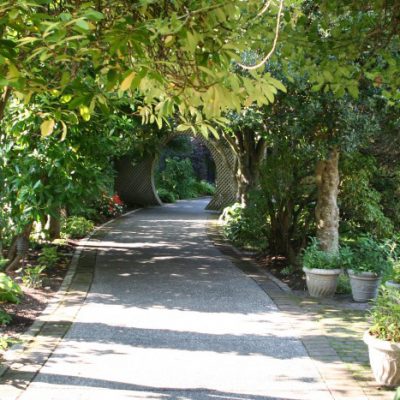
Create a Secret Garden as a Therapeutic Outdoor Space
Secret gardens are some of the most magical spaces. Find a small corner or space tucked away in … Read More
Secret gardens are some of the most magical spaces. Find a small corner or space tucked away in … Read More
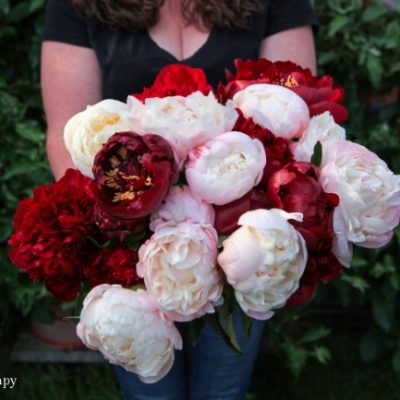
2019, where do I begin?! Starting off the year, I’d like to think I know what it has … Read More
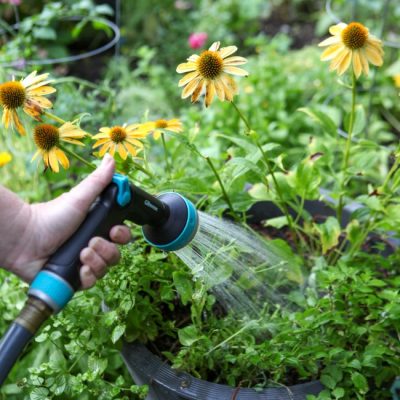
Garden watering is a meditative exercise that helps you focus on the needs of individual plants, the calmness … Read More
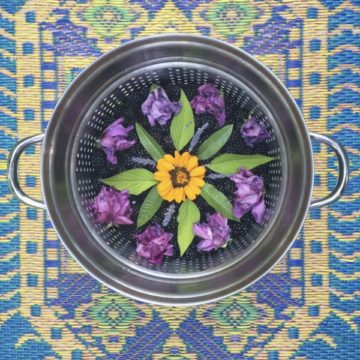
Practice mindfulness by engaging in a mandala meditation using a variety of found garden treasures. Discover the effects … Read More
Looking back on the best of Garden Therapy in 2018. Sharing the big and small changes as well … Read More
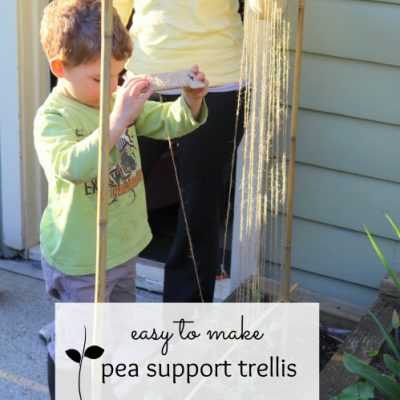
This simple project is a great way to get the kids out in the garden for a little … Read More
Your guide to creating a stunning outdoor space using found materials, free resources, community connections, and your own creativity.
My weekly newsletter full of tips for gardening and green living, including timely insights on how gardens can nurture our emotional well-being.

