The Best Homemade Christmas Gifts for 2023
Tis’ the season for creating! Whether you’re on a budget or want gifts that are a little more … Read More
Tis’ the season for creating! Whether you’re on a budget or want gifts that are a little more … Read More
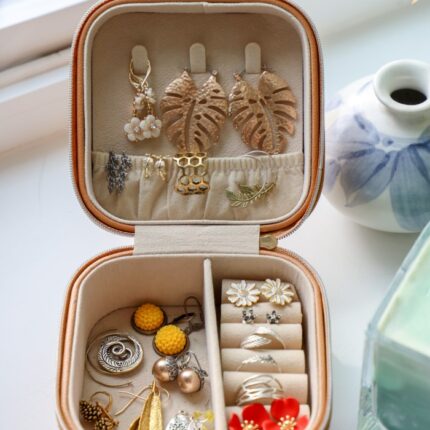
Plant jewelry is my favourite accessory. There is no better way to take the natural world with you … Read More
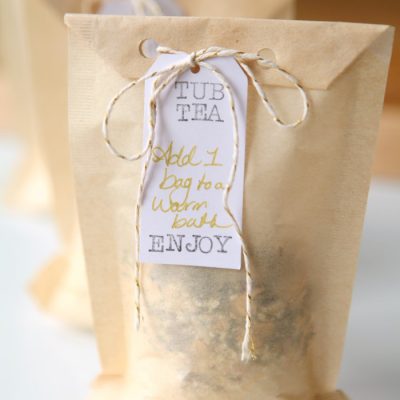
Soak your troubles away with this lovely homemade tea bath. This mess-free bathing solution will help you soothe … Read More
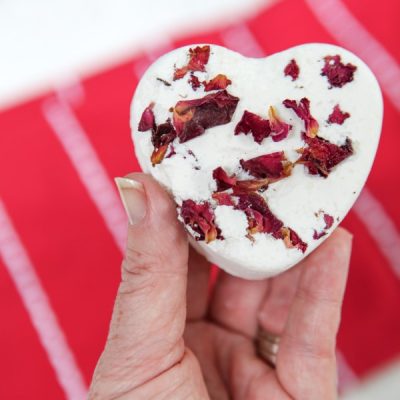
Learn how to make bath bombs! Love those awesome fizzing bath bombs but don’t want to spend $6 … Read More
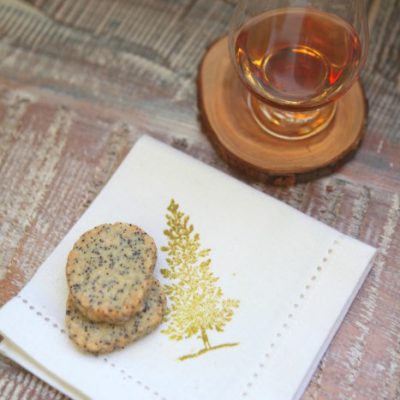
Set the most stunning holiday-themed dinner table this Christmas! These DIY Christmas napkins are made with stamped fabric, … Read More
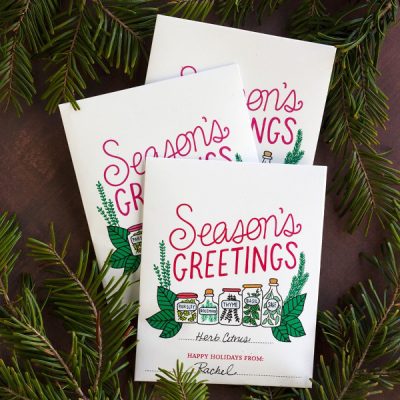
Quick and easy holiday gifts are essential for surviving the holiday season. This free printable “Season’s Greetings” herb … Read More
This FREE 5-day mini course will teach you the small changes you can make to your skincare practices that will make a HUGE difference in how you feel.
I want the free course!This FREE 5-day mini course will help you set up a thriving garden for wellness and joy, quickly and easily.
I want the free course!