
Rustic and Natural Christmas Candle Centerpiece
Add a touch of rustic coziness to any space with this DIY Christmas candle centerpiece. This can be … Read More
Add a touch of rustic coziness to any space with this DIY Christmas candle centerpiece. This can be … Read More

A mini Grinch tree is quick and easy to make, and it will instantly fill your home with … Read More
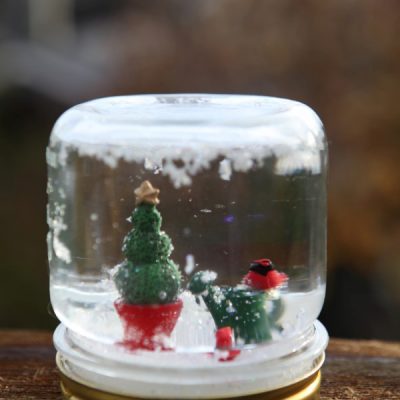
Snow globes are a magical wonder, showcasing tiny scenes where snow is always whimsically falling. Making your own … Read More
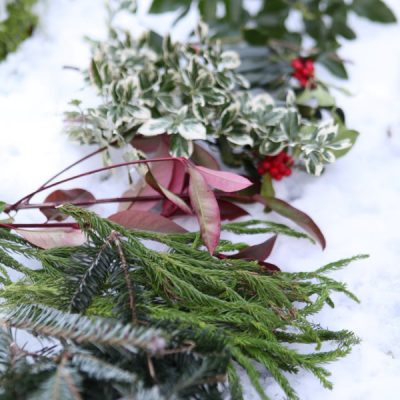
There is no need to look further than your own garden for the best Christmas greenery to use … Read More

If there was one plant that embodied the spirit of Christmas, poinsettias would be at the top of … Read More
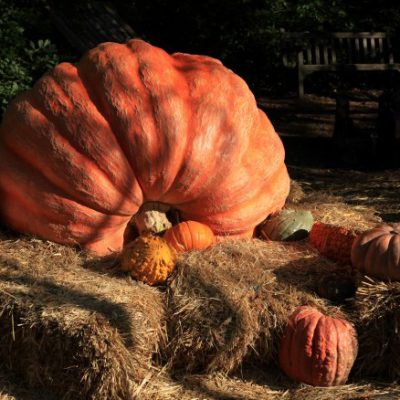
Online, Thanksgiving is a big feast surrounded by friends and family decorated with turkeys, fun gourds, and fallen … Read More
Your guide to creating a stunning outdoor space using found materials, free resources, community connections, and your own creativity.
My weekly newsletter full of tips for gardening and green living, including timely insights on how gardens can nurture our emotional well-being.

