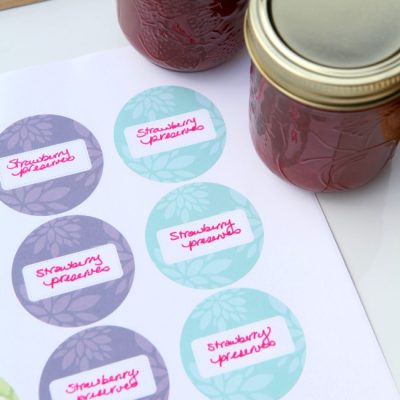
These Printable Canning Labels are the Essential Party Dress for Your Jam!
Shouldn’t the label you add to a jar of homemade jam or pickles look as beautiful as the … Read More
Shouldn’t the label you add to a jar of homemade jam or pickles look as beautiful as the … Read More
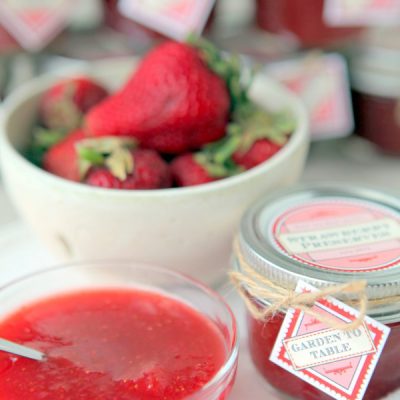
This homemade strawberry jam recipe with low sugar is absolutely incredible. Delicious and easy to make, this strawberry … Read More

Super simple quick-pickled radishes that are ready to eat the next day! You’ll be amazed at how easy … Read More
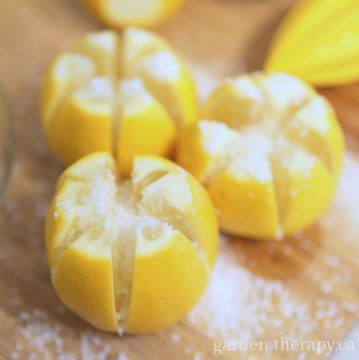
If you haven’t yet tried preserved lemons, now is the time. Primarily used in Moroccan cooking, this unique salty citrus flavour quickly … Read More
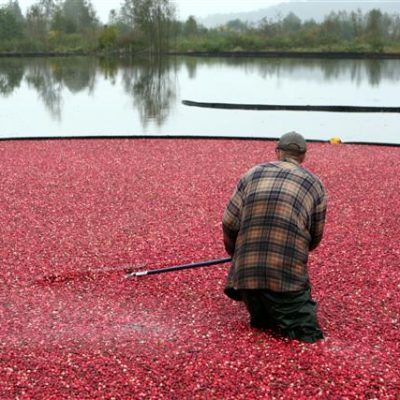
Did you know that British Columbia is the 3rd largest cranberry producer worldwide? BC produces about 17 million kilograms … Read More
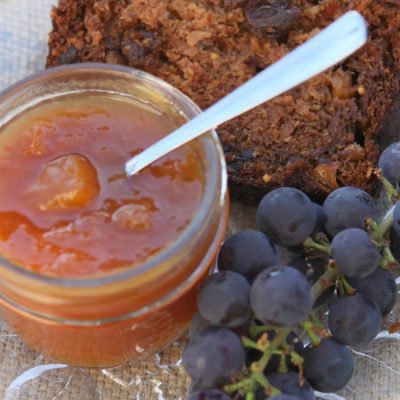
This peach brandy preserves recipe has to be my all-time favorite jam. When I first tried it I … Read More
Your guide to creating a stunning outdoor space using found materials, free resources, community connections, and your own creativity.
My weekly newsletter full of tips for gardening and green living, including timely insights on how gardens can nurture our emotional well-being.

