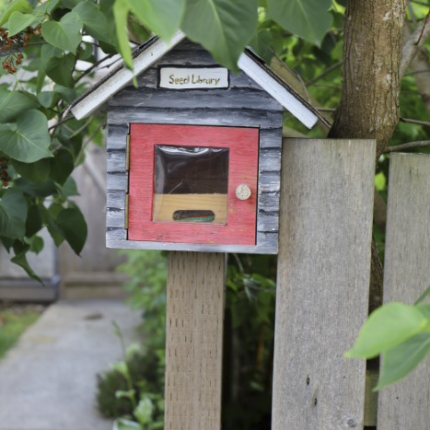
How to Make a Little Seed Library in Your Community
The love of gardening begins with a seed. Through a seed library, you can encourage others in your … Read More
The love of gardening begins with a seed. Through a seed library, you can encourage others in your … Read More
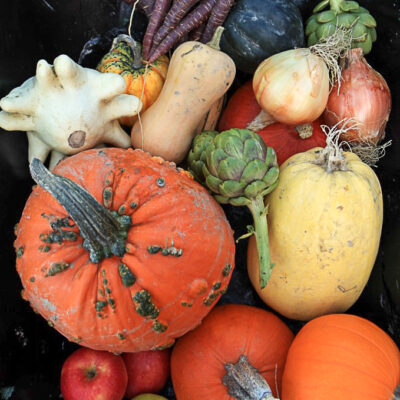
No doubt you’ve heard the buzz about heirloom seeds. But what really is the difference between heirloom, hybrid, … Read More
Organic gardens are as good for the earth as they are for its lucky inhabitants. The secret to … Read More
This time of year, we begin to say goodbye to this year’s vegetable garden and plan for next … Read More

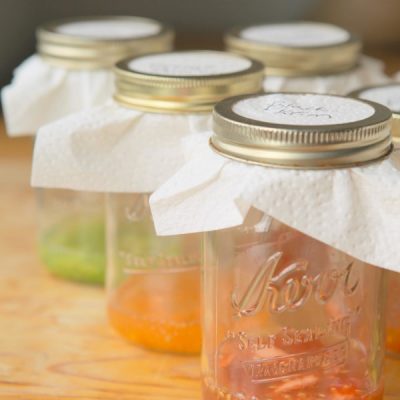
Seed saving is a lost art that seems to be making its way back to popularity with gardeners. Seeds … Read More
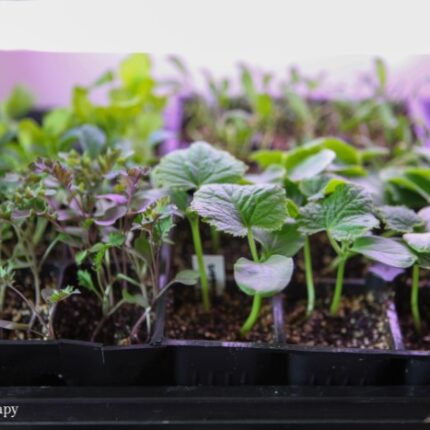
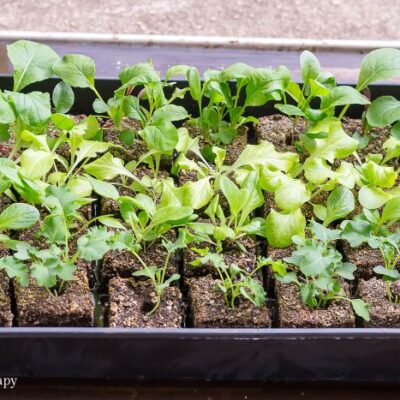
Grow lights don’t have to be an expensive, fancy thing you splurge on as a gardener. You can … Read More
Your guide to creating a stunning outdoor space using found materials, free resources, community connections, and your own creativity.
My weekly newsletter full of tips for gardening and green living, including timely insights on how gardens can nurture our emotional well-being.

