
Serenity Now! Encouraging Deep Relaxation with Homemade Lavender Eye Pillows
Lavender eye pillows are a wonderful way to promote sleep, relieve anxiety, and they can even help reduce … Read More
Lavender eye pillows are a wonderful way to promote sleep, relieve anxiety, and they can even help reduce … Read More
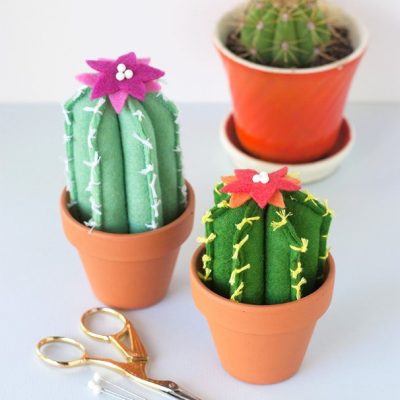
Looking for your next afternoon craft project? This felt cactus project is not only ADORABLE but easy to … Read More
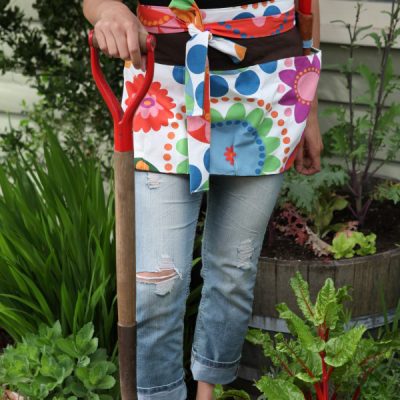
It is helpful to be able to be equipped with several items at once when you are gardening, … Read More
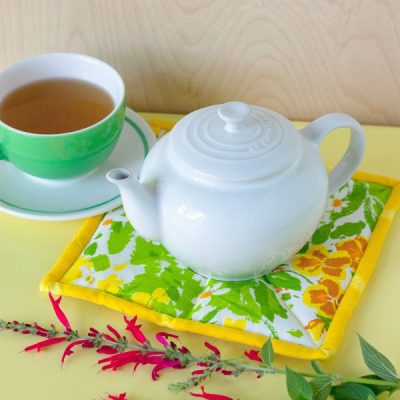
I’m always on the look out for new craft projects that can easily double as handmade gifts for … Read More
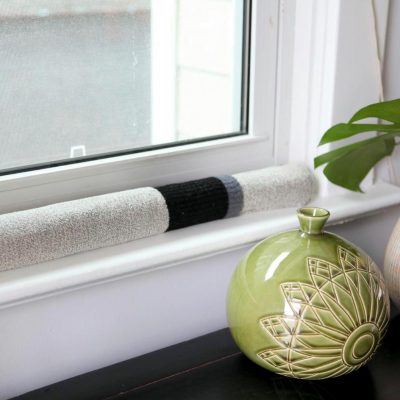
The temperature is starting to dip down to where I think about nestling in front of the fireplace. … Read More
Your guide to creating a stunning outdoor space using found materials, free resources, community connections, and your own creativity.
My weekly newsletter full of tips for gardening and green living, including timely insights on how gardens can nurture our emotional well-being.

