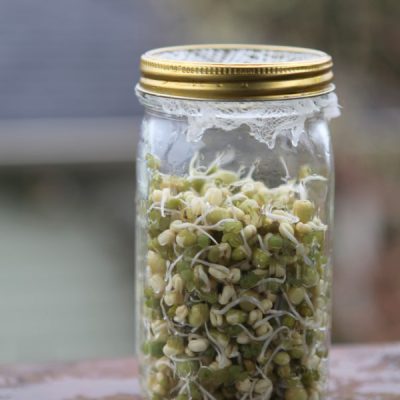
Growing Mason Jar Sprouts: Mung Beans and Green Peas
You’ll never find me buying sprouts at the grocery store. They’re super easy to make at home and … Read More
You’ll never find me buying sprouts at the grocery store. They’re super easy to make at home and … Read More
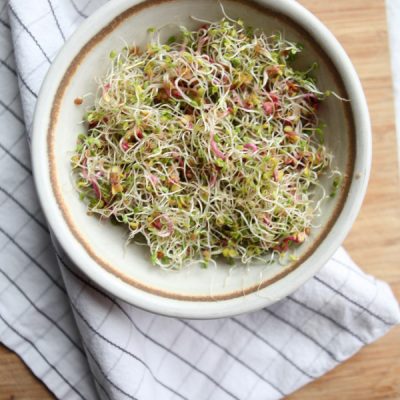
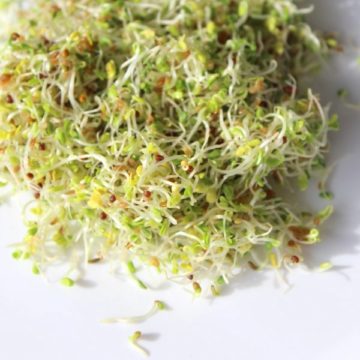
Wondering what the best sprouts to eat are? Look no further! This post will show you what the … Read More
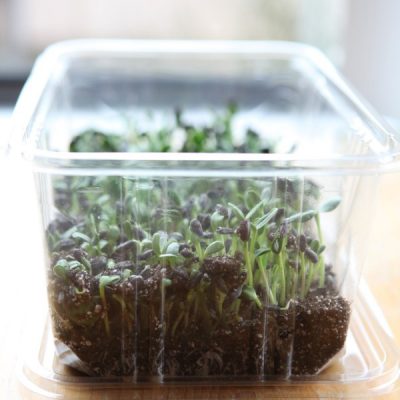
Sunflower microgreens have the deliciously nutty flavour of raw sunflower seeds with the texture of spinach. Not only … Read More
From boosting the garden to giving us fresh greens in the winter, people all over the world have … Read More
Believe it or not…you can grow 3-week’s worth of food in just 3-7 days! Sprouting seeds can produce … Read More
Homegrown sprouts will ruin store-bought sprouts for you forever. You may think the ones you buy from the … Read More
Your guide to creating a stunning outdoor space using found materials, free resources, community connections, and your own creativity.
My weekly newsletter full of tips for gardening and green living, including timely insights on how gardens can nurture our emotional well-being.

