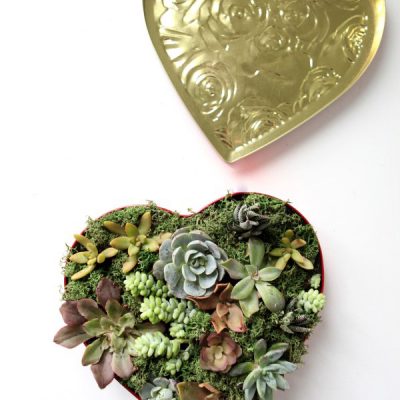
Make a Sweet and Succulent Valentine’s Box
If you have a plant lover in your life, trust me when I say this is THE gift … Read More
If you have a plant lover in your life, trust me when I say this is THE gift … Read More
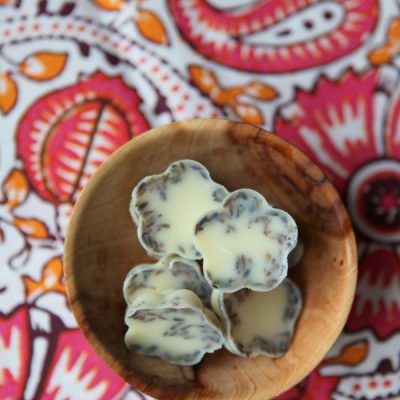
Looking for a simple way to gift yourself with some self-care? These lavender and cocoa butter bath melts … Read More
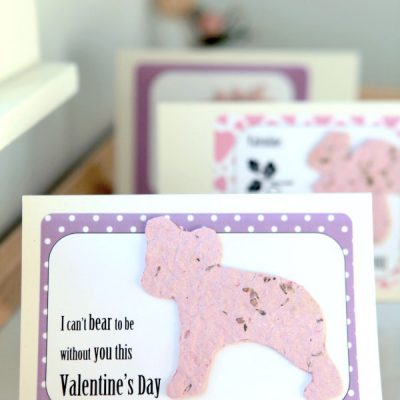
Now here is a gift that sprouts up beautiful flowers or yummy veggies when planted: homemade seed-paper Valentine’s … Read More
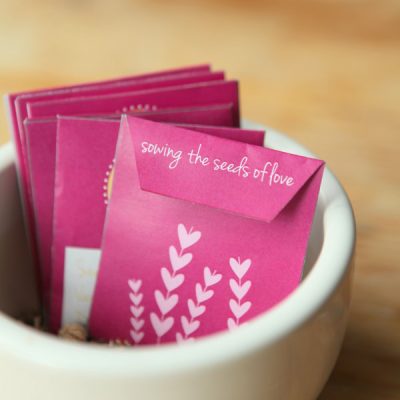
These printable seed envelope Valentines make a fun crafty Valentine’s Day gift that will keep on giving into … Read More
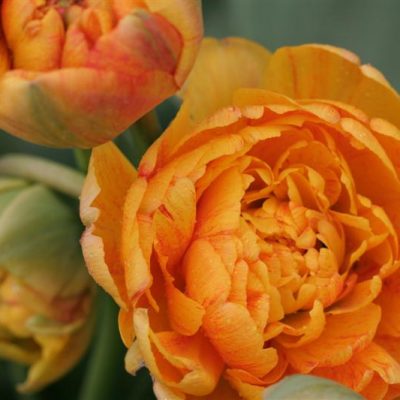
I love getting flowers. In months where the sky is grey and the ground is muddy or frozen, … Read More
This FREE 5-day mini course will teach you the small changes you can make to your skincare practices that will make a HUGE difference in how you feel.
I want the free course!This FREE 5-day mini course will help you set up a thriving garden for wellness and joy, quickly and easily.
I want the free course!