How to Make a Nine-Foot Grinch Tree
Want to add some whimsy and playfulness to your Christmas decor? Make this Whoville Christmas tree! It’s simpler … Read More
Want to add some whimsy and playfulness to your Christmas decor? Make this Whoville Christmas tree! It’s simpler … Read More
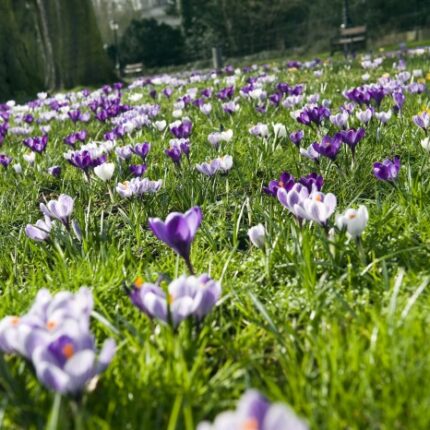
A bulb lawn is one of the most beautiful ways to usher in the spring. A wave of … Read More
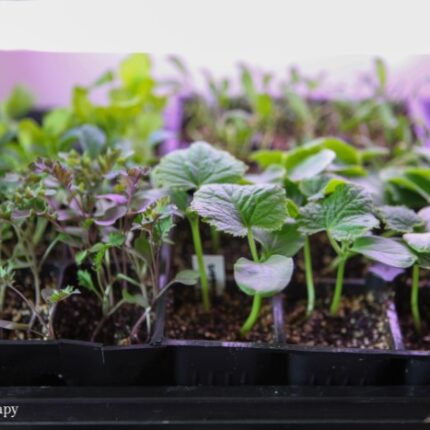
Grow lights don’t have to be an expensive, fancy thing you splurge on as a gardener. You can … Read More
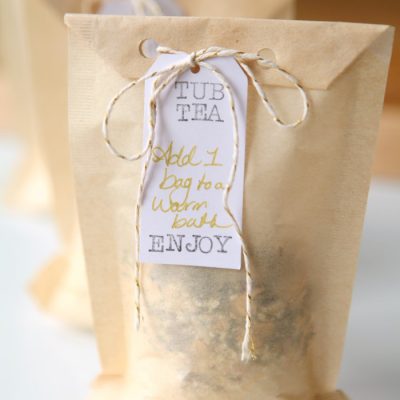
Soak your troubles away with this lovely homemade tea bath. This mess-free bathing solution will help you soothe … Read More
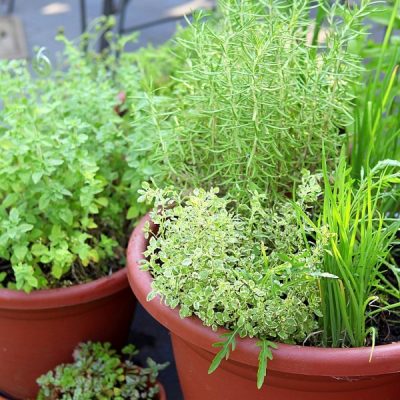
Love herbs? Me too! They grow well in containers so you can grow them anywhere! But if you … Read More
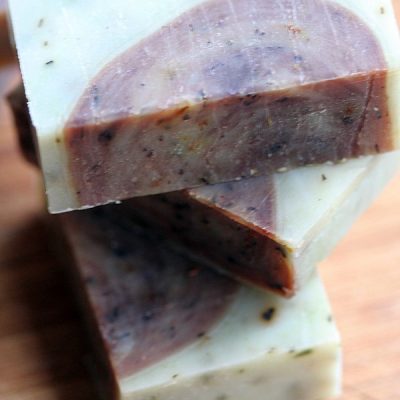
If you have ever been curious about the world of handmade soap, chances are you have heard of … Read More
This FREE 5-day mini course will teach you the small changes you can make to your skincare practices that will make a HUGE difference in how you feel.
I want the free course!This FREE 5-day mini course will help you set up a thriving garden for wellness and joy, quickly and easily.
I want the free course!