Take a walk through a winter wonderland with this evergreen candle. Made with a combination of evergreen essential oils and a cool ombre effect, this is the perfect gift to make this holiday season for all your candle-loving friends.

Without a doubt, you know someone in your life who is obsessed with candles. In my life, that person is me. So you can imagine I make quite a few candles!
Around the holidays, you can find me making all kinds of homemade gifts for my friends and family. Candles are one of the most well-received gifts and they aren’t that difficult to make.
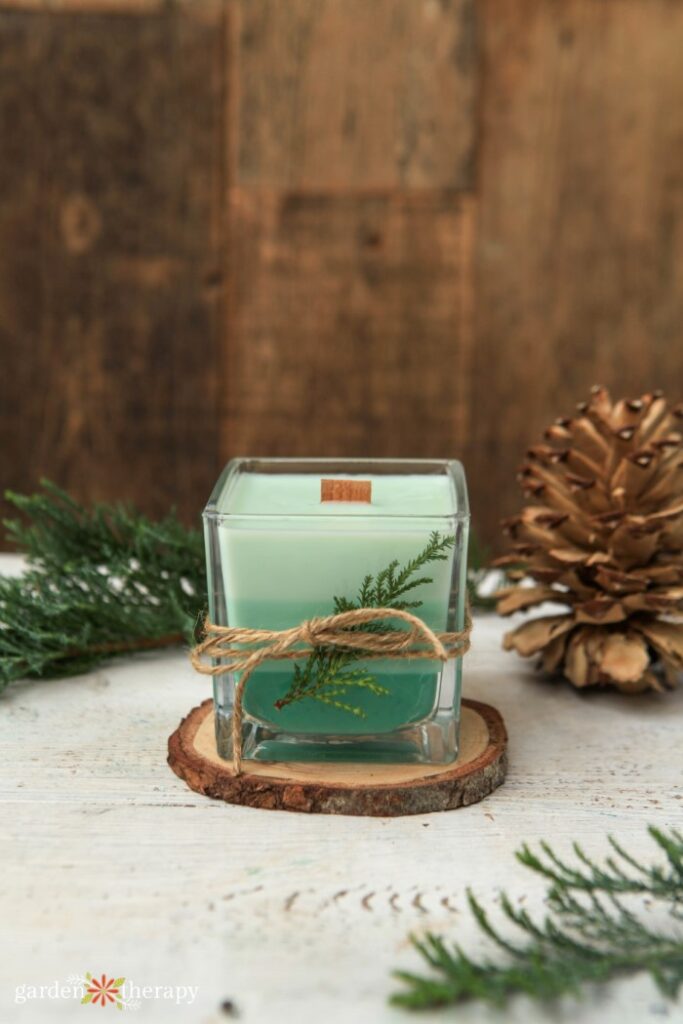
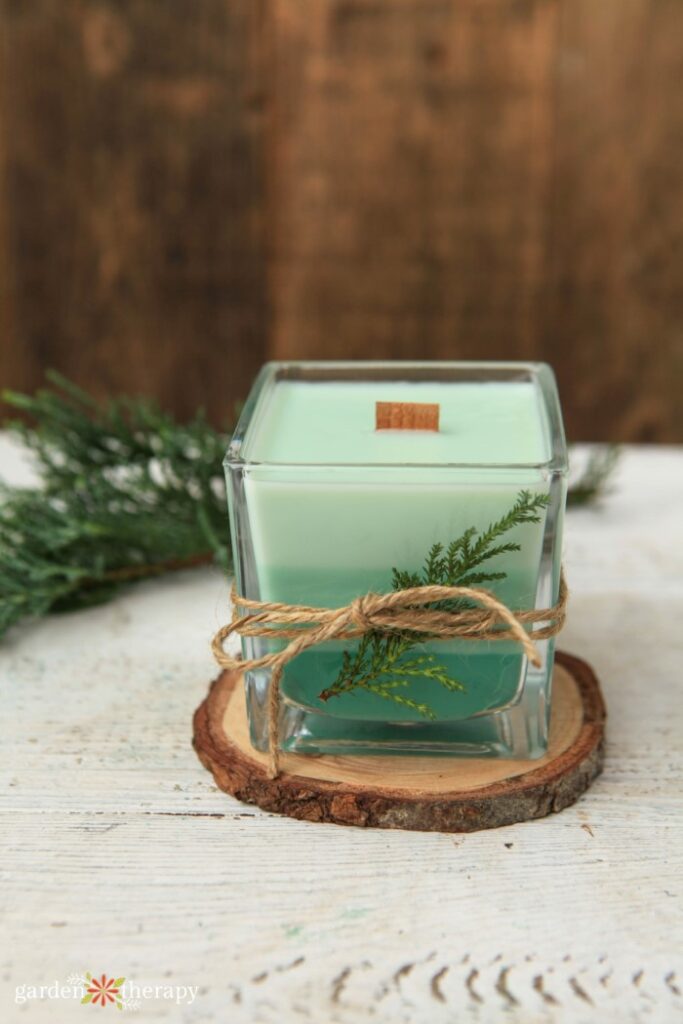
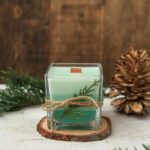
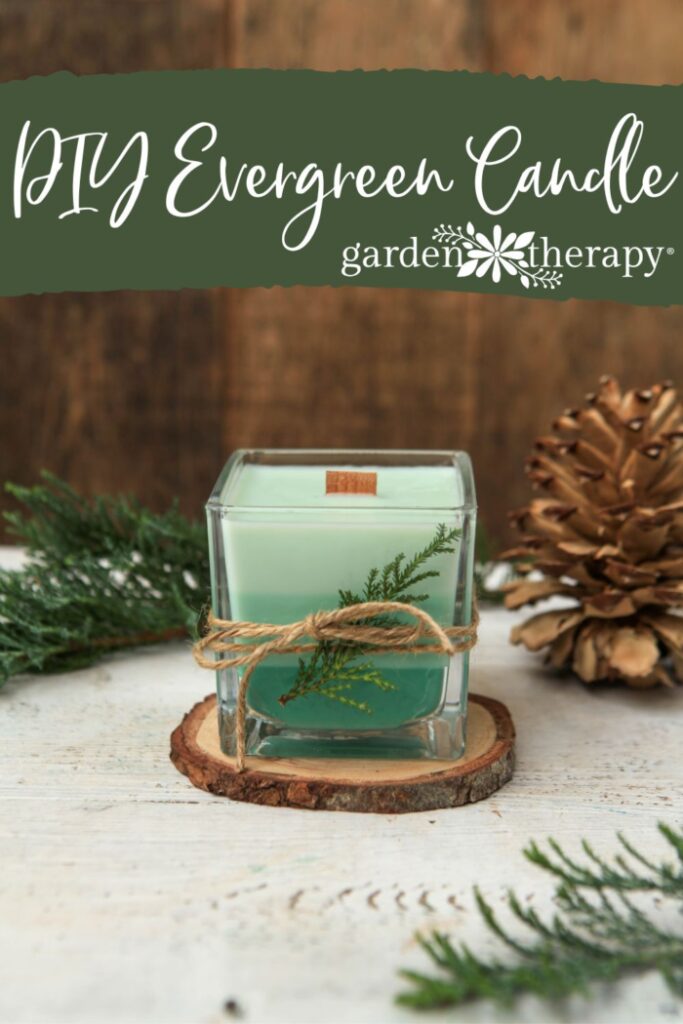
Let’s talk about how stunning this evergreen candle is! I used an ombre layering effect, a wooden wick (for that real-life crackle), and wrapped it in twine and a cedar leaf. It looks like it came straight from an artisanal holiday market.
You too can make this beautiful, forest-inspired candle for gifts this year…or hold onto it all for yourself!
This post will cover…
- A Note on Wicks
- Wick Tips
- What Does an Evergreen Candle Smell Like?
- How to Make an Evergreen Candle
- Materials
- Equipment
- Make It
- Create Your First Layer
- Evergreen Candle Tips
A Note on Wicks
Wicks come in many different materials and forms, from basic cotton on a roll to wired and waxed wicks with tabs. No matter which you choose, you need the right size (thickness) for your candle to burn properly.
Wicks that are too small will not melt the wax all the way to the edge of the candle, creating a tunnel in the center. Wicks that are too large will create a lot of smoke. Look for labeling on the package of wicks to see what wax and candle diameter they are appropriate for.
For this evergreen candle, I’ll be using a wood wick. The crackling sound it makes gives me all the cozy vibes for the holiday season!
Wick Tips
If you use a wick that isn’t wood, keep wicks trimmed to 1/8” to 1/4” for best results. Be sure to only trim the wicks once the candles have fully cooled and cured for 24 hours. The best way to trim a wick is with a wick trimmer – it provides the perfect length every time!
- Cotton wicks come as a roll of cotton string that has been braided to provide thickness.
- Wire wicks have a thin zinc wire in the center that helps to hold the wick straight.
- Waxed wicks are coated with wax. If you are making a paraffin coated candle, use a paraffin coated wick. If you are making a soy or beeswax candle, use a soy coated wick (a soy coated wick has proven to perform better than a beeswax coated wick in a beeswax candle).
- Wood wicks are flat wicks made of soft wood that sound like a crackling fire when they burn. Wood wicks do not need trimming after they re burned.
- Tabs are metal disks (or in the case of wood wicks, they are rectangular) that weigh the wick down and give you a place to glue the wick to the bottom of the container (if appropriate).
Choose whichever wick works best for you!
What Does an Evergreen Candle Smell Like?
This candle smells just like a walk through a wintery forest. Crisp and fresh, this is a great scent to use around the holiday season. When you burn it, you will feel as though you’ve brought the outdoors inside.
For this forest candle recipe, I use a combination of cypress, cedarwood, and sweet birch essential oil. Together, you get a slightly sweet yet woodsy scent. To learn more about how to properly use essential oils in candle making, check out this post.
How to Make an Evergreen Candle
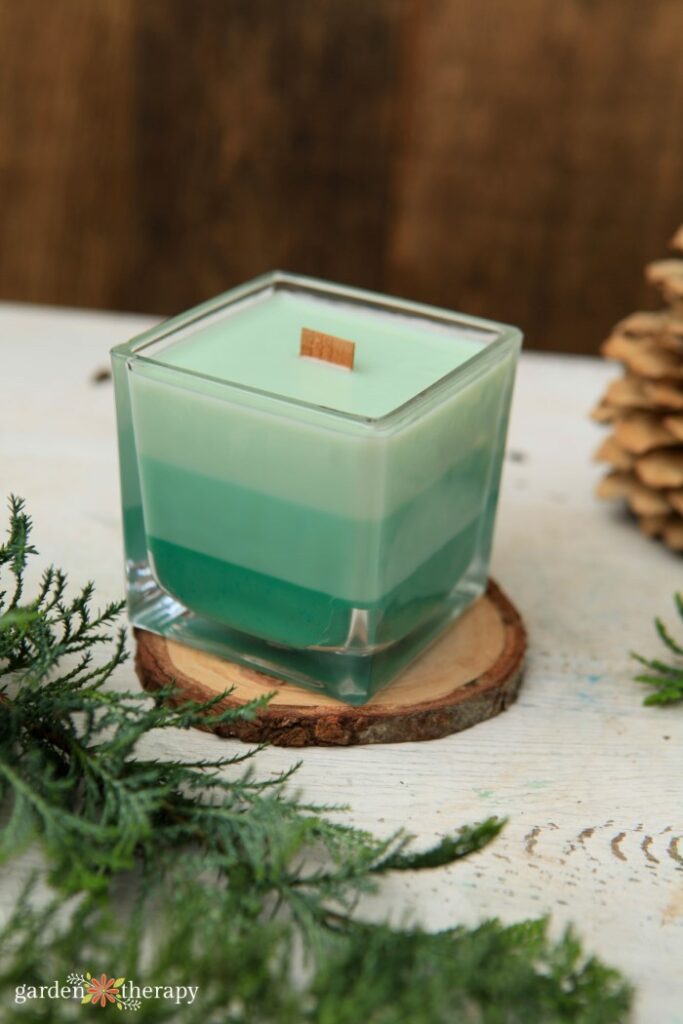
This modern ombre, evergreen candle subtly nods to the holidays, making it a lovely winter gift idea that doesn’t date itself as soon as the festivities are over.
The ombre effect is created with just one colour of wax dye in different strengths to give the candle a decorative graduated colour that adds elegance and interest along with a pop of colour while maintaining a minimalist style.
Materials
See the recipe card at the end of this article for exact measurements
- Glass candle jar so you can see all those pretty ombre layers
- Wood wick with metal tab
- Soy wax for container candles
- Green dye chip for candle making
- Cypress essential oil
- Cedarwood essential oil
- Sweet birch essential oil
Equipment
- Double boiler
- Thermometer
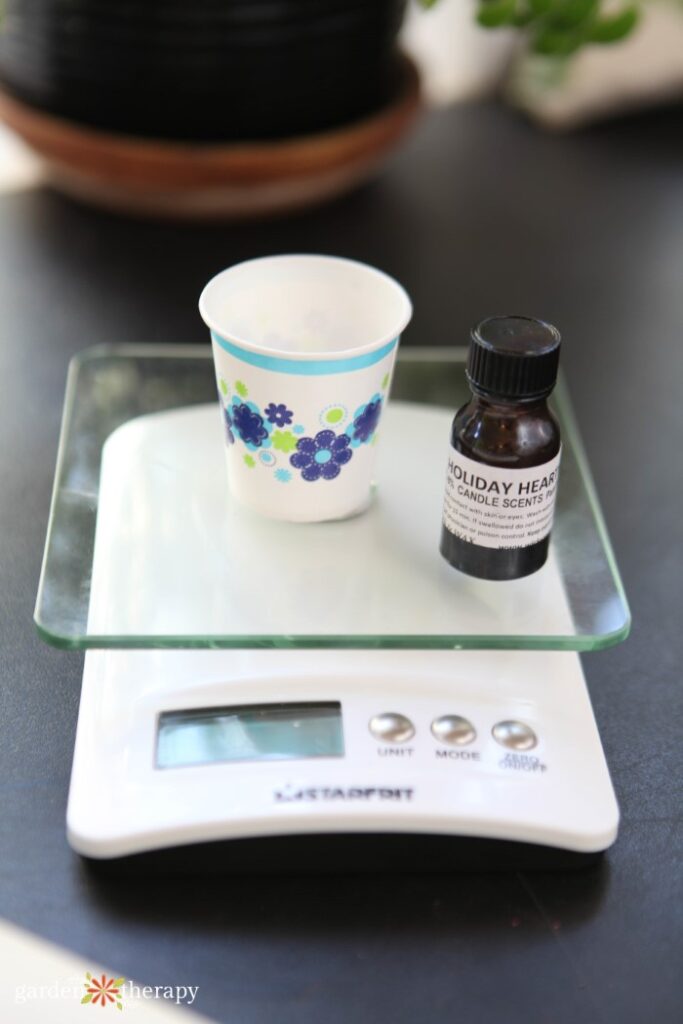
- Kitchen scale
- Fine tip pruning shears to trim wick
- Hot glue gun and glue or wax adhesive
- Rubber gloves
- Old towel
- Heatproof container with pour spout
- Three paper cups or shot glasses
Make It
Prepare Wax
Weigh the soy wax and add it to a double boiler on medium heat. While the wax is melting, measure the essential oils into a paper cup. Then prepare the dye chips.
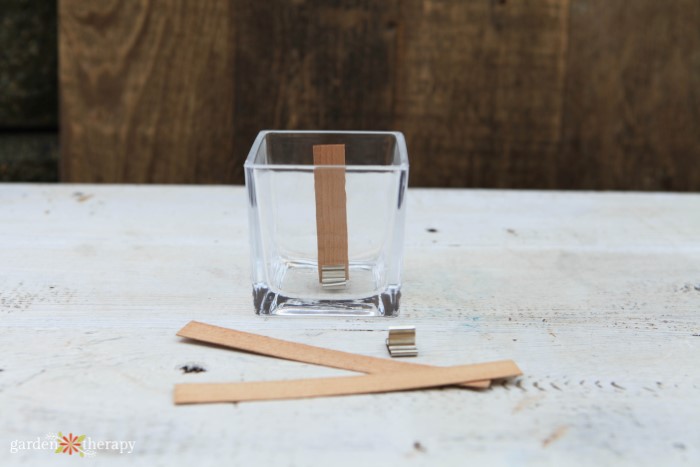
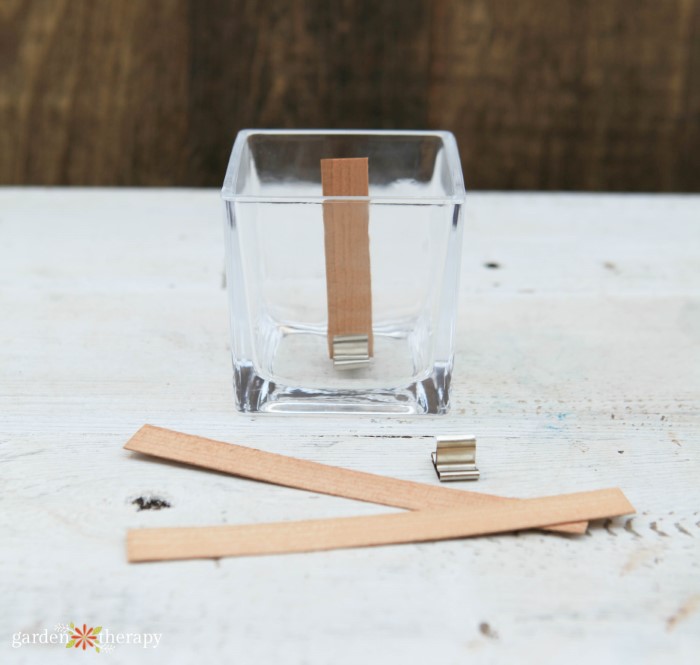
Cut Your Wick
Prepare the wood wick by determining its final height in the candle, approximately 1/4 inch above the tops of the wax. Feed the wooden wick into the metal base and use a dab of hot glue or wax adhesive to attach it to the bottom of the jar at the center.
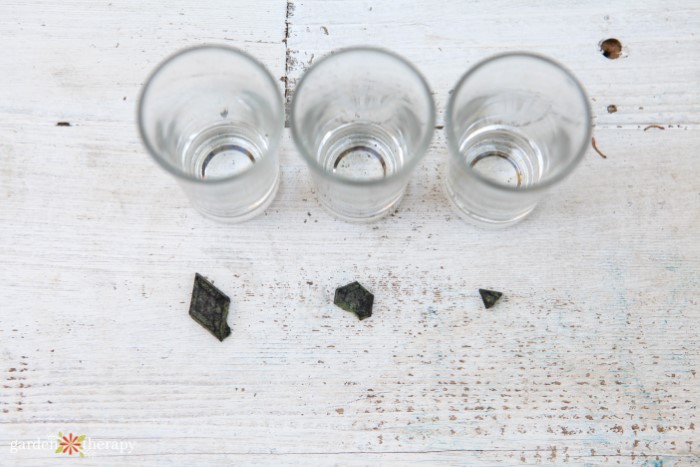
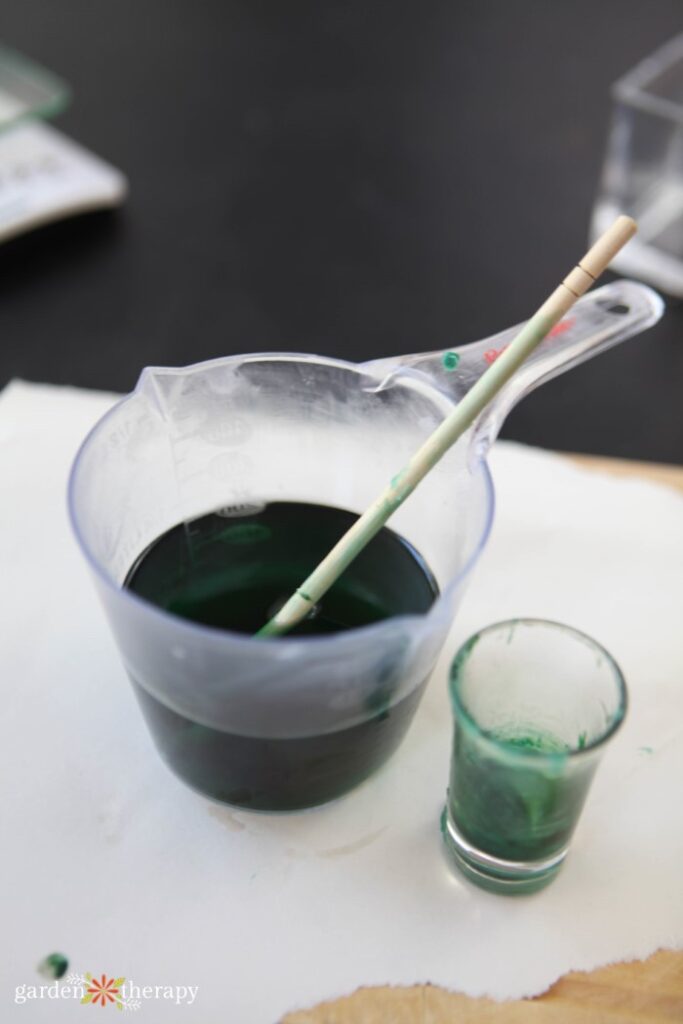
Make Your Dye
Prepare your ombre colours by calculating how much dye will be needed for the amount of wax. Then, divide the dye chips into three pieces: one large, one medium, and one small.
The larger the difference between the sizes of the chips will mean a greater difference in the colour of each wax layer. Use rubber gloves to protect your hands from the dye while you’re cutting the chip.
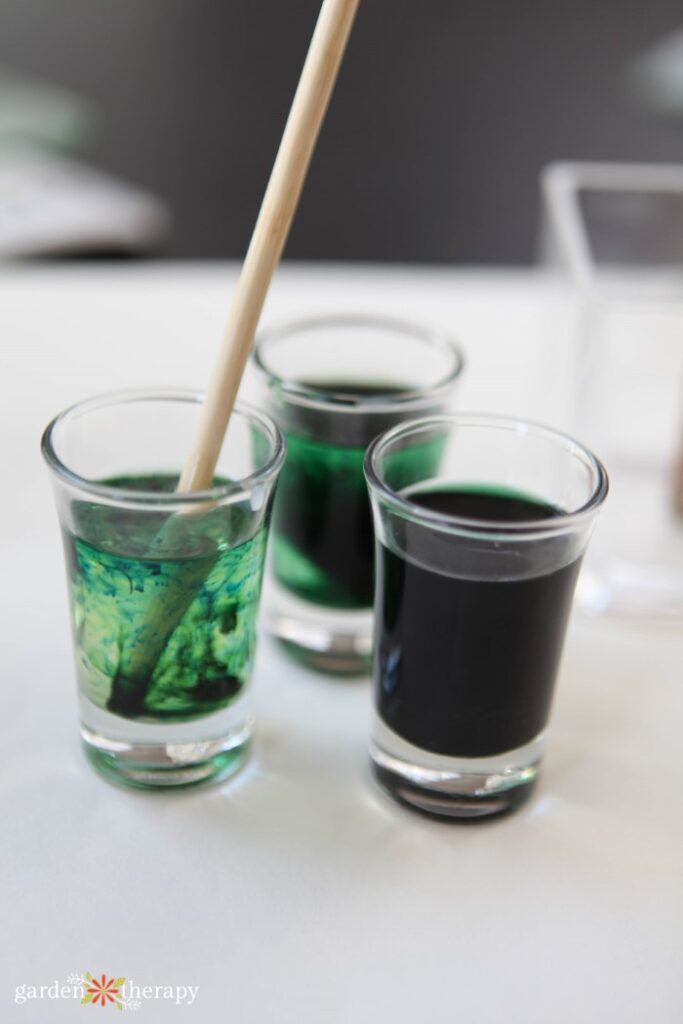
Dye Your Wax
Add each piece of dye chip to a shot glass and top with hot wax. Use a chopstick to stir and dissolve the dye chip completely. If the dye chip doesn’t completely dissolve, you can place the shot glass in the double boiler to heat it up a bit more.
Add Essential Oils
When the melted wax has reached the specified temperature for adding essential oils (see the instructions that came with your wax), pour a third of the wax into a heatproof measuring cup. Add the wax you dissolved the largest dye chip in and pour in one-third of the essential oils. Stir well to combine.
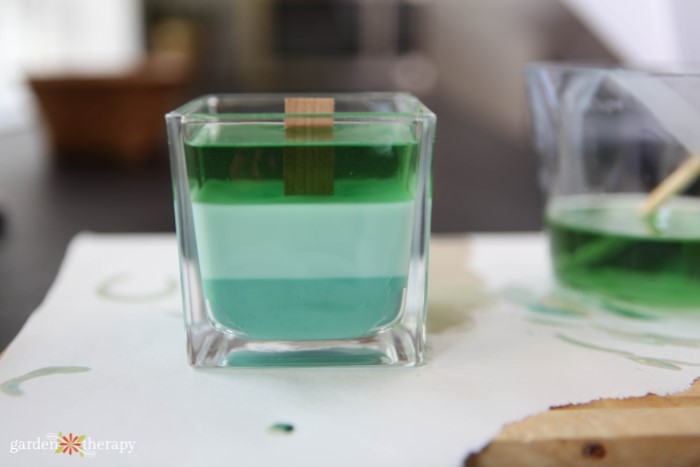
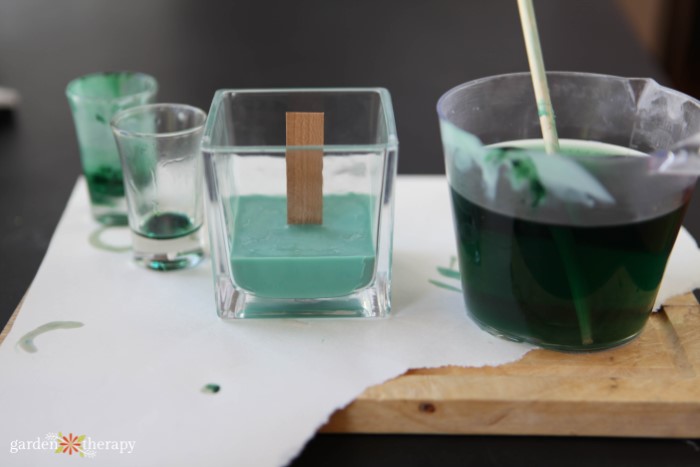
Create Your First Layer
Cool wax to 140°F and pour into the jar. Leave it untouched to set for at least one hour. It could take longer than an hour for the wax layer to set, depending on the temperature in the room that you’re working in.
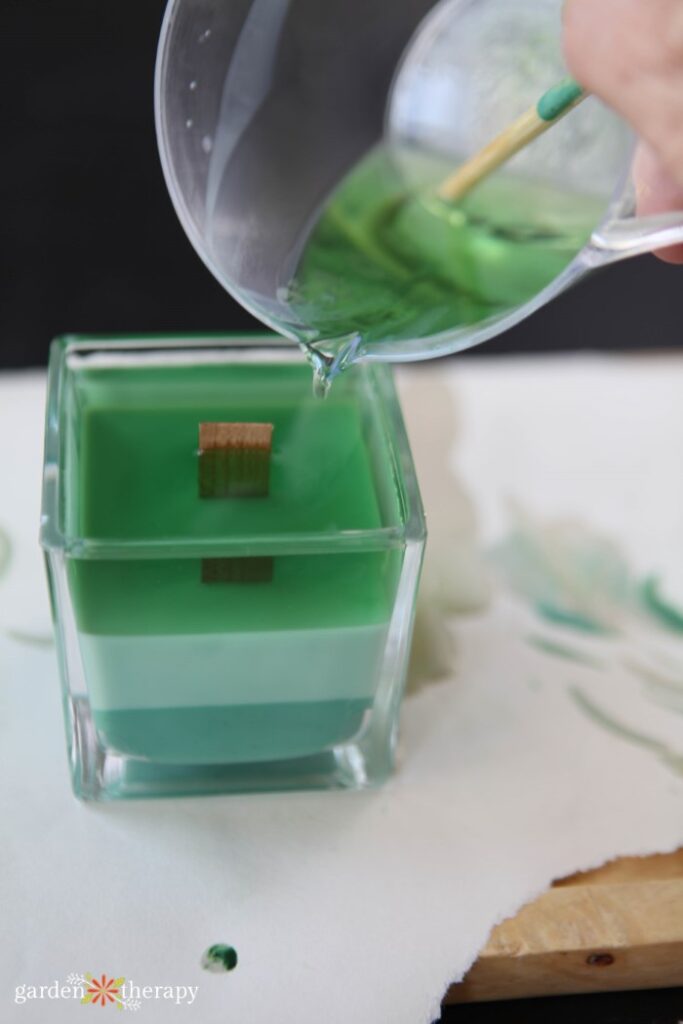
Add Remaining Layers
Follow steps 5-6 for the remaining two layers, adding the essential oils and the wax with the dissolved medium chip first and then the wax with the dissolved small chip. Pour each layer only when the previous layer is completely set.
Evergreen Candle Tips
- You can trim the candle wick after the candle is poured, but you’ll get a cleaner cut if you measure and trim the wick before you pour the candle.
- When using a wood wick and a square jar, align the wick so that it is in line with the top of the jar.
- Wrap the forest candle with a piece of jute twine and inset a freshly cut sprig of evergreen between the bow and the candle glass. The simple and natural wrapping allows the for the gorgeous ombre to peek through, ready to be revealed completely when the twine has been removed.
- The active time for this project isn’t that much more than other candle-making projects. However, it takes a full day to complete this project because of the time for the wax to harden in between each layer. You can scale this project up or down to have as many layers as you would like, but keep in mind that the candle wax needs to harden completely before you pour the next layer
- This evergreen candle has a spruce-inspired blue-green colour that adds a modern touch to winter celebrations, but an ombre candle project can be done at any time of the year. Change the colour depending on the season. For the spring, use pretty pastels. For summer, use bold jewel tones. And for wall, use warm colours like yellow, orange, and red. You can also swap out the fragrance to match the seasonal colours.
Homemade Evergreen Candle
Equipment
- Fine tip pruning shears to trim wick
- Rubber gloves
- Old towel
- 3 paper cups or shot glasses
Supplies
- 1 3" x 3" x 3.5" square glass candle jar
- 1 wood wick with metal tab
- 0.5 lbs soy wax (225g)
- 1 green dye chip
- 5 ml cypress essential oil
- 5 ml cedarwood essential oil
- 5 ml sweet birch essential oil
Instructions
- Weigh your wax and measure your essential oils together in one container. Melt wax over a double boiler on medium heat.
- While wax melts, measure your wooden wick to be 1/4 inch above where the top of the wax will be. Insert it into the metal base and attach it to the bottom of the container with glue or wax adhesive.
- Refer to your wax to see how much dye is required. While wearing gloves, divide the chip into 3 sizes: 1 large, 1 medium, and 1 small.
- Add each dye chip to a shot glass or paper cup and top it off with hot wax. Stir using a chopstick until fully dissolved.
- Read instructions that came with your wax for adding scents. When your wax has reached the desired temperature, pour one-third of the wax into a heatproof container and add the largest dye chip and a third of the essential oils.
- Wait for the wax to reach 140°F and pour it in the container. Leave it until wax has set and cooled, at least 1 hour.
- Repeat steps 5-6 for the other two layers. Add essential oil and the medium sixed chip next followed by the small chip and essential oil. Wait for each layer to fully set before adding the next.
- Wrap in twine and a fresh evergreen clipping.


That is beautiful! Do you sell these on Etsy by any chance? Thank you!
Hi Christine, I’m sorry, I don’t sell them, just books on how to make these things! https://gardentherapy.ca/greenery-for-holiday-decorating/