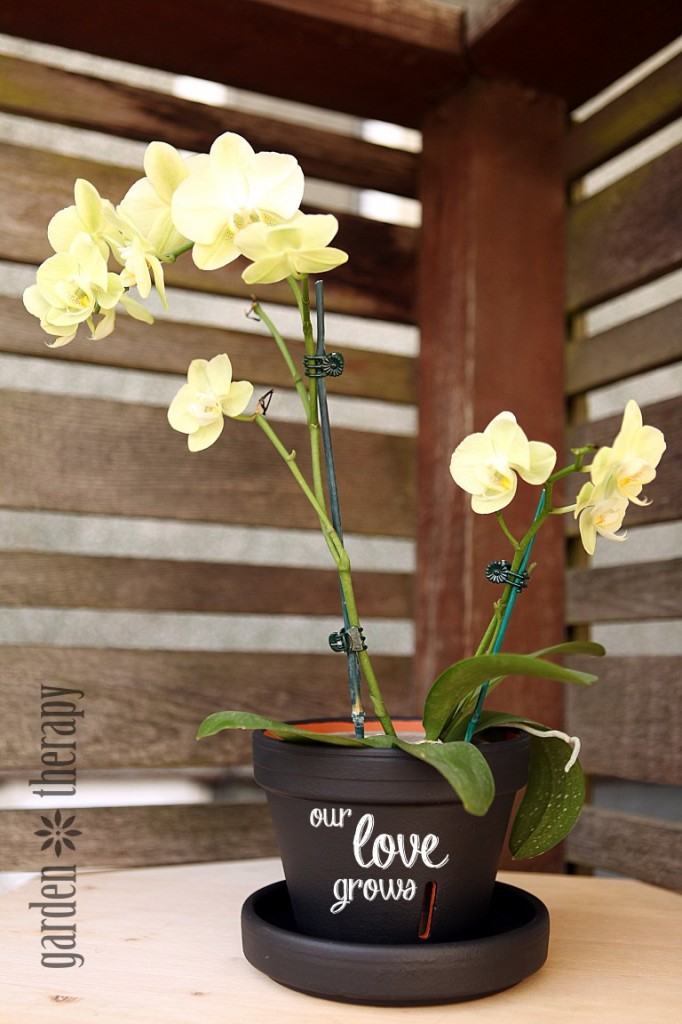
This DIY project would make a great gift, complete with a handwritten sentiment. Will the handy uses for chalkboard paint ever come to an end? I hope not. Read on for instructions on how to make the pot, as well as some advice from Martha Stewart that took the fear out of repotting orchids for me!
When I came across Martha Stewart’s recent blog post, Repotting Orchids in the Greenhouse, I just fell in love with beautiful handmade pots from master potter, Guy Wolff, and his son, Ben.
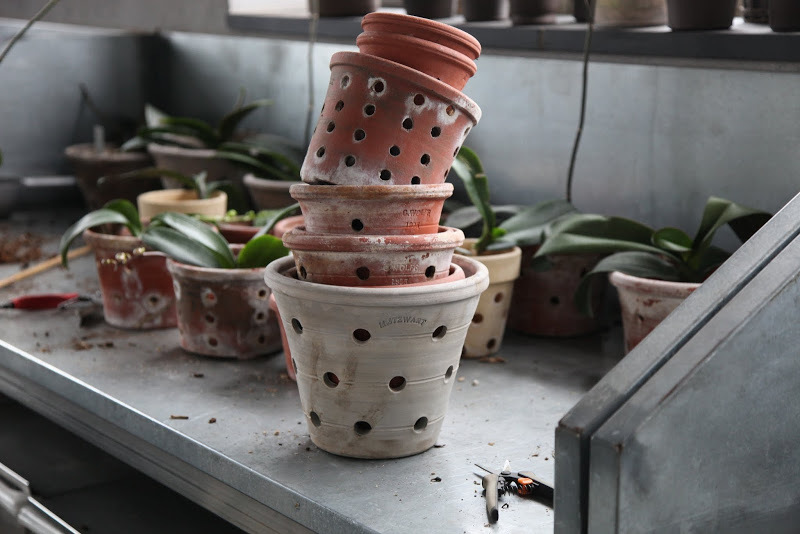 Photo courtesy of Martha Stewart
I thought I’d head out and search for something that I could customize to add a little craftiness to a potted orchid. Gorgeous handmade pots were hard to find where I was hunting. I did find a standard terracotta pot with slats for air circulation that fit my orchid, but didn’t have any pizzazz. A quick trip to the hardware store and inspiration was found: chalkboard paint!
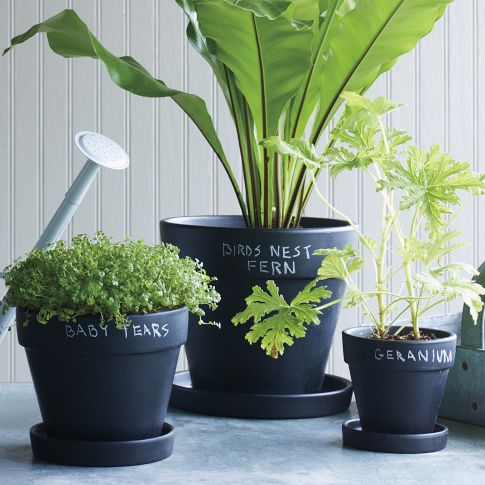
I love the painted pots at West Elm Market and it’s a really simple DIY if you have a half hour to make your own.
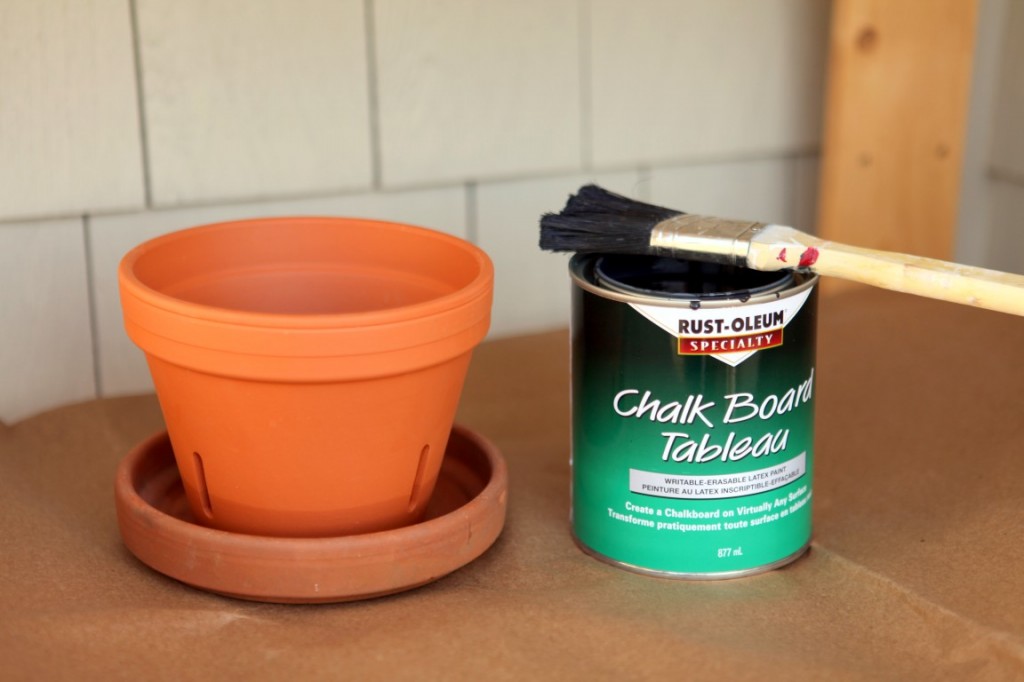
Materials
- Terracotta pot and saucer
- Chalkboard paint
- Mini foam roller
- Paint brush
- Chalk
Directions
1. First, get prepped! Wash and dry your terracotta removing any dirt or debris. Allow the pot and saucer to dry thoroughly before applying paint. Shake or stir chalkboard paint until completely mixed.
 2. Using the paintbrush and foam roller, apply paint to outside of pot and saucer as well as inside the tray of the saucer.
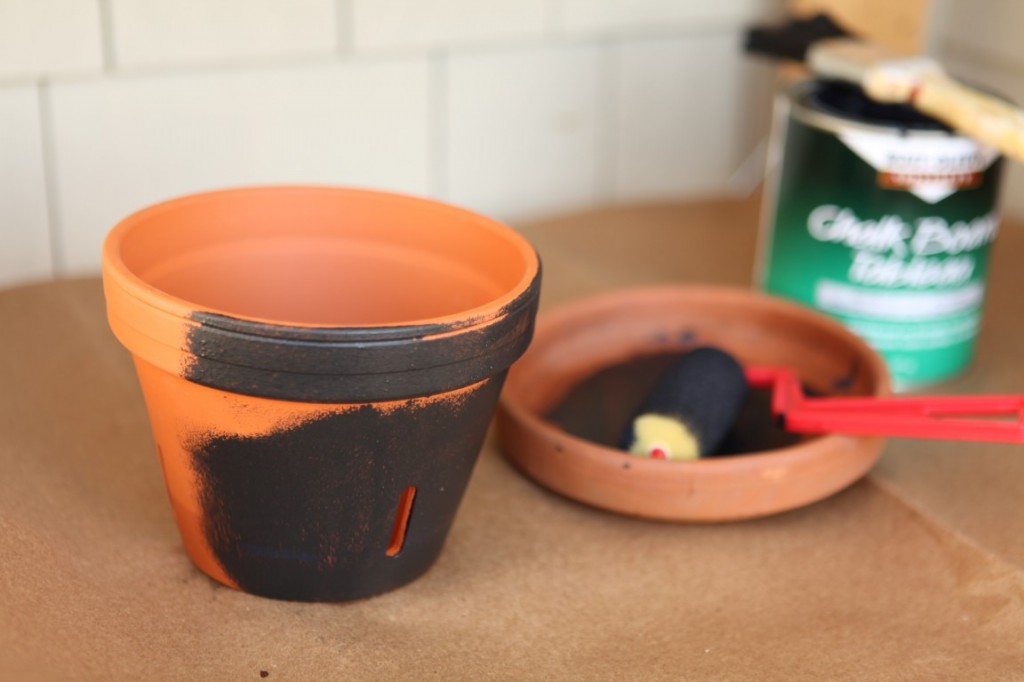
3. Smooth out the paint with the roller to ensure you have a consistent surface. Two or more coats may be necessary.
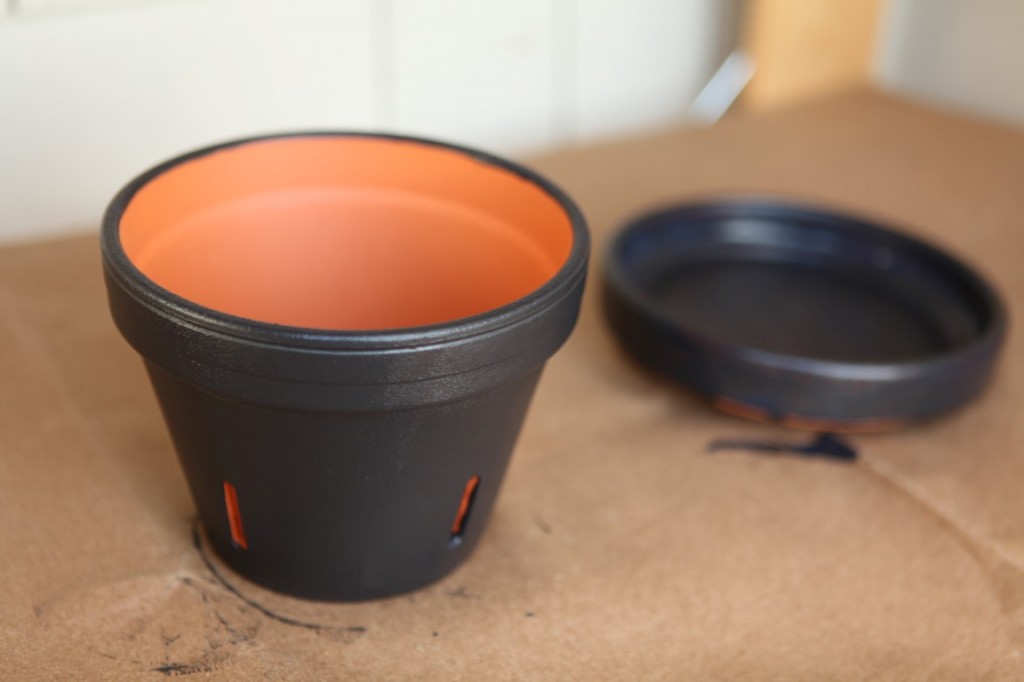
4. After pot has dried completely and cured for 3 days, rub the chalk all over the painted surface and erase. It is now ready to use!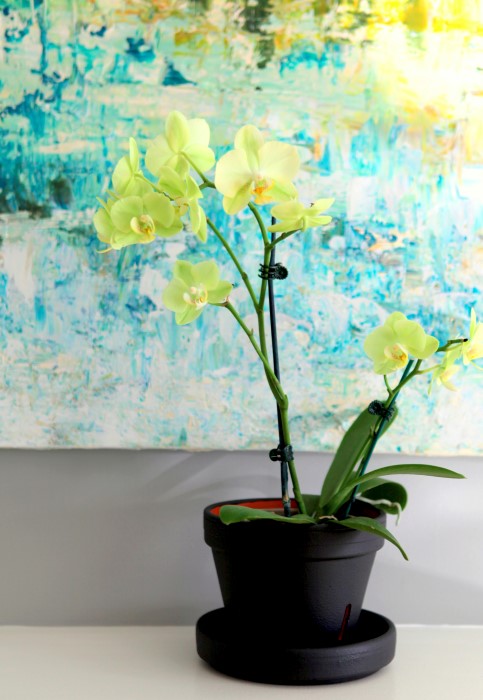
I have yet to repot my orchid into the new chalkboard pot as I learned from Martha’s blog that I should wait until it is finished blooming. When it is ready to move to the new pot full time, these step by step instructions really take the anxiety out of the process. Orchids can be a bit of a strange plant to deal with if you are used to plants with soil.
Photos courtesy of Martha Stewart
Orchids are epiphytic (just like my beloved air plants) meaning they don’t need to root into soil. It does mean that the roots need good air circulation and a bark/moss mix to settle in.
Check out the full post to answer all of your questions on how to repot your orchid, and hopefully this bit of attention will get you a brand new set of blooms.

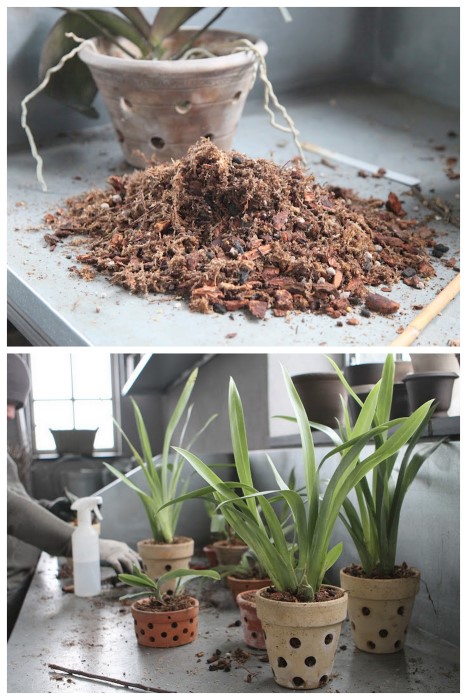 Photos courtesy of Martha Stewart


Comments