What a winter it has been! Brrr! With record-breaking storms and temperatures that chill my bones, I AM READY FOR SPRING.
If you have been poring over seed catalogs and dreaming of sunny days, fresh greens, and blooming flowers, then today is an exciting day! Today, I say to you,
“Wait no more for Spring! Let’s get this party started!!”
This is the reason why I created this FABULOUS Window Herb Garden DIY. And it comes as an easy-to-grow kit (which is really like a gift to yourself for putting up with winter). Just add soil and water and you will have an indoor herb window garden growing before you can say “Garden Therapy!”
Note: This seed starting kit is no longer for sale.
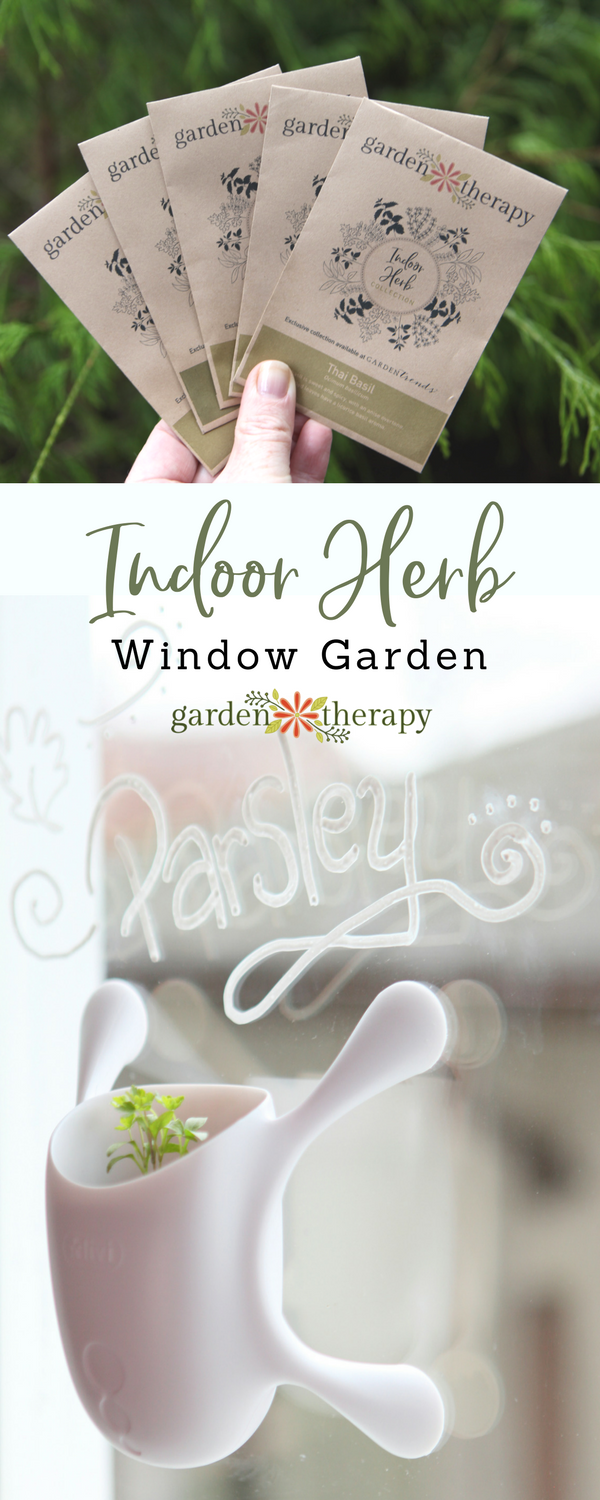
This Indoor Herb Window Garden Kit is the inaugural DIY-come-to-life in the Garden Therapy Seed Collections that I have been creating with GardenTrends. The idea behind the kits is to bring an entire Garden Therapy DIY project, complete with seeds, right to you! Each kit includes the supplies you’ll need for a seasonally appropriate (and, of course, FUN!) gardening project.
We have created a bunch of different themed kits that will be available in limited numbers throughout the winter and spring this year. This first kit contains a collection of some of the best herbs to grow in an indoor herb garden, a set of three Livi Pots, and a chalk pen to adorn your window.
Note: This seed starting kit is no longer for sale.
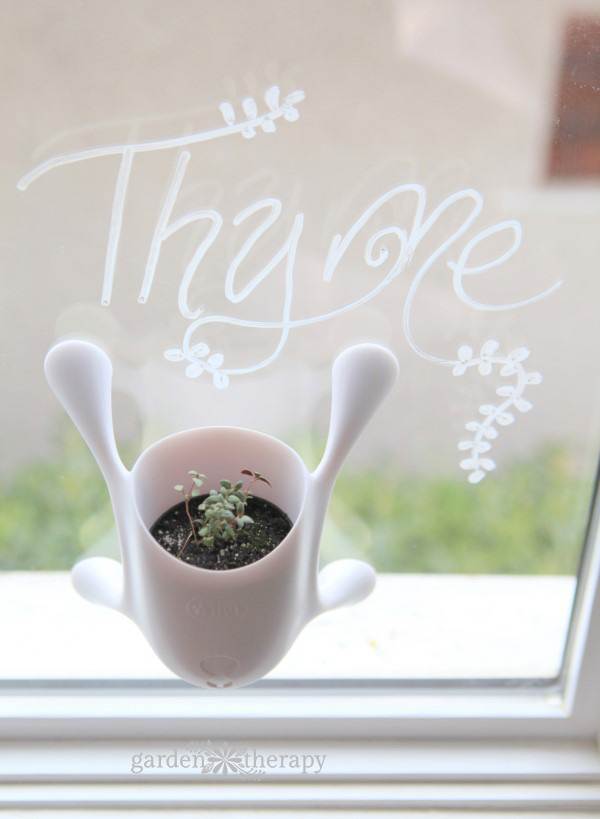
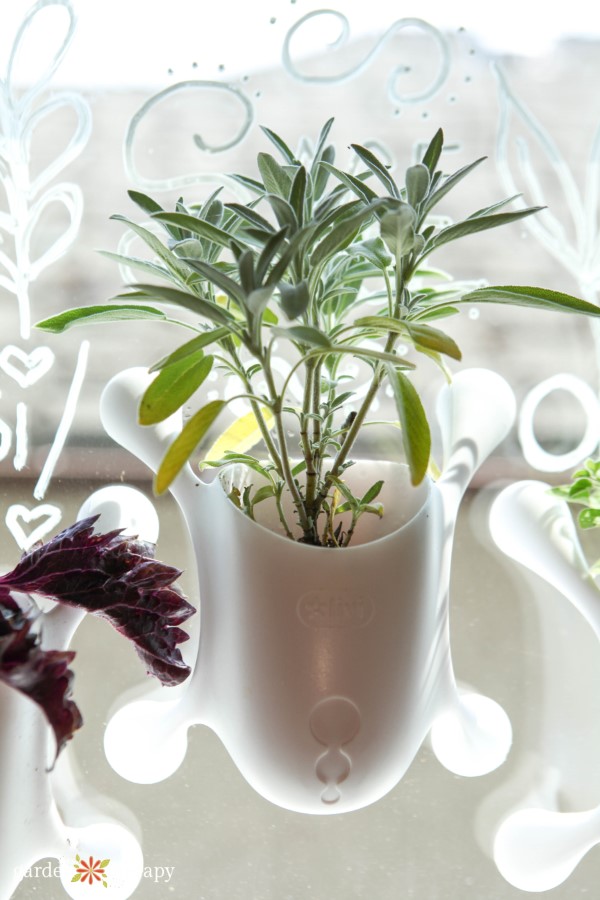
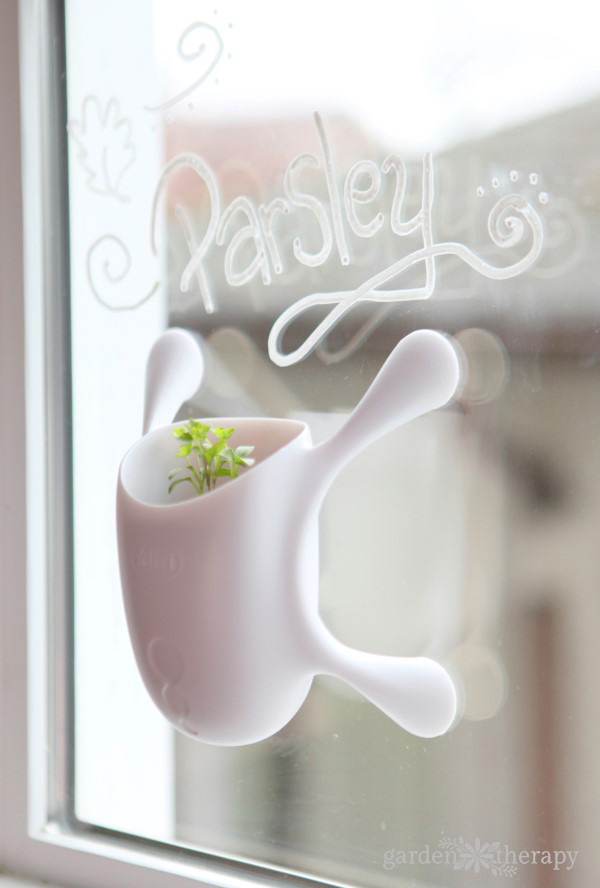
The innovative Livi Pots included in this kit have micro suction cups that cling to any smooth surface. They are super strong and work perfectly on windows, so you can get your herbs growing where you have the most light available. You can start the seeds right in the pots, grow the seedlings into plants, then harvest and enjoy!
Each kit includes three perennial herbs (Green Sage, Oregano, and Winter Thyme) and three annual herbs (Purple Ruffles Basil, Italian Dark Green Parsley, and Thai Basil). These six herbs will give you a great variety of flavors and prolific plants.
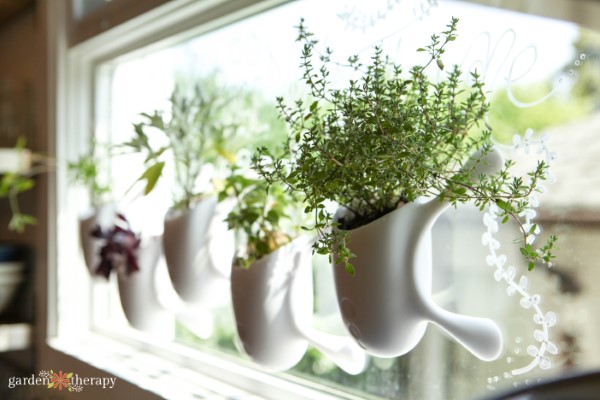
The herbs can be successfully started from seed indoors and continue to grow there as you harvest and enjoy them. You can also move the plants out to the garden as they grow larger and continue to grow them for this season and (for the perennials) many years to come!
Note: This seed starting kit is no longer for sale.
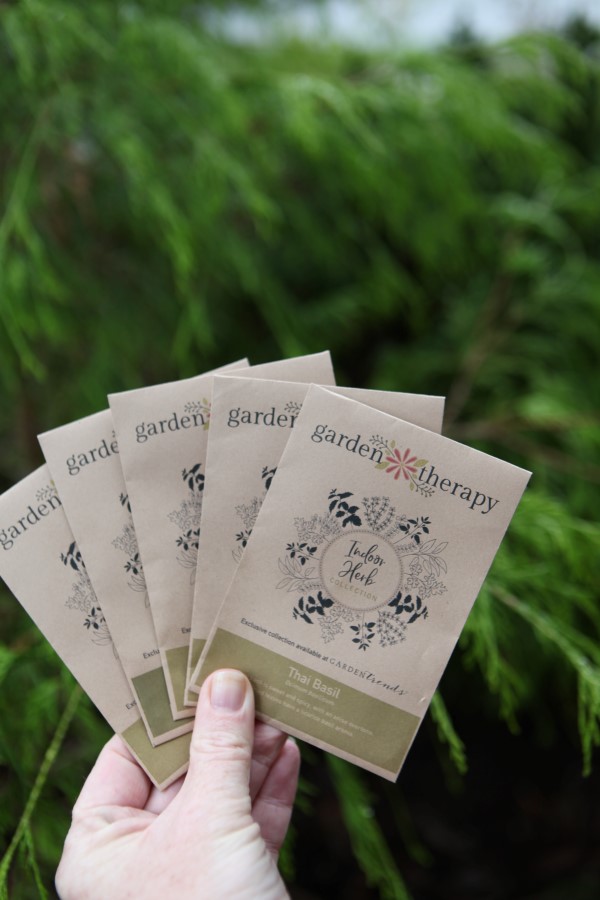
We designed the hand-drawn images on the seed packets to represent the herbs included in the kit, and I just love how they turned out. Not to mention the thrill of seeing the Garden Therapy logo printed on my very own seed packets. It’s a crafty gardener’s dream come true!
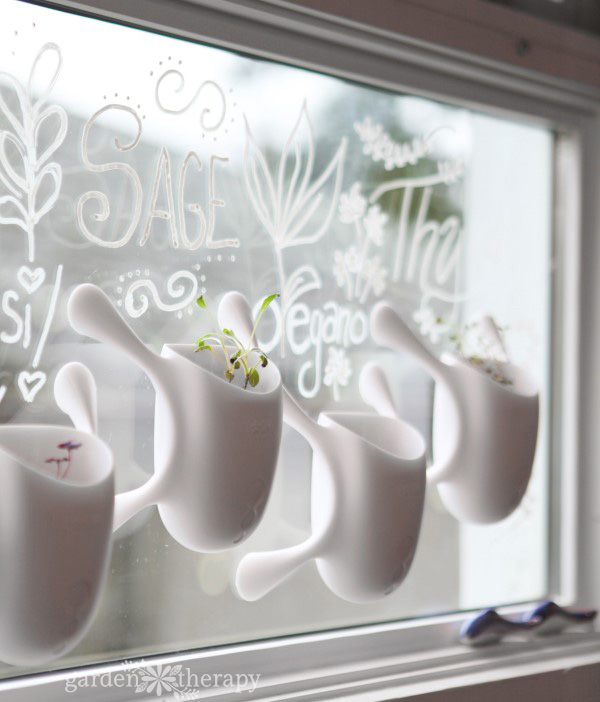
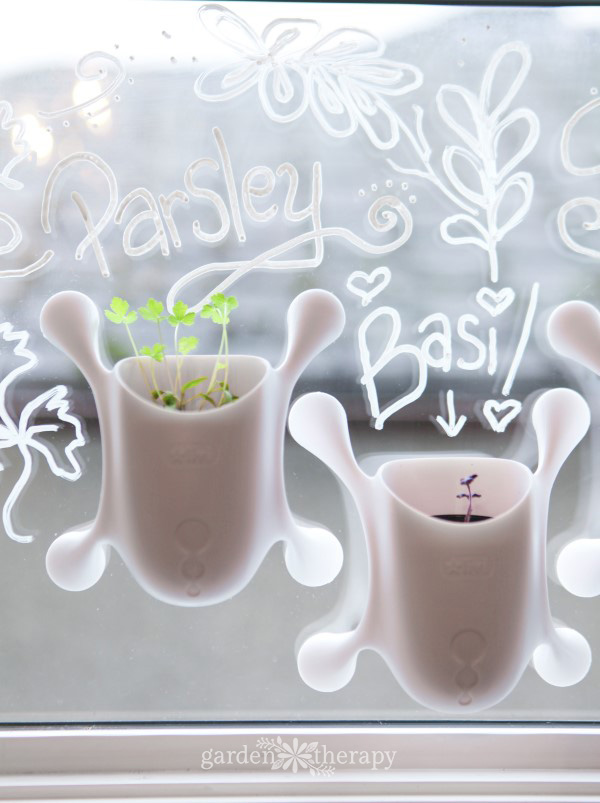
The view out my kitchen window isn’t so pretty and it’s right above the sink. This is the perfect spot for a window garden and the chalk pen that’s included in the kit really let me personalize it. I think the chalk pen is my new favorite thing!
Grow a Window Herb Garden
Here’s a step-by-step guide on how to grow the seeds included in the Garden Therapy Indoor Herbs Collection Kit.
Materials
- Garden Therapy Indoor Herb Collection Seeds: Green Sage
- Garden Therapy Indoor Herb Collection Seeds: Winter Thyme
- Garden Therapy Indoor Herb Collection Seeds: Oregano
- Garden Therapy Indoor Herb Collection Seeds: Purple Ruffles Basil
- Garden Therapy Indoor Herb Collection Seeds: Italian Dark Green Parsley
- Garden Therapy Indoor Herb Collection Seeds: Thai Basil
- 3 or 6 Livi Pots
- Seed-starting soil mix
- Plastic sandwich bags (optional)
Grow it!
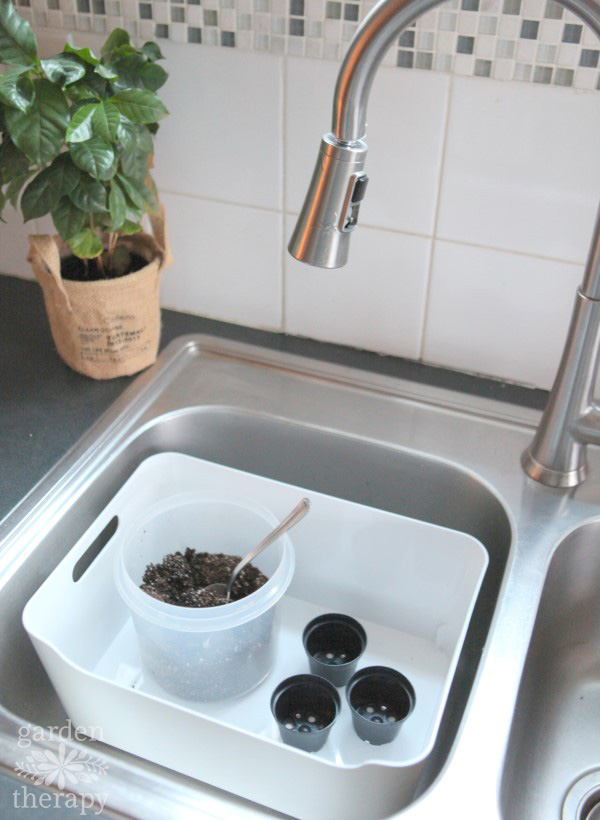
Mix some of the seed-starting soil and water in a large bowl to moisten it. It should be moist, but not soggy.
Add a small piece of newspaper or a piece of a coffee filter to the bottom of the insert pot. This will prevent soil from coming through the holes.
Fill each of the small plastic insert pots with loosely packed soil mix and make an indent in the top with your finger.
Plant 3-5 seeds in each indent and use your finger to cover them with soil.
Remove the film from the suction cups on the Livi Pots and attach them to a clean window, using the instructions provided with the pots. Insert the plastic pots of soil and seeds.
To create a mini greenhouse to germinate the seeds, cover the pot insert loosely with a plastic sandwich bag. Remove the bag for a moment each day to air it out.
Once the seedlings emerge, remove the bag altogether and let the seedlings bask in the sunlight.


I love this! This product is adorable and I love how you wrote on the window as well!
Would love to order these pots individually. Website won’t ship to Canada :-(
These are so cute. Beautiful presentation too.
I am trying to find how to order these pots and window sticker kits but I can’t find anything on how to order can you help me
Hi Kaye, I’m sorry, these are sold out.