Live a better life
with the healing, wellness, and joy of plants
– Featured in –


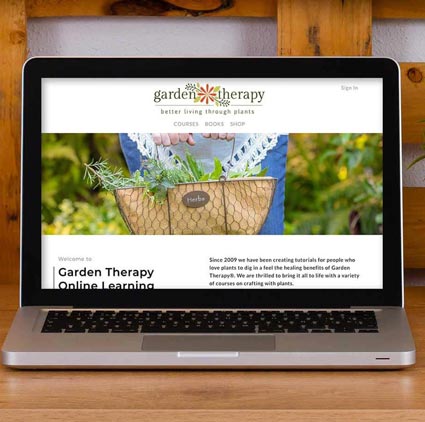
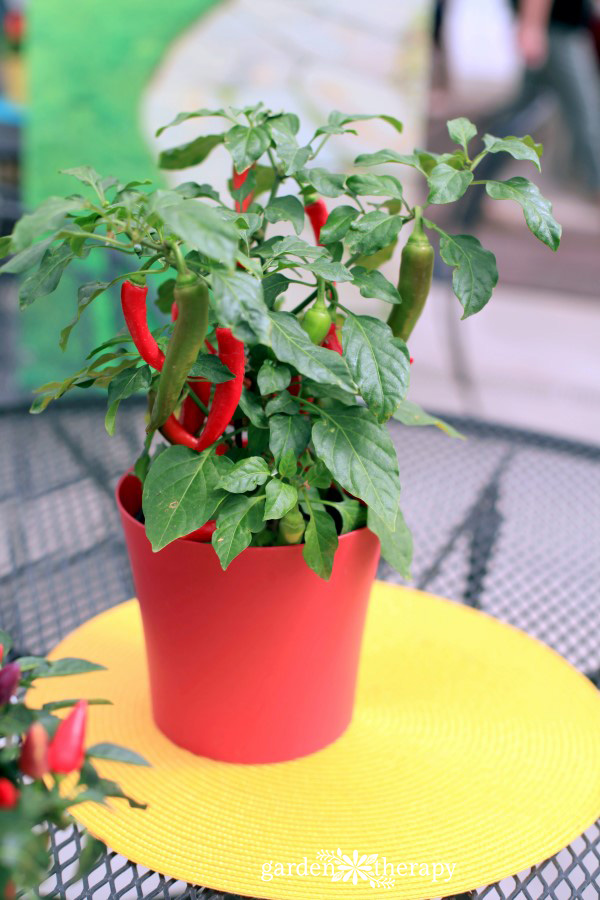
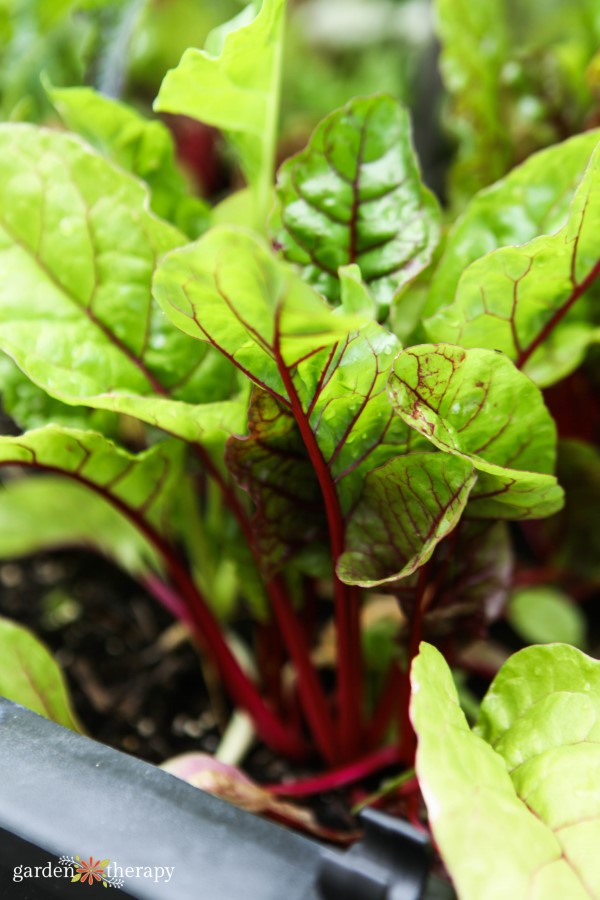
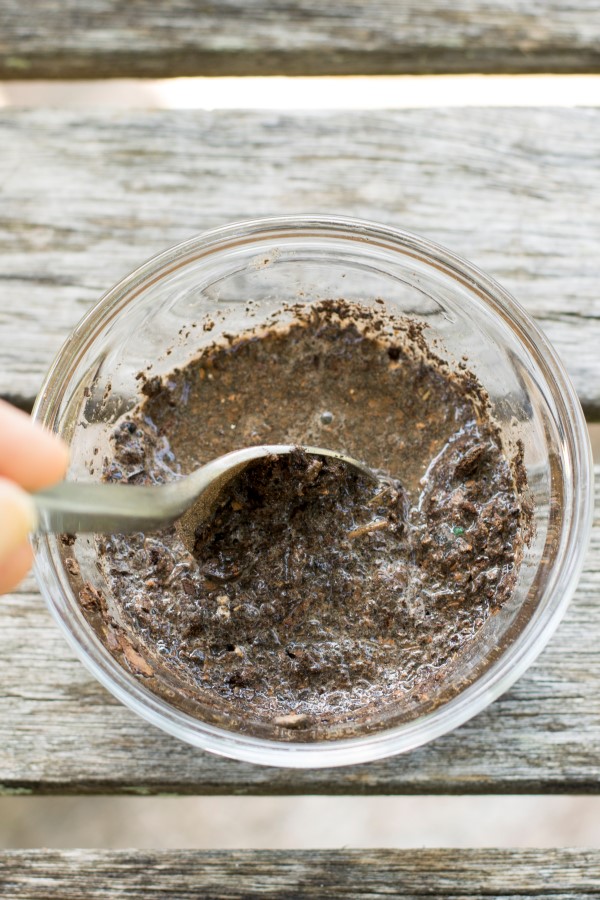
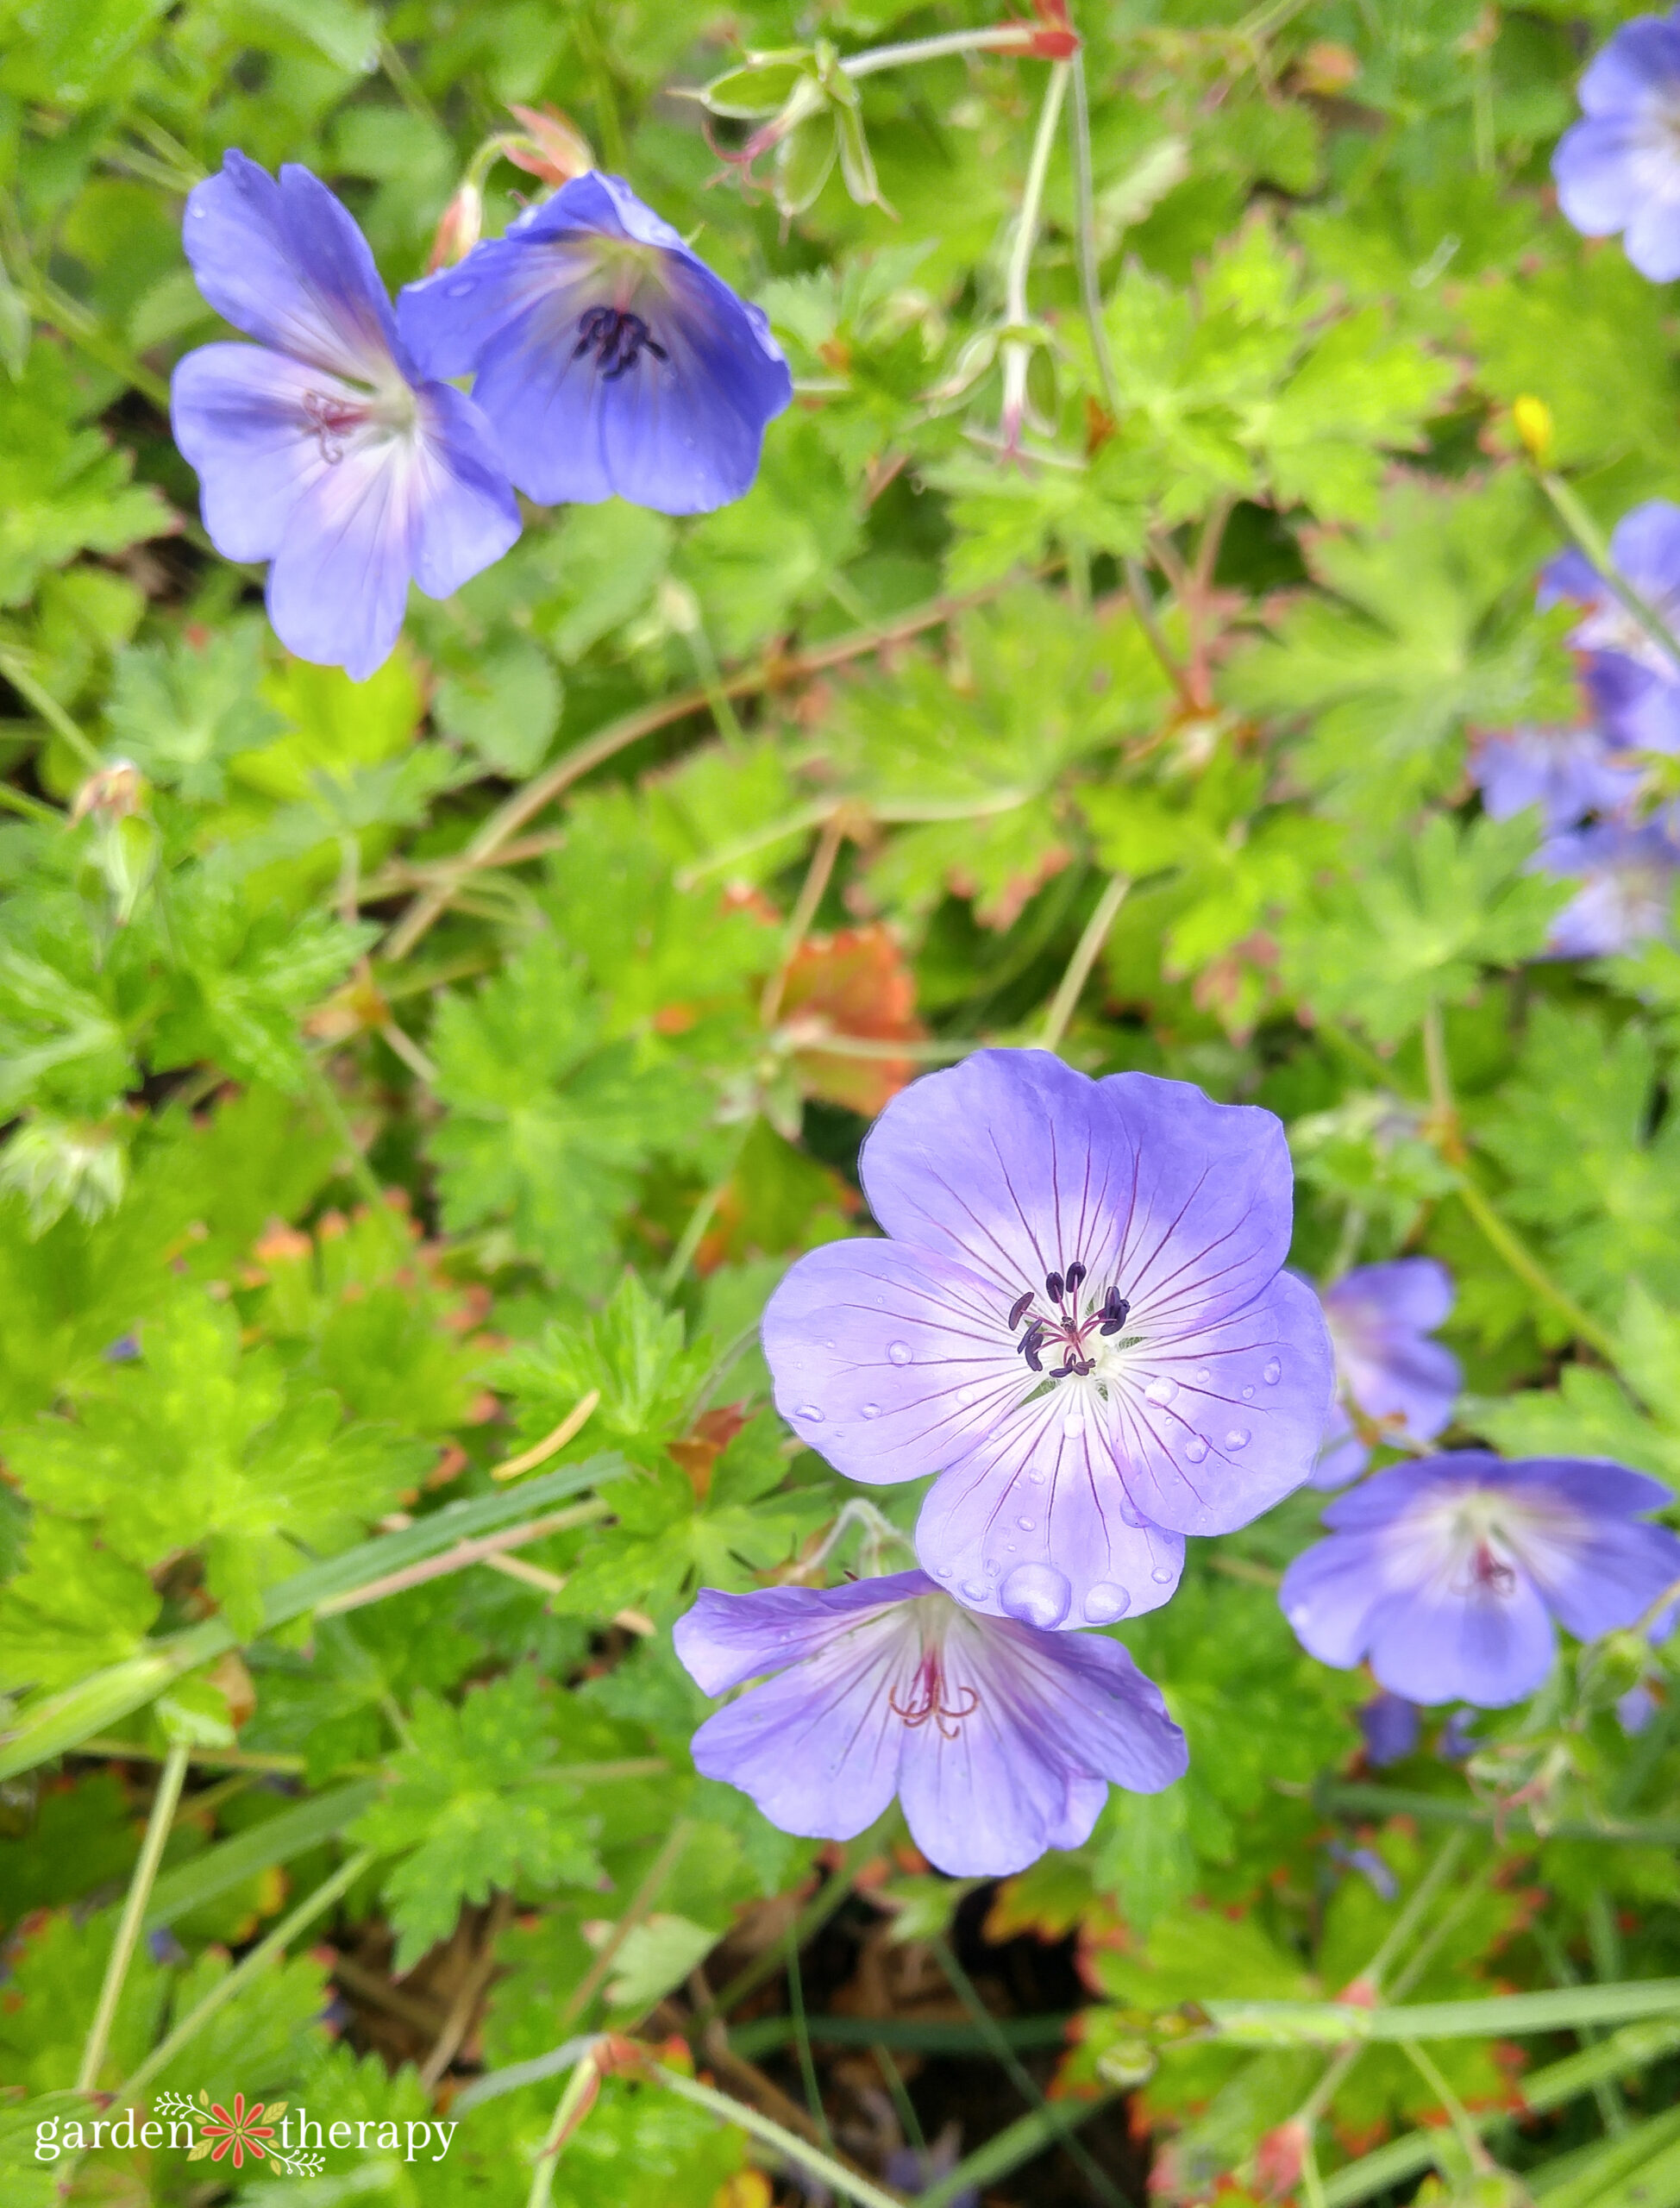
What’s in Season
Discover creative gardening projects, DIY projects, garden tips, growing guides, plant-based beauty recipes, food, and crafts related to the garden.
Whether you’re looking for seasonal gardening and recipes or garden-inspired crafts and decor, we have it all handpicked for you. Here is what is blooming right now on Garden Therapy…


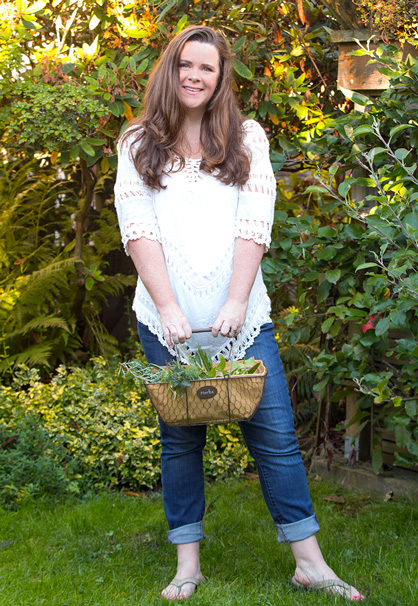
I started gardening as a way to heal from a debilitating illness and it changed everything in my life.
It drove me to dig deeper into how working together with plants can help us all cultivate a better life.
Fast forward to today where my mission as a Permaculture Designer, Herbalist, and organic gardener is to share this with everyone who needs a little (or a lot) of Garden Therapy® in their lives.
Here you will find garden projects and recipes that break down barriers and allow anyone to develop a love for plants, no matter their ability, knowledge, or garden size (or lack of one).

Here’s a little more of my work

Books
11 Published Books FULL of Creativity and Inspiration

Courses
Join One of My Courses, Workshops, or Webinars

Speaking
On Gardening, Permaculture, Herbalism and MOre

Events
Event Host, TV/Radio Guest, Or Print/Podcast appearances
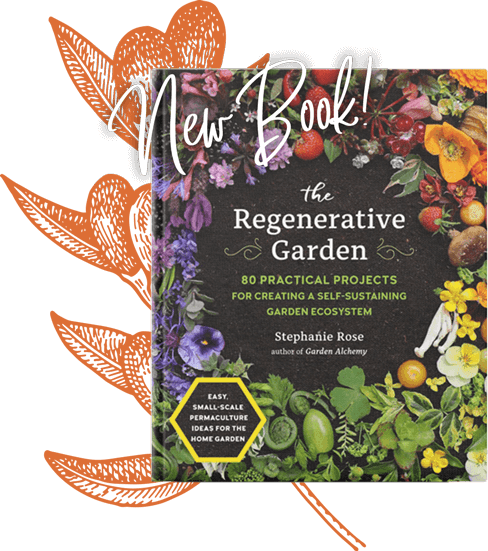
THE
REGENERATIVE GARDEN
80 Practical Projects for Creating a
Self-Sustaining Garden Ecosystem
Discover how to work with nature, instead of against it, by employing permaculture techniques to create a garden that is not just more beautiful and productive, but also more resilient.
Natural skincare
made easy!
This FREE 5-day mini course will teach you the small changes you can make to your skincare practices that will make a HUGE difference in how you feel.
I want the free course!Kickstart
your garden!
This FREE 5-day mini course will help you set up a thriving garden for wellness and joy, quickly and easily.
I want the free course!Learn and Live
with Nature

SHOP BOOKS