What better way to preserve the beauty of summer blooms than by pounding them with a rock onto fabric? It might sound a little odd, but flower pounding is my new favorite thing!
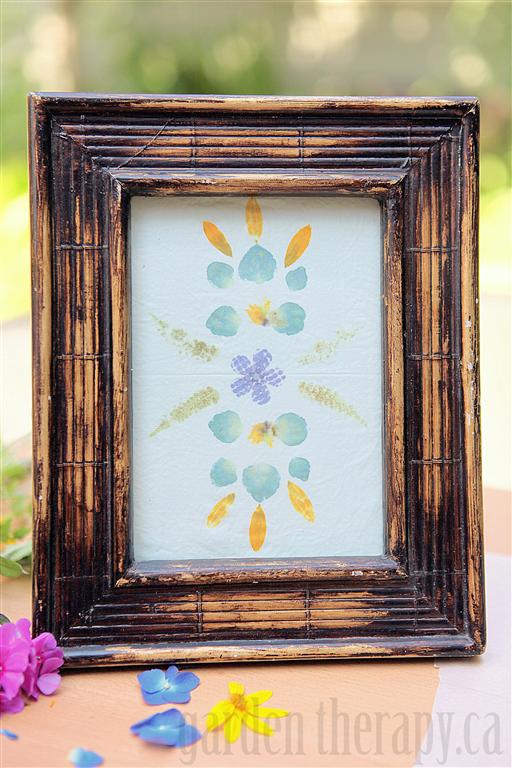
I know that’s the first thing I think of when looking at a gorgeous flower. “Hey, I think I’ll smash this with a rock.” Okay, I may not have naturally come to this idea, but when I had the chance to try it at a summer event, I was hooked. This project is a lot of fun to do with kids and it will help you bang out some old frustrations as well.
Flower pounding is a fun and easy way to create botanical prints on fabric. The flowers and leaves dye the fabric and leave a pretty, colorful imprint behind. What you design is up to you!
Materials:
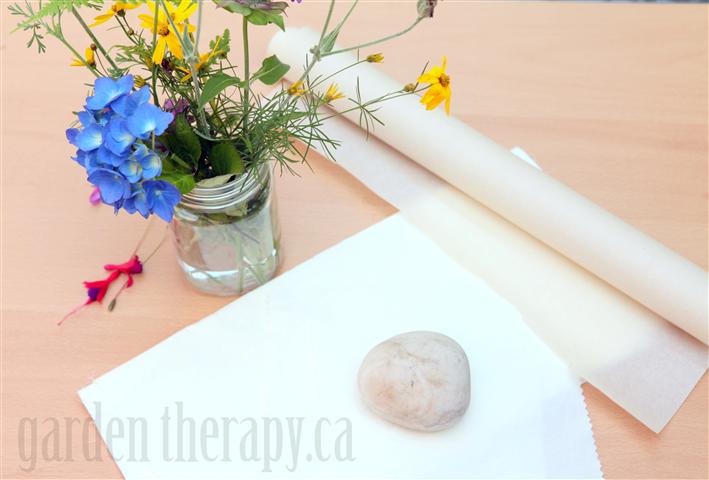
- A collection of flowers and leaves – experiment with what you find and collect
- A rock or hammer
- Wax or parchment paper
- Alum
- 100% cotton fabric
- A hard surface
Make it!
1. Prepare your fabric by dissolving 3 tablespoons of alum per litre (or quart) of hot water. Stir until dissolved and add fabric. Allow fabric to cool in the alum bath, then remove and dry in a dryer or by hanging.
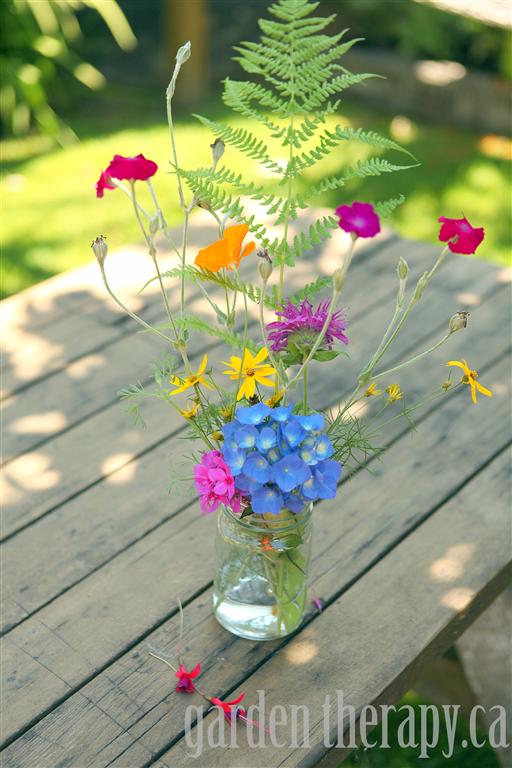
2. Collect your flowers: head out to the garden and search for your dye. Small, multi-petaled flowers work best but gather a few large rose or poppy petals and give those a try as well (begonias also work great). Practice with all different kinds of natural elements until you find the look that you like.
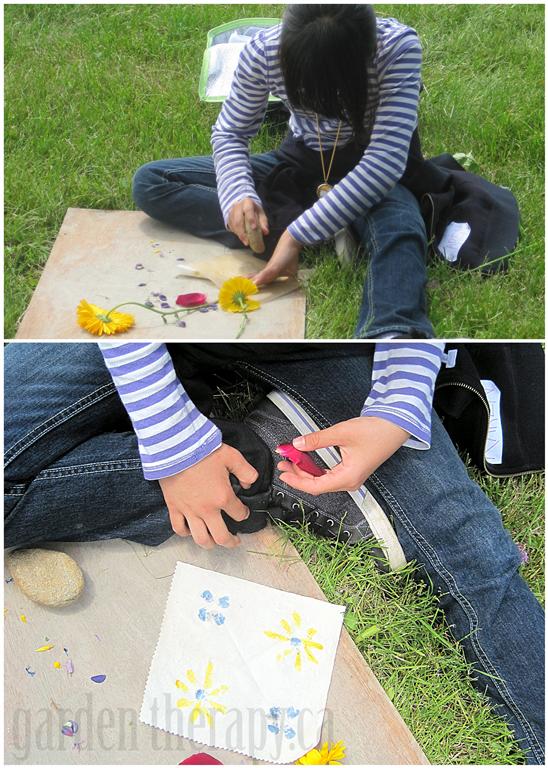
3. Lay out a piece of parchment on the hard surface. Cut a piece of the treated fabric and set your petal design on one half of it. When you are happy with your design, fold the fabric over to sandwich the petals between the two halves of fabric. Cover with another piece of parchment and it’s time to start flower pounding.

4. Hold the fabric firmly in place and start hitting the petals with the rock. You will quickly see the dying that is taking place. Continue until you have the amount of pigment transfer that you like.
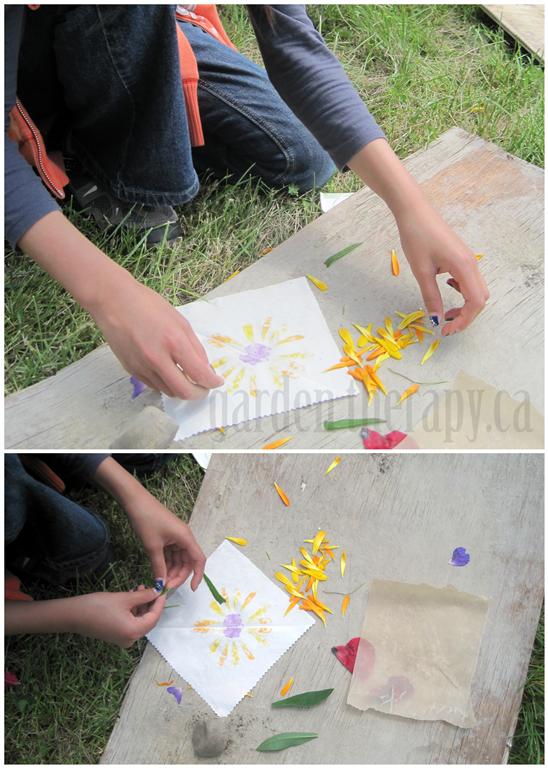
5. Use different tools to get patterns to the dye. Try a hammer with a stippled head to make a polka dot pattern on the petals.

6. When you are happy with your finished creation, set the dye by ironing it on the highest setting for 5 minutes.
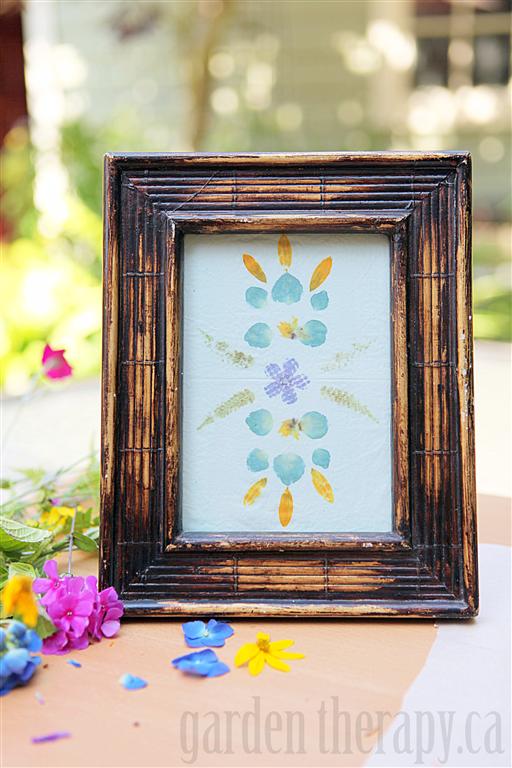
7. Use your new flower pounding fabric art in sewing projects, quilting, or frame as a wall hanging. I think this would be a perfect project to dress up napkins and tea towels. It would make a wonderful gift in a set of two or four.
Thanks for visiting Weekend Project #44 – wow, almost a full year of projects. Check them all out and find even more DIYs that are right for you.


Lovely! What is the alum for–does it help preserve the colors?
Kathi, yes, you need the alum for the pigment to stay permanently on the fabric. Thanks for visiting!
That’s just beautiful! Thanks for sharing!
Thank you so much for sharing this tutorial. I tried this technique a few weeks ago on my own and wasn’t really happy with the results. But after reading your tutorial, I can see where I went wrong! Can’t wait to try it again!
That’s great, Tiffany. So glad I could help.