Green roofs are all the rage right now but why should we humans have all the fun? In this Weekend Project you will learn how to make a removable, plantable roof addition to a standard cedar birdhouse. Adorable.
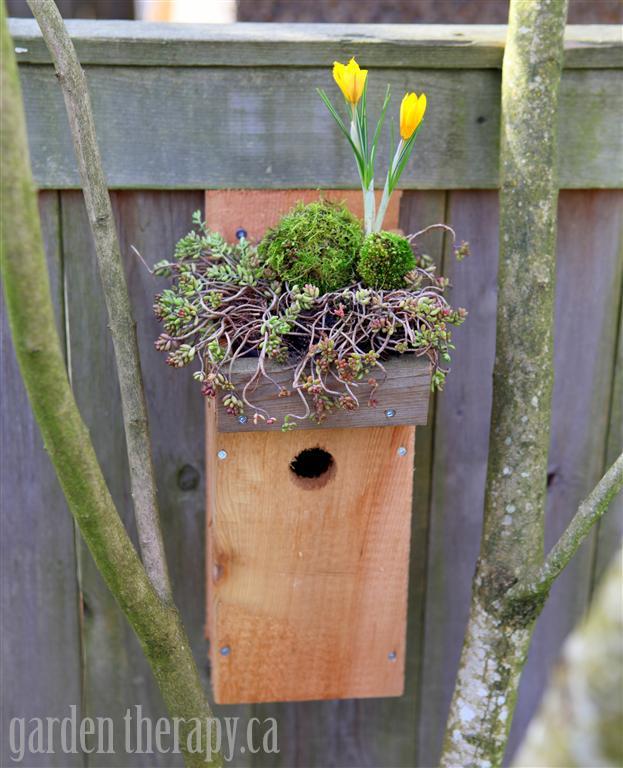
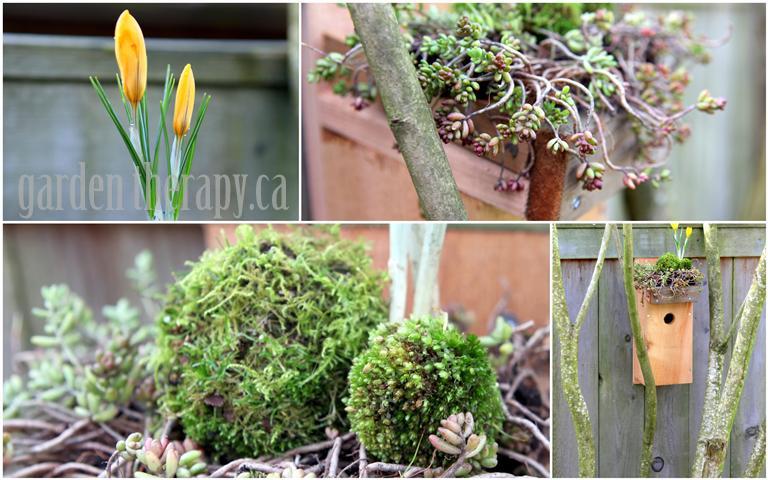
My husband is a hobbyist woodworker. Lucky me, right? And since we were talking about setting up some nesting boxes for our chickadees, he found some plans online, bought some wood, and then a few hours later we had this beautiful little birdhouse.
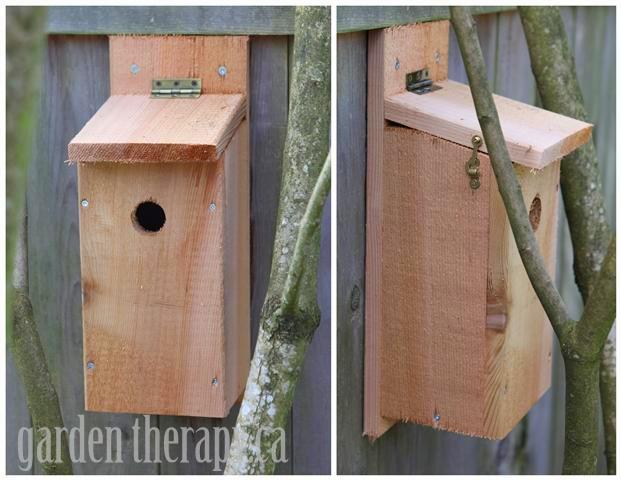
Gorgeous and perfectly made, with vent holes for the bird family’s air circulation, and the rough wood facing in so the fledglings can crawl up to the perfectly-sized hole for their first venture out into the world. Oh, and it has a hinged roof so that you can peek in on them <ahem> clean the birdhouse at the end of the season.
Me: “Great birdhouse, Honey. Let’s make a green roof for the birdies.”
Husband: “Um, ok, well….but if we put a green roof on it we won’t be able to lift it up to look clean inside.”
Me: “There has to be a way. We can figure it out, right?”
Husband: “Um, yeah…”
If you speak husband like I do then you know that basically means, “I don’t know what you’re up to, Crazy Woman, but I’m not touching that birdhouse”. So I waited for him to go to work and I got busy building this fabulous removable plant tray that acts as a green roof. Want to make one too? Here’s how: (If you don’t see the tutorial, please click ‘continue reading’.)
Materials:
- Chickadee and nuthatch nesting box (made from these project plans, thank you 50 birds.com)
- Hand saw
- 2 ½” x ½” cedar board
- 1 ½” x ½” cedar board
- Drill / screwdriver & wood screws
- Plastic container, scissors
- Drought-tolerant, shallow-rooted plants like Sedum album.
Directions:
1. Measure out the ledge which will sit at the front of the roof and hold the plant tray. Cut the 2 ½” cedar board to the exact dimensions of the front of the roof. Affix the ledge onto the roof edge with wood screws as shown.
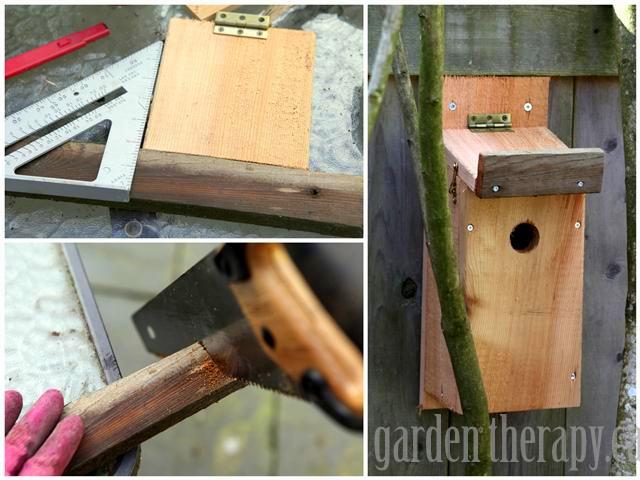
2. Cut a plastic container to the height of your wood boards, in this case it is 1½”.
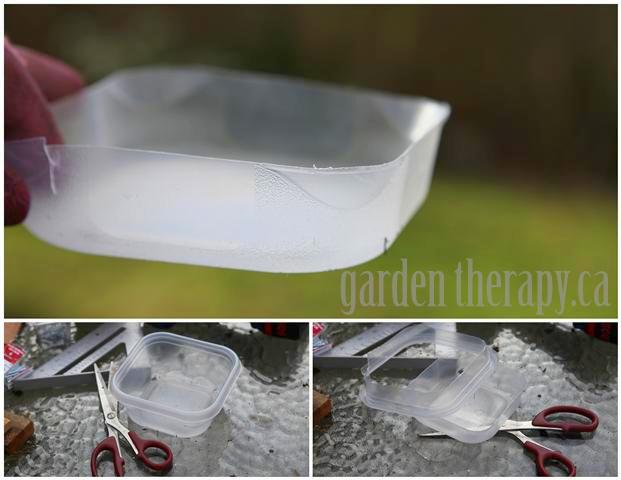
3. Measure and cut the smaller cedar board so that they fit in between the roof ledge and the back of the feeder. Affix the two cut boards to the plastic container with shorter wood screws.
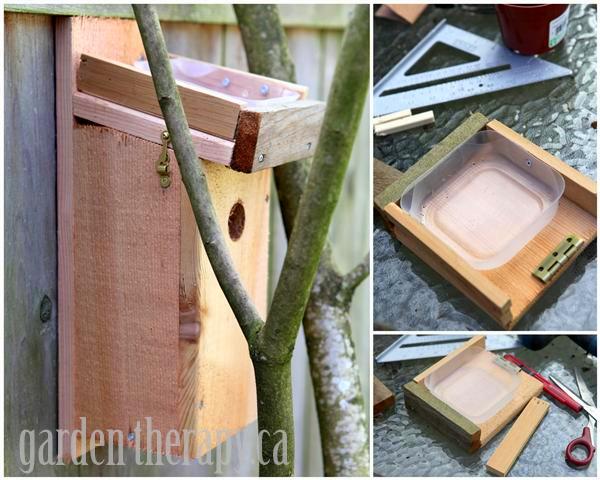
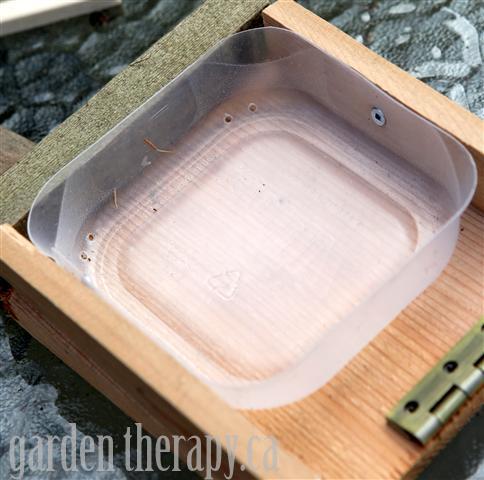
4. Drill a few drainage holes in the front corners of the plant tray. This will ensure the water will drain off the roof corners and keep birdies dry.
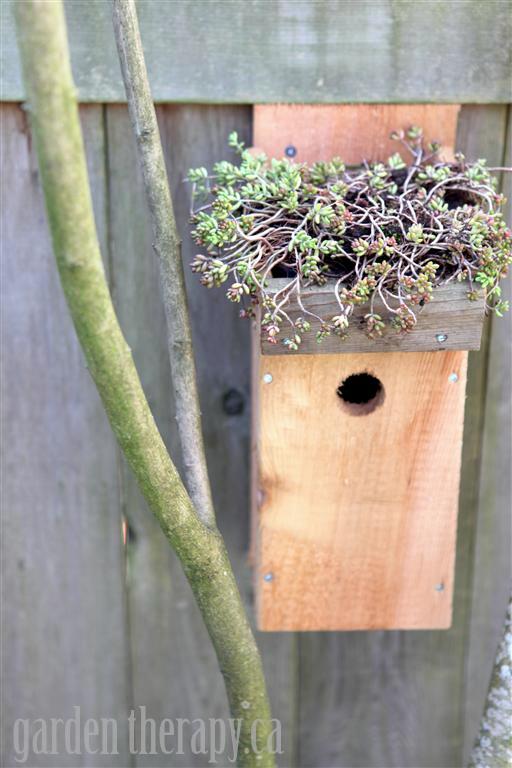
5. Add some container potting mix to the plant tray and fill with plants that work with the conditions the house will be set in. The bird house shouldn’t be somewhere too sunny or too high traffic which is why we placed it under the shade of a lilac. You won’t want to disturb the little bird family by watering so choose drought-tolerant plants that have shallow roots. This Sedum albumis very winter hardy, has a solid net of shallow roots, and those rubbery little leaves hold onto lots of water so it will naturalize there nicely. It will also start to grow long tendrils in the summer that will hang down the sides, get a mess of yellow (or white) flowers in the summer, and turn reddish in the fall and winter.
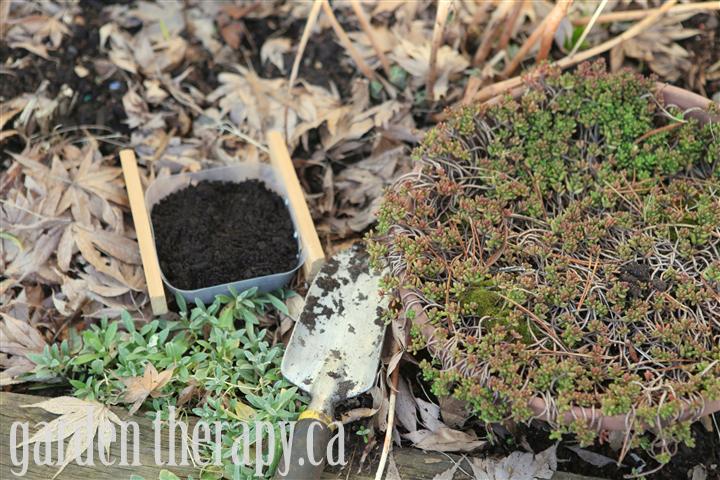
6. Give the plants a good water to get them started and slide the planting tray to the roof. You are now ready for the birds to move in.
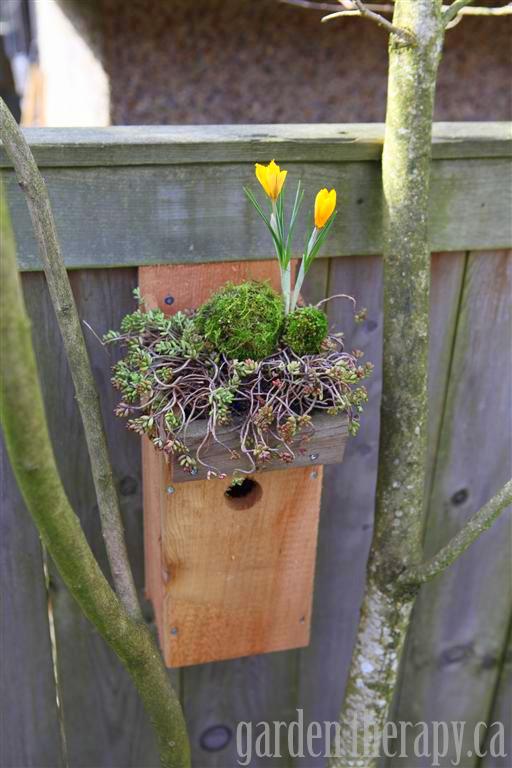
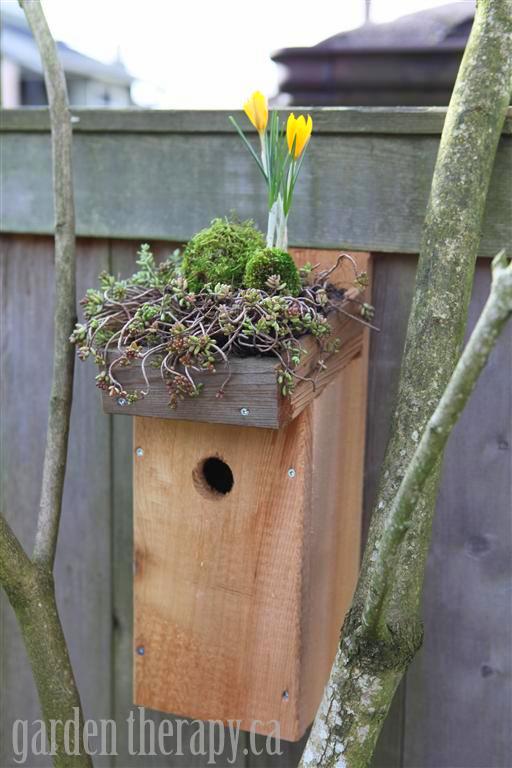
6 b. If you are like me and feel that while the Sedum album is growing in it need a little je ne sais quoi, then add a few garden decorations. I used some blooming crocus and some balls of moss. Snowdrops would also be really nice as well with a selection of hens and chicks or other sedum, mosses, or creeping plants.
On a final note, please make sure there is some food and water in your garden for the birds when the move in as they don’t like to travel far to forage when nesting. Also, I really was kidding about looking in at the birds. If you don’t want to stress them and have them abandon the nest, no peeking! Just admire the little guys from afar.
Thanks for visiting for the weekend project. Also check out this project and the other great features on Common Ground’s Vintage Inspiration Fridays.


Comments