In addition to working on garden projects outside, I often find myself bringing the outdoors in. Whether it’s through terrariums, coat racks, or coasters, the garden provides much inspiration for indoor decor. Given my evident dedication to all things nature, it wasn’t much of a leap for me to choose a woodland theme to decorate the nursery.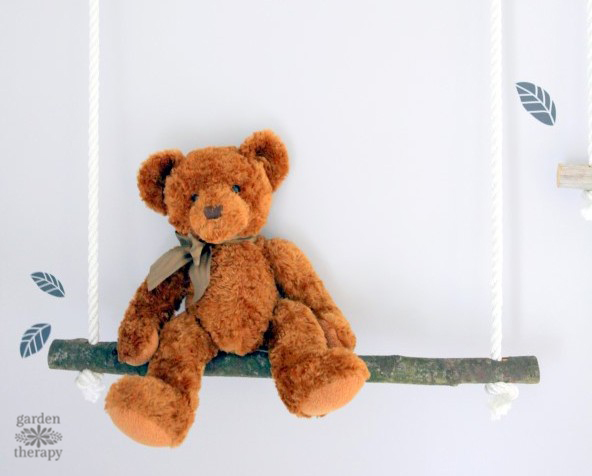
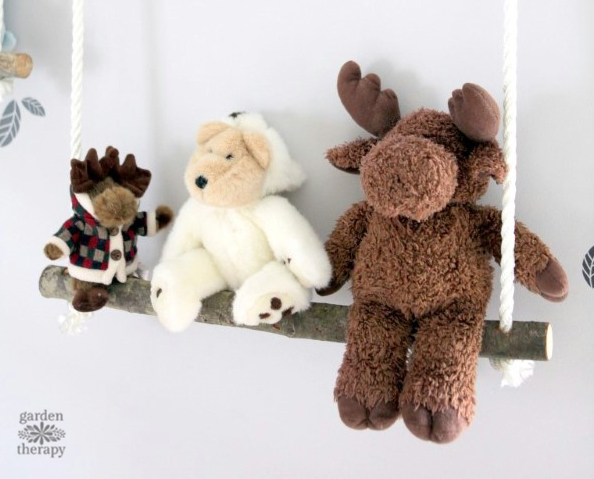
I went all out with a variety of fun projects because I’m well aware that very soon there won’t be nearly as much time on my hands. The first project was to create shelves, or swings, out of branches for all the stuffed toys. This was a fairly simple project, at a very low cost, that looks like a million bucks!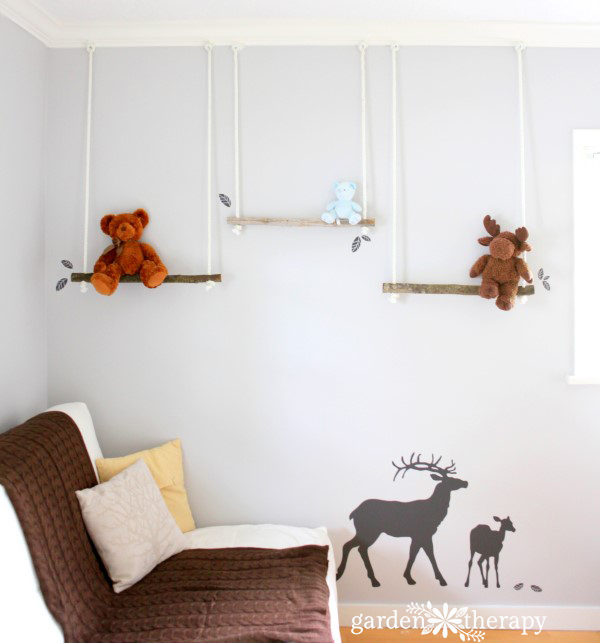
Want to make your own? Here’s how:
Materials
- 1 1/2″ – 2″ diameter branches
- Hand saw
- Electric drill with various size bits
- Solid 5/8″ braided rope
- Masking tape
- Screws
Make it!
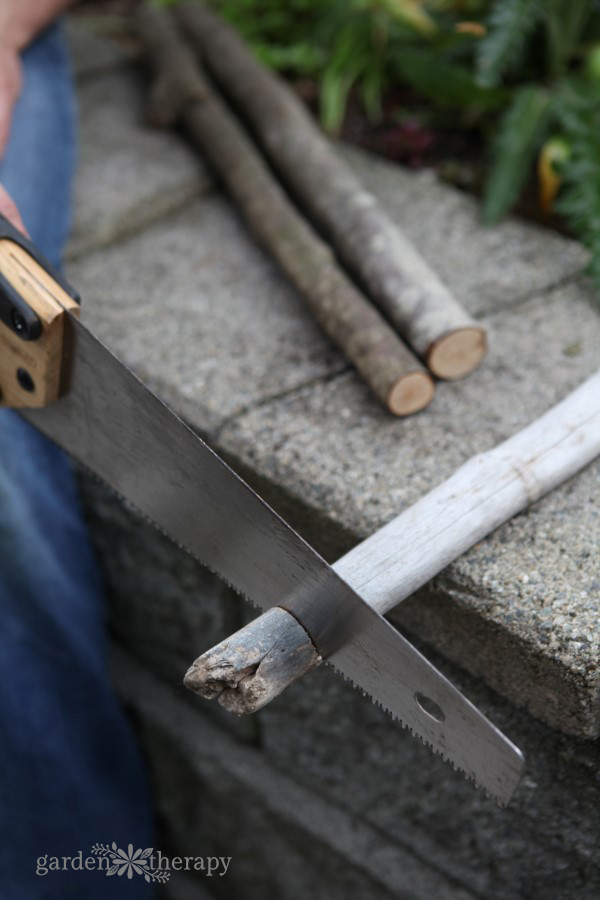
- Choose branches that are fairly straight and even in diameter and cut the ends with a hand saw to the desired length. It’s best that you choose dry wood for this project, so if you collect some fresh branches, let them dry first. Two of my branches came from this tool box kit that I bought from Funky Junk Donna and the other is a piece of driftwood.

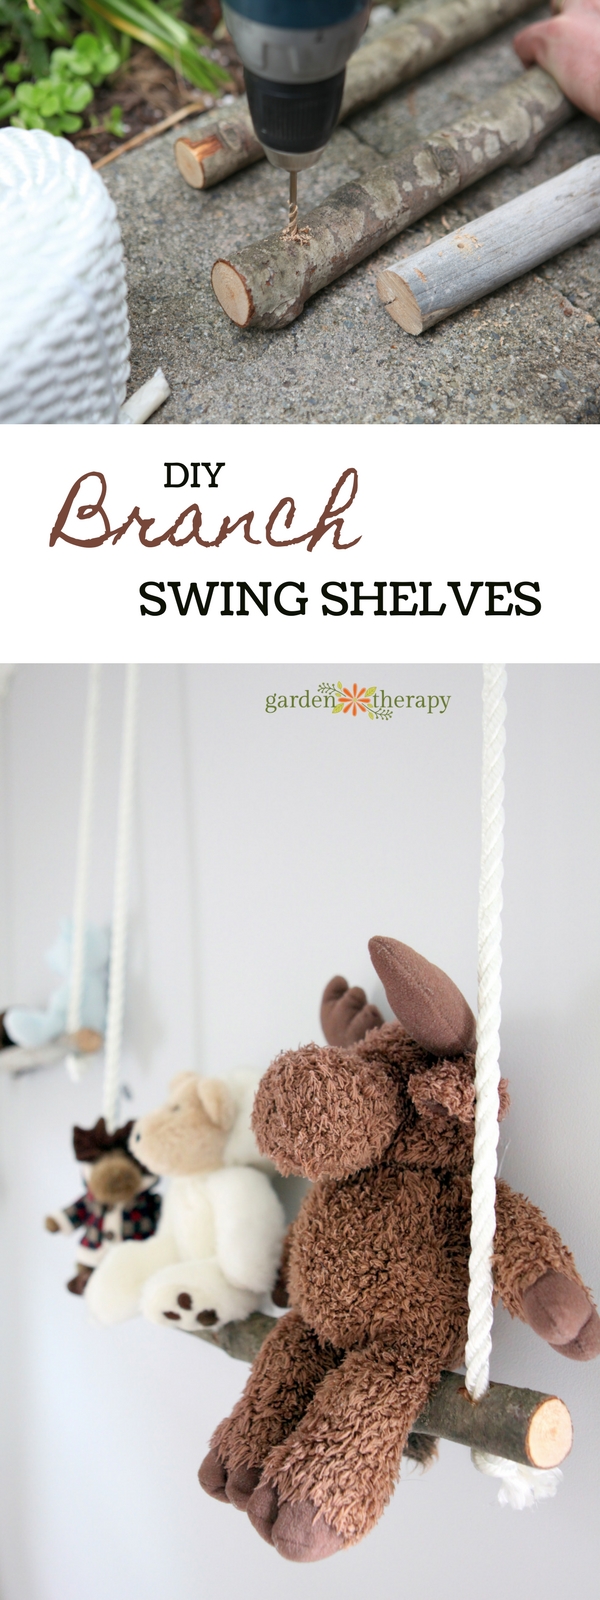
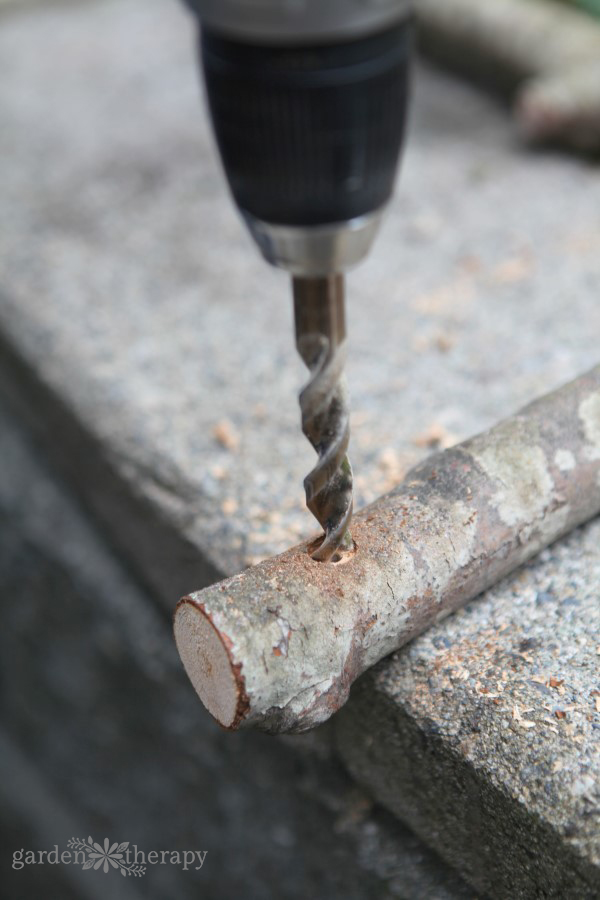
- Using a small drill bit, drill a pilot hole through both ends of the branch, about 2″ from the end.

- Using a larger drill bit, drill a larger hole through the end where you made your pilot hole. Keep making the hole larger until you have enough space for your rope to feed through.
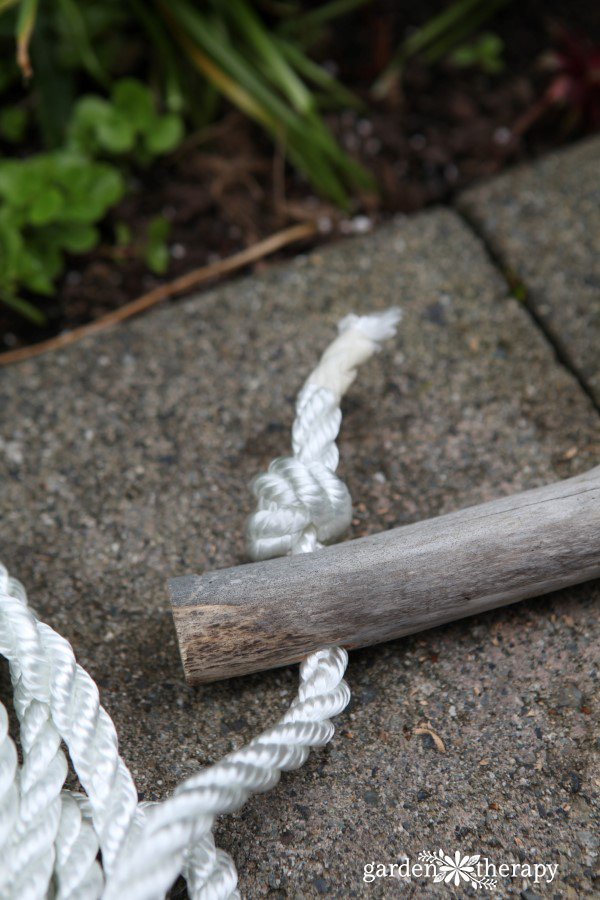
- Cut the rope to the length that you want to hang the swing, then add about 14″ to accommodate for the knots at the ends. Wrap masking tape around the end of the rope to prevent fraying and allow you to smoothly feed the rope through the branch.
- Thread two lengths of rope through both sides the branch and tie the ends in knots.
- To hang, insert screws through the top knots and use the drill to secure them into the wall near the ceiling or moldings. Please note that while they are screwed into the wall, they are only held by a knot in the rope. If you pull on one it will come down. If you are securing these to walls where there are young children, ensure that they will break away with a little force. I don’t intend for mine to hold anything heavy, so if a little person grasps on, they are going to release from the wall.
- Adjust the height and level of the swings by adjusting the bottom knots until you are happy with the look. Remove masking tape and fray the ends of the rope a little.
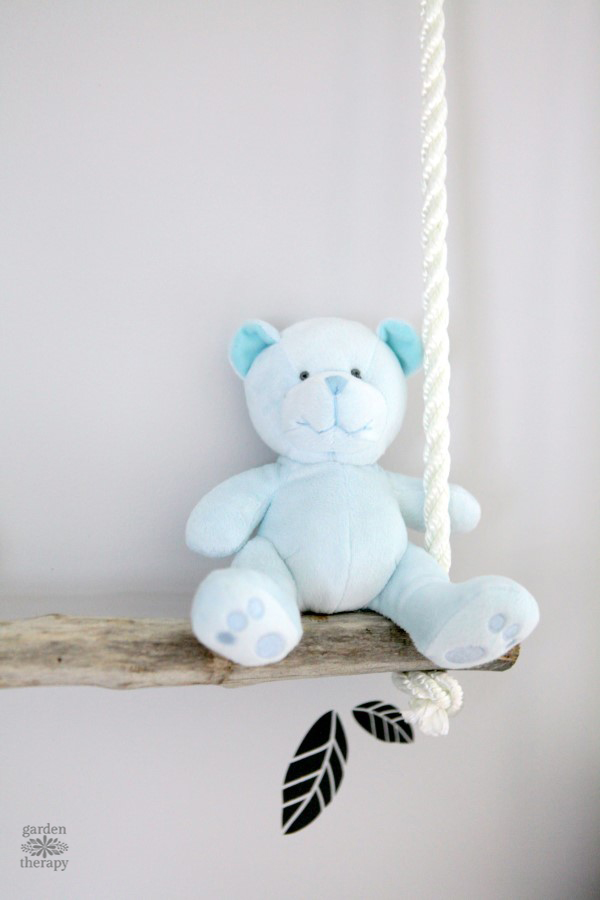
- Style branch swings by hanging stuffed toys, hats, clothes, books, magazines, or artwork. Personalizing and changing the swings will keep them fun and fresh.


A Note on Safety
As with any DIY project, you have to use your own judgement on what is right for you and the safety of your family. What’s right for a room in our house may not be for yours, but in the event that you want to add these cute branch swings to your decor, please note the safety precautions that we have taken to make sure they are not dangerous.
This project was created in the nursery for a baby boy that has not yet arrived and we will have lots of time yet to baby proof the room. I decorated this room for me this round but soon our boy will have it filled with trucks and trains and the boring woodland creatures will probably get boxed up. Once the little monkey starts to climb and explore, then that’s when the branch swings will get packed up with the animals.
In the meantime, I just love them and think that the room is a peaceful space that is perfect to welcome our little one. 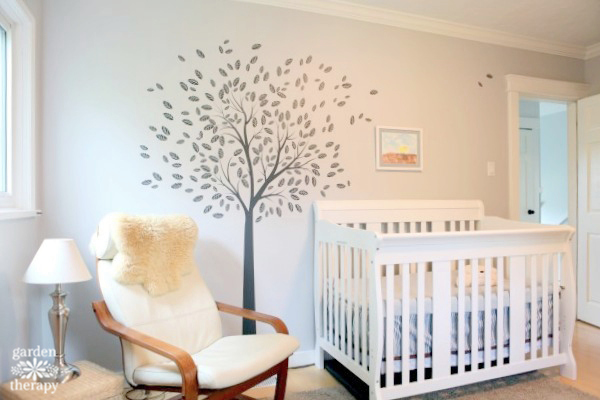
Want to see the rest of the room? Check out the Urban Walls blog for the full woodland nursery reveal!
A city girl who learned to garden and it changed everything. Author, artist, Master Gardener. Better living through plants.


Thanks!!! I love it <3
Wow! I love this idea!!!
This page really has all of the information and facts I needed about this subject and
didn’t know who to ask.
Awesome idea!