If there’s one ingredient that’s universally used in kitchens everywhere, it’s garlic! Why not start growing your own right at home? Growing garlic is simple, and while it does take a bit of time to do, the results are well worth it. Here’s how to grow a garlic plant from a bulb both outside and indoors, with no vampires slaying necessary.
It’s not quite Halloween, but now’s the perfect time to think about naturally vampire-proofing your garden…with garlic! Planting garlic around the perimeter will protect your veggie beds from getting trampled by nighttime intruders who vant to suck your bloooood. Follow along to learn how to grow garlic out in the garden and even indoors.
This post will cover…
- When to Plant Garlic
- How to Plant Garlic from a Clove
- Choose Your Bulbs
- Site Selection
- Soil Preparation
- Planting Garlic
- When to Harvest Garlic
- How to Grow Garlic Indoors
- How to Grow Garlic in Water
- Frequently Asked Questions About Garlic Plants
- More About Garlic
When to Plant Garlic
In all seriousness, it’s a good reminder to plant garlic when you start thinking about Halloween. At least, that’s the case here in Vancouver where the best month to plant garlic occurs between mid-October and mid-November.
If you live elsewhere, a good rule of thumb is that garlic should be planted between three and six weeks before the ground freezes. This ensures that there is enough time for the roots to develop. The moisture and cold of the soil will wake the bulb from dormancy and start this process.
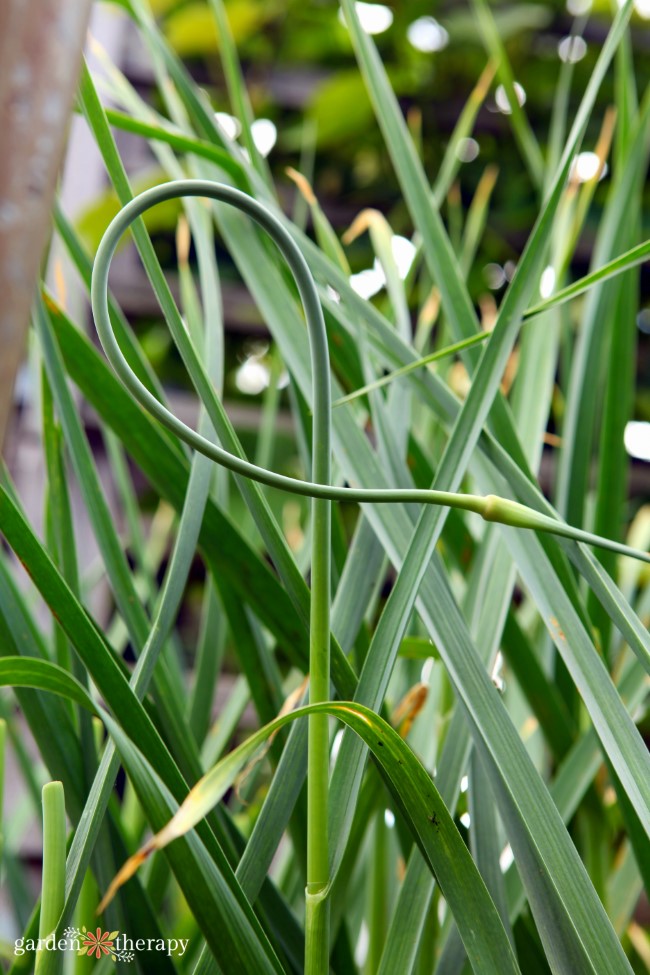
After that, growth is slow and a thick skin (figuratively) is necessary to make it through the winter. Next spring, the leaves will sprout and grow until harvest time next summer. Garlic can soon be a part of your summer harvest. You’ll be cooking with garlic scapes before you know it.
How to Plant Garlic from a Clove
Yes, all you need is one little clove to get started! Here’s how you can start your garlic plant using a clove or split a whole bulb for multiple plants.
Choose Your Bulbs
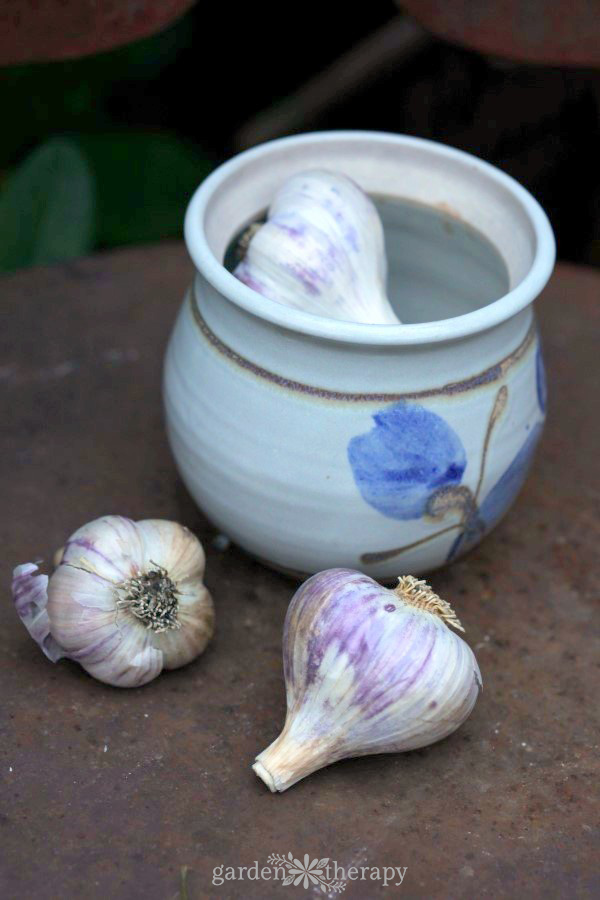
When planting garlic in your garden, it’s best to use heads grown specifically for planting. Unfortunately, garlic bulbs purchased from the grocery store can carry disease or be treated with chemicals. Both of these can be difficult to remove from your soil once planted.
Instead, buy the heads from a reliable source like a seed company or farmer’s market vendor that you trust. I also do this when saving heirloom tomato seeds.
Site Selection
Garlic plants like a sunny location and need only enough room for the bulbs to reach full size. Space plants around 6” apart, and they should have enough room. Space them a bit farther apart for large bulbs and closer together for smaller ones.
Garlic is perfectly situated when planted at the back of a border or vegetable garden. When selecting a location, keep in mind that the bulbs won’t be fully matured and ready for harvest until summer.
Soil Preparation
Get the soil ready for planting by mixing in some yummy compost, then covering with a layer of good quality topsoil. Garlic plants will do well in loose, nutrient-rich soil with good drainage. I mixed in my own compost and topped it off with SEA SOIL, high-quality topsoil made of composted bark and fish waste.
Planting Garlic
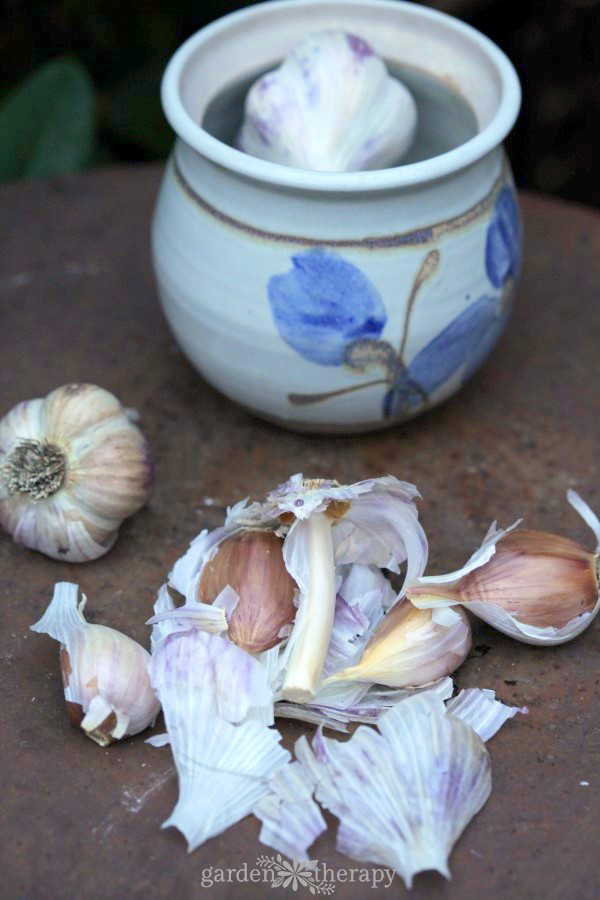
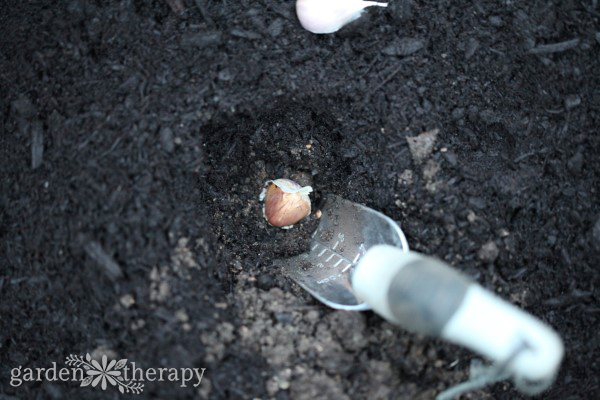
Break apart your garlic head into cloves just before planting. This ensures that the nodes at the bottom don’t dry out and can set roots quickly.
Each clove will have a pointy end where the stem and leaves will grow from and a wider, flat part on the bottom. This bottom part is where the roots will form.
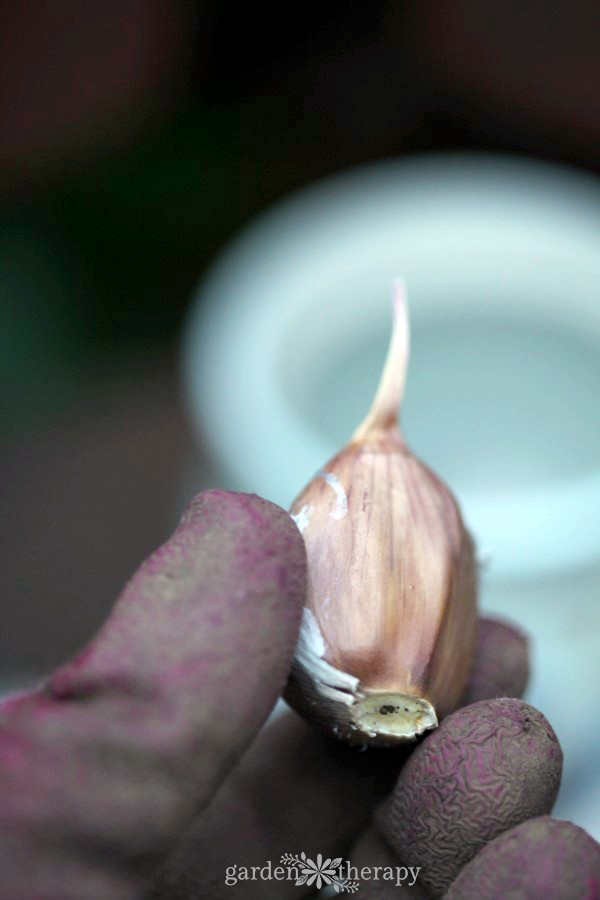
Dig a hole and plant the clove tip-side up so that the tip is 2” below the surface.
Cover with soil and mulch to conserve moisture and nutrients over winter. A good mulch for the winter is a layer of leaves covered by a layer of cardboard. Just don’t forget to remove the cardboard in early spring so the leaves and stems can grow up through the soil.
When to Harvest Garlic
Garlic plants take around 7-8 months to grow, so they are ready to harvest in the summer after a fall planting.
You know the garlic is ready when the greens on top begin to brown and the flower stem feels soft. Stop watering the garlic for about a week until the soil has dried out, making it easy to remove your garlic.
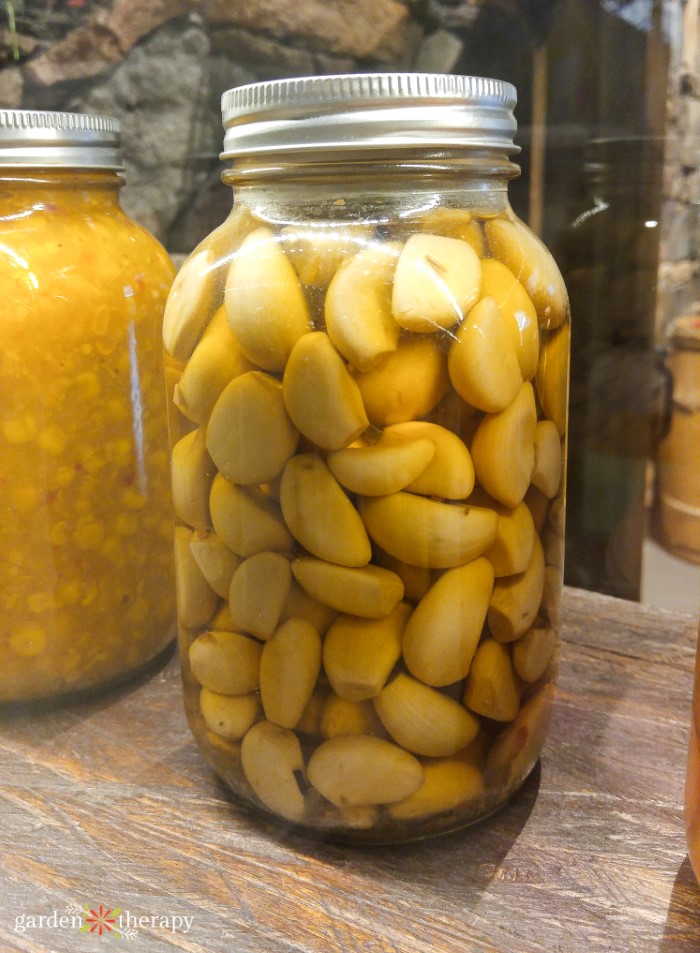
To make sure your garlic stores well, you will want to cure it. To do so, hang it in a cool and well-ventilated location for a couple of weeks. You’ll know it is finished curing when the plant is completely dry to the touch and has that outer papery layer on the bulb.
Keep some of the largest bulbs to replant in the garden for the fall for an endless supply of garlic. Alternatively, you can also grow your garlic as a perennial. Leave the bulb in the ground for a few years rather than harvesting it. After 2-3 years, you will see a patch of garlic shoots.
Eventually, they will progress into garlic scapes. You can also divide the plant and then harvest the bulbs just like I just talked about!
How to Grow Garlic Indoors
If you don’t have access to a garden or don’t want to wait until next summer to enjoy your garlic, you can learn how to grow garlic in pots. In this case, you can grow garlic greens and you may even get some bulbs too.
If you want to grow bulbs, you will need to refrigerate the garlic for at least 40 days to give them that cold burst. You can skip this step if you’re just looking for greens.
To grow your garlic plant, you will need to break up the cloves just like you would for the garden. The biggest clove will give you the best plant!
Since it has shallow roots, you only need a pot anywhere from 6-12” deep. Make sure to choose one that has drainage holes! Use an indoor potting mix and plant with the pointy side up 2” under the surface.
You can use a liquid fertilizer to help speed up the process, applying it every two weeks. Place the garlic in a sunny spot in the house where it can get full sun if possible. Avoid overwatering as it can rot the bulbs.
After a week, you will see the shoots emerge. 2-3 weeks later, the leaves will be ready to harvest. If you want to grow bulbs, leave the leaves to help produce energy for the growing bulbs. The bulb will take a few months to grow, ready when around half of the leaves have turned brown.
How to Grow Garlic in Water
How easy is it to just plunk some garlic in water and call it a day? If you have garlic greens in mind, you don’t even need to plant your garlic cloves. Softneck garlic is the easiest for growing garlic greens, including Korean Red, German Red, Spanish Roja, and Duganski.
To sprout your clove, wrap it in a damp paper towel and place it in a warm spot. After about two days, it should sprout. Move the clove to a clear container and let it sit with the shoot upwards. A shot glass is an ideal size for a single clove. Fill the glass with water so that it covers a little less than half of the clove.
Once again, place it on a sunny window sill and replenish the water as needed. After about a week, you can begin to harvest the greens when they are 4-7 inches tall. Snip off the top third for the best taste. Enjoy your garlic greens just as you would green onions, with a slight garlic taste.
Frequently Asked Questions About Garlic Plants
Garlic is typically planted between mid-October and mid-November. When I see the Halloween decorations go up, I know it’s time to start planting garlic.
Depending on where you live, this timing can change. Ideally, it needs to be planted 3-6 weeks before the ground freezes. This allows the bulb to develop roots before winter strikes.
Garlic takes 7-8 months to grow. This is why planting in the fall is ideal for harvesting in the summer. However, you can plant it in the spring as long as you get it in the ground as soon as possible. Garlic planted in the spring won’t get as big as those planted in the fall since it doesn’t have that early jump start. The harvest will be ready in late summer to early fall.
More About Garlic
Next summer, your garlic will be in full swing and ready to be harvested. You can first cut the scapes and use them in recipes, then harvest the bulbs and dry them. Bookmark these posts in the meantime:
- Garlic Scapes: Grow it! Eat it!
- How to Braid Garlic
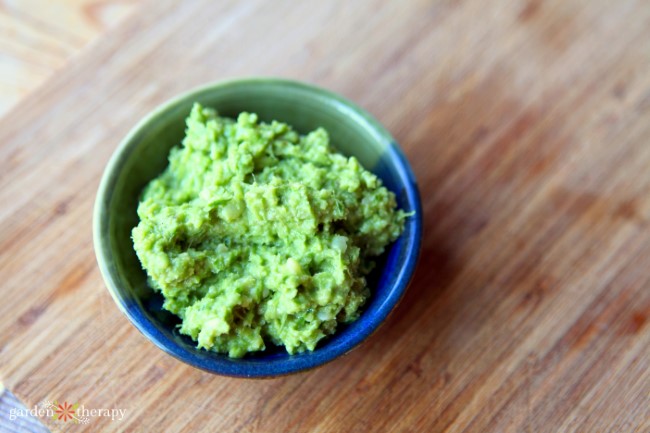
- Garlicky Spinach and Kale Butter
- Tuscan Kale with White Beans & Roasted Garlic


Will planting garlic in my yard keep the gophers and moles away?
Hi Alicea, I posted your question on our Facebook page and the community reports that no, garlic will not keep critters away. Just vampires.
What if I live somewhere where the ground doesn’t freeze? Can I still grow garlic?
Excellent post! I love the clever title. :) Do you ever let your garlic go to seed for the pollinators? Does that affect taste? I’d love to have you join us at the 2017 Capital Region Garden Bloggers Fling. Check out my website for more info: http://ts-casamariposa.blogspot.com/
Great tutorial!! I didn’t know garlic was planted right before a freeze.
I was wondering if garlic will come back year after year if it isn’t dug up. I am looking to try to possibly use it as a barrier around my year, to help with ticks. I am looking into using other plants as well. We live in a very high tick area with lyme disease being very high. I know there are no guarantees, but anything I can do to help prevent or discourage them from coming into my yard would be great. I don’t know if it would work or not.
love the post, especially the section on bulbs.