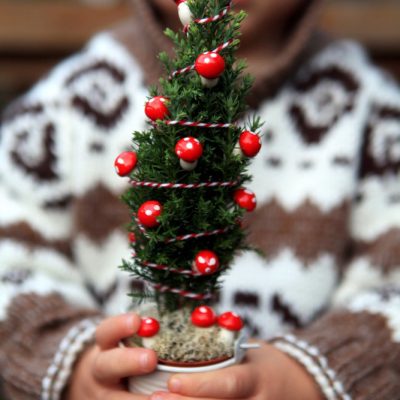
A Real Miniature Christmas Tree for the Gnomes
Forget the birds, this sweet little mushroom tree is for the gnomes! I made this miniature tree with glass … Read More
Forget the birds, this sweet little mushroom tree is for the gnomes! I made this miniature tree with glass … Read More

Christmas door swags are such a simple yet beautiful way to add some fresh greenery to your door. … Read More
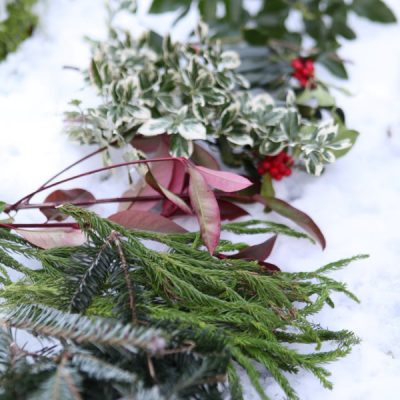
There is no need to look further than your own garden for the best Christmas greenery to use … Read More
Winter doesn’t mean it has to be all white in the garden. Even if there is a blanket … Read More
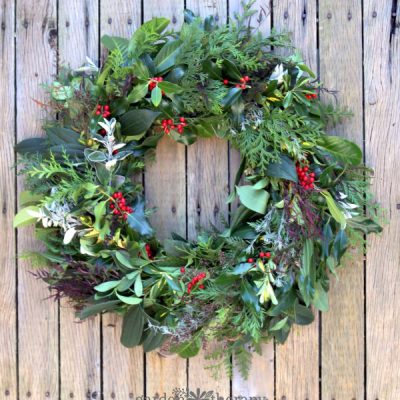
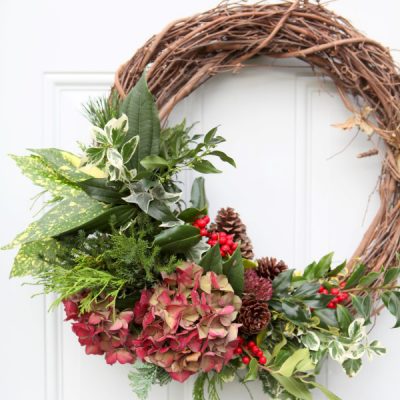
Making a fresh wreath has quickly become one of my absolute favourite holiday traditions. Using greenery in your … Read More
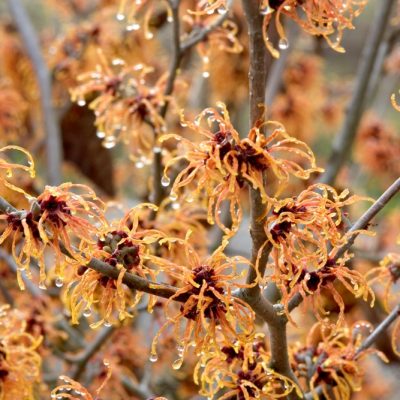
Seasonal decorating is my favorite excuse to bring (more) plants inside. Even simple things like an evergreen branch … Read More
Your guide to creating a stunning outdoor space using found materials, free resources, community connections, and your own creativity.
My weekly newsletter full of tips for gardening and green living, including timely insights on how gardens can nurture our emotional well-being.

