
Super Simple Quick Pickled Radishes
Super simple quick-pickled radishes that are ready to eat the next day! You’ll be amazed at how easy … Read More
Super simple quick-pickled radishes that are ready to eat the next day! You’ll be amazed at how easy … Read More
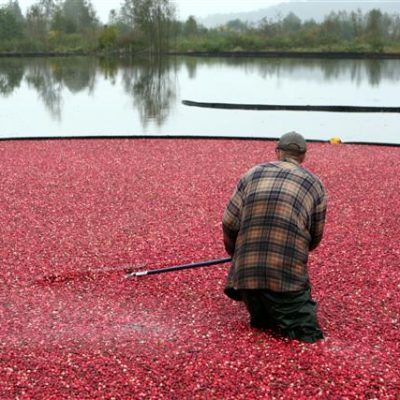
Did you know that British Columbia is the 3rd largest cranberry producer worldwide? BC produces about 17 million kilograms … Read More
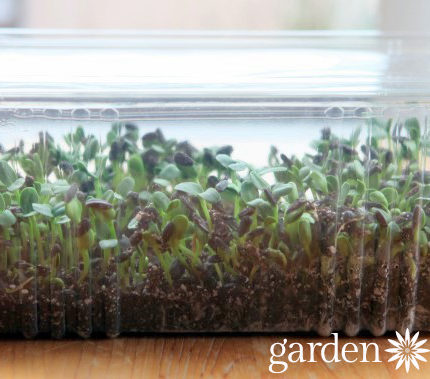
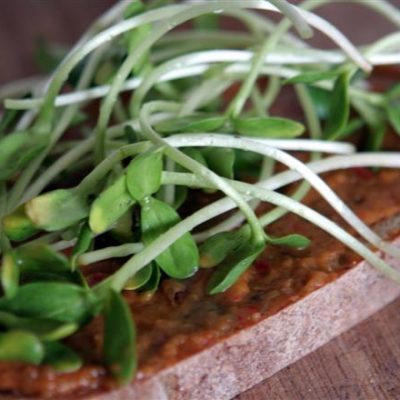
Sunflower micro greens are deliciously nutty with the flavor of raw sunflower seeds but with the texture of spinach. They are easy … Read More
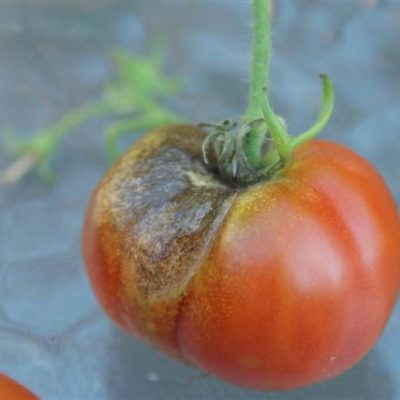
The race is on. It’s the time of year when you encourage (plead) with tomatoes to ripen before … Read More
This week we thawed out from that crazy November snowfall and I jumped at the window of opportunity to dig … Read More
Tis the season for micro greens and sprouts. The weather outside is frightful freakin’ cold. Too cold to sprout seeds … Read More
Your guide to creating a stunning outdoor space using found materials, free resources, community connections, and your own creativity.
My weekly newsletter full of tips for gardening and green living, including timely insights on how gardens can nurture our emotional well-being.

