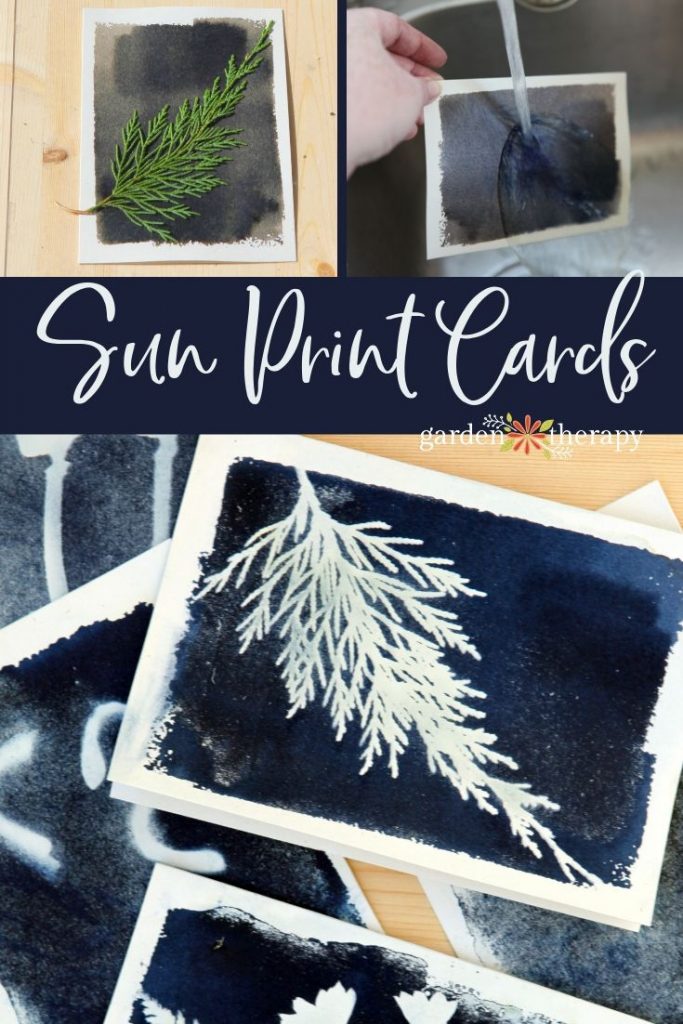
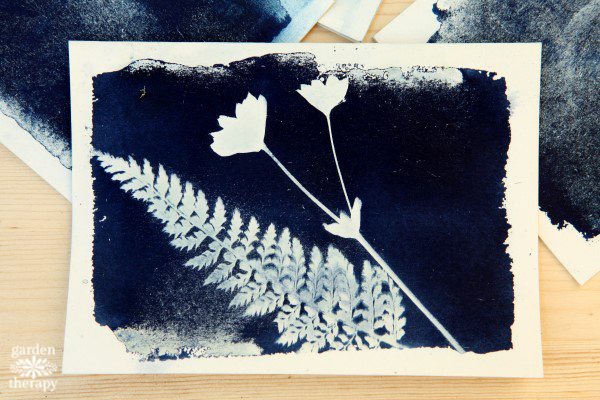
There are many ways to collect beauty from the garden and preserve it but one of my favorites is to create greeting cards using a historic photographic method, cyanotype printing (you can read more about its history in this post). I first used this method to create sun print napkins and was thrilled with the results. I was hooked on the possibilities of the interesting shapes in the garden that just needed to be immortalized. Using some of the leftover cyanotype solution from the project, I made a bunch of sun print cards showcasing the various leaves in my garden.

How to Make Sun Print Cards
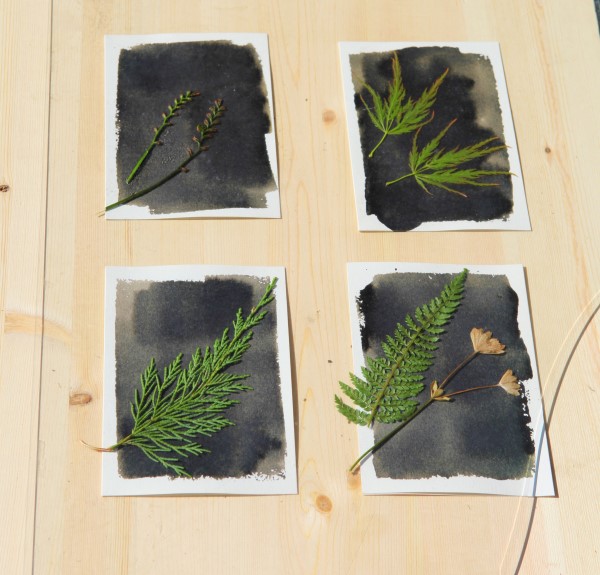
To make sun print cards, follow the instructions over at the napkin tutorial, or the instructions on the cyanotype kit to mix the chemicals. Then, use a small foam roller to make a rough rectangle on the cards. I like the edges uneven and natural looking, like torn paper.
Pick out a few interestingly shaped flat things from the garden, a park, or forest. Flat leaves with plenty of detail seem to work best. Those that are rounded will leave shadows and not give a crisp sun print.
Arrange the botanicals on prepared cards once the solution has dried. Note: be sure to allow the solution to dry completely in the dark as per the package instructions as any light will begin the exposure process. Place a piece of glass over cards and leaves and set it out in direct sun for 20 minutes undisturbed.
You can also buy sun print paper if you don’t want to deal with applying the chemicals. That’s on my list to try next.
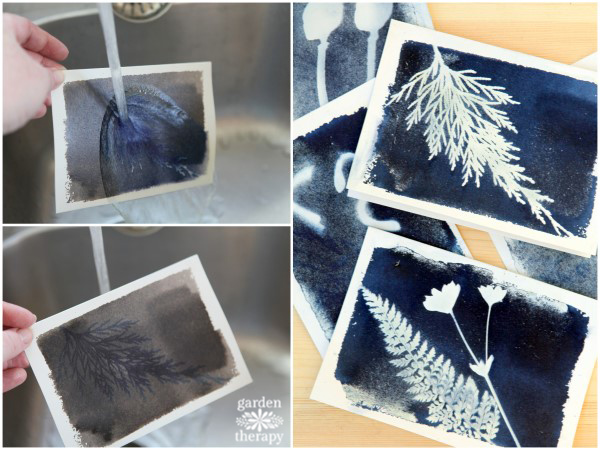
When the exposure time is up, run the print under water until it starts to develop.
The instructions say to wash for 5 minutes but I found this lightened too much of the print. I also tried floating the whole card in a tub of water and didn’t like these results that were, again, too washed out. There was a warning in the instructions that if you don’t wash the chemicals off well enough, your print will continue to expose. I did these cards a few weeks ago and they are still just perfect, so I suppose I found the right balance. My experimentation led me to feel satisfied with the running water system.

You don’t need to wash them until the unexposed area under the leaf is completely white, which will happen as it finishes developing and dries. Set out to dry until damp, then press between sheets of parchment in a phone book so that the card flattens out again.
I did a bunch of different types of organic materials I found in the garden, but the most successful were flat leaves or flowers. I did some poppy seed heads that cast a shadow and made the print look distorted. I’m sure you will have plenty to choose from as I did, since nature is abundant.
If you love crafting with plants as much as I do, here are some other projects you might enjoy as well:
- Hammered Flower Print Cards
- The Simple Way to Dry Hydrangea Flowers and Retain Their Color
- Preserving the Ornamental Garden: How to Dry Flowers, Leaves, Stems, and Pods for Crafting
- Harvesting English Lavender & How To Use It
- Woodworking for Gardeners: Make a Handmade Flower Press


I love these card. thanks so much for sharing with us at Inspire Me Monday. Also I wanted to let you know that You are one of my featured picks this week. I hope you come and check it out at http://www.farmhouse40.com
These are absolutely amazing. I love to make cards and have never seen this technique. I will definitely try it! Thanks for sharing at #HomeMattersParty!
yay, Pam!
Hello,
I am not seeing anywhere the paper you used is listed. Can you clarify what type of paper you used in this project?
Thank you much.
Hi Sara, where the words “cyanotype kit” are in written in the orange-red font, that is a link to the paper – https://amzn.to/RY52cS