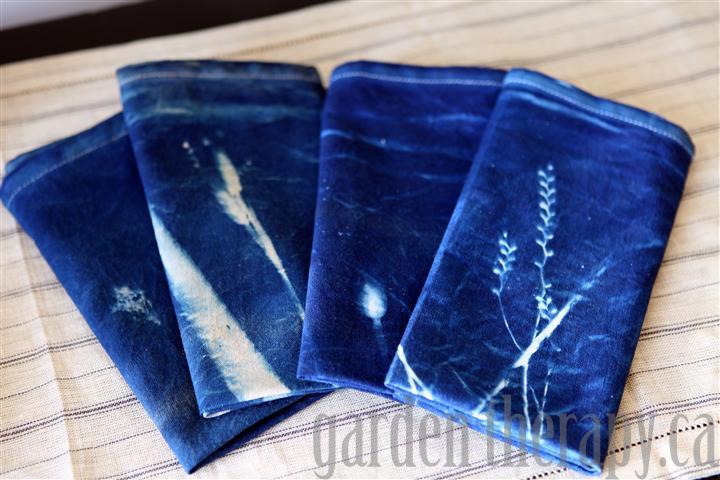
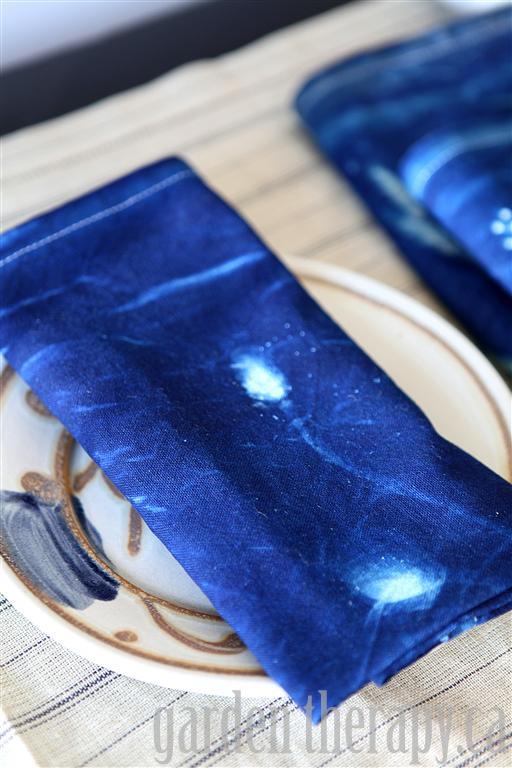
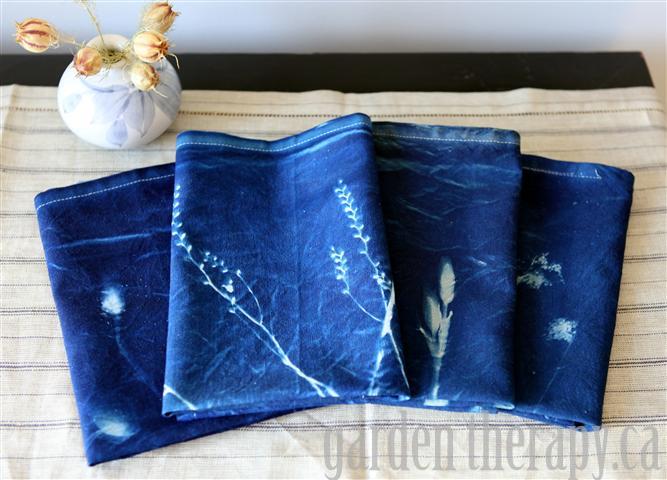
Combining the beauty of nature, the magic of photography, and the softness of textiles to create these sun-print napkins makes for a true blue weekend project.
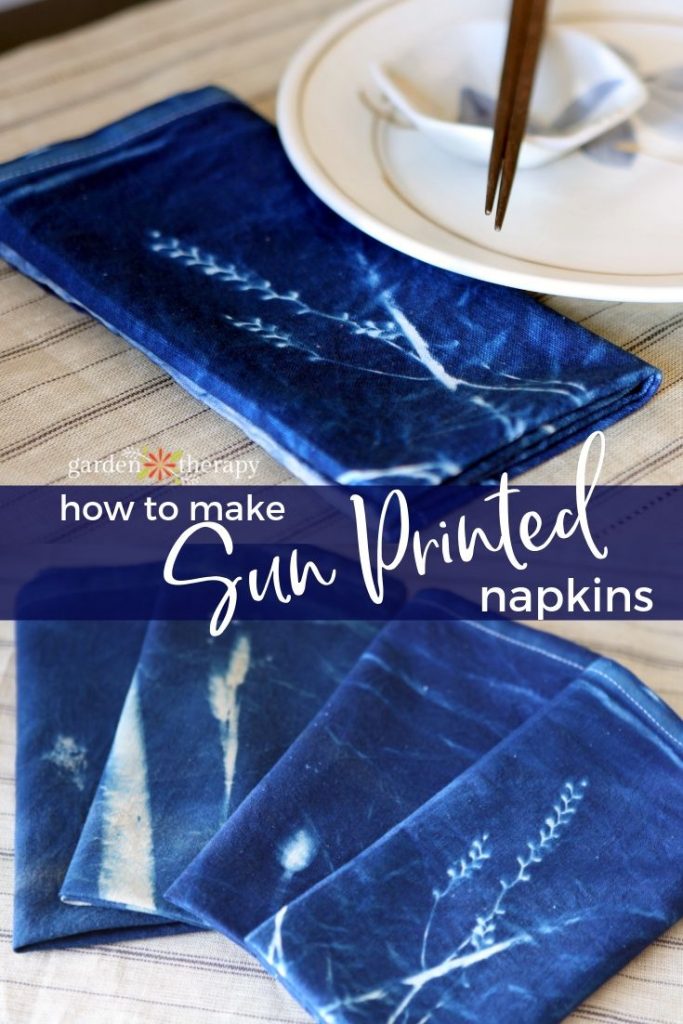
Since I first heard about cyanotype printing, or sun printing, I knew that I had to try it. The process involves applying a solution of potassium ferricyanide and ferric ammonium citrate to any natural porous material such as paper or cloth. When exposed to the sun, the treated area turns a deep cyan blue color. Traditionally Cyanotpe printing was used by engineers to make large scale, inexpensive copies of their work, which is where the term “blueprints” comes from.
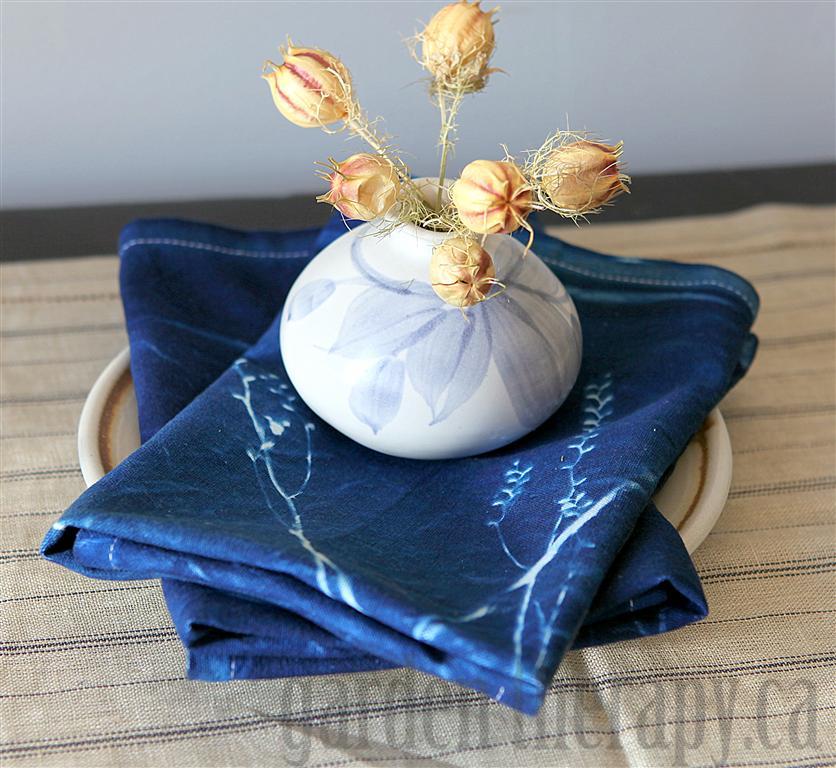
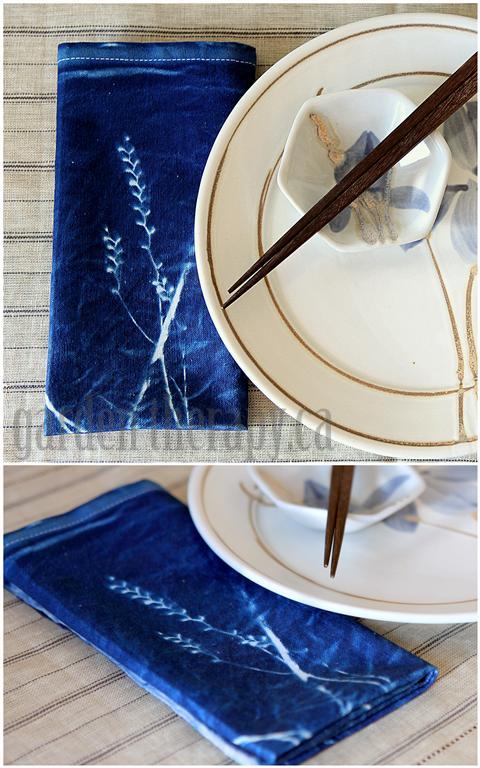
Today blueprints are made using current printing technology and the photographic process of cyanotype printing is an art form. There are many different pre-treated papers sold as Sun Printing Kits and the fabric can be purchased as yardage. I didn’t want to choose my printing medium so I bought a chemical kit that can be used to treat both fabric and paper. The first set of the instructions describe how to apply the chemicals to the fabric, however, skip to the last part of the instructions to see the printing process if you have purchased pre-treated material.
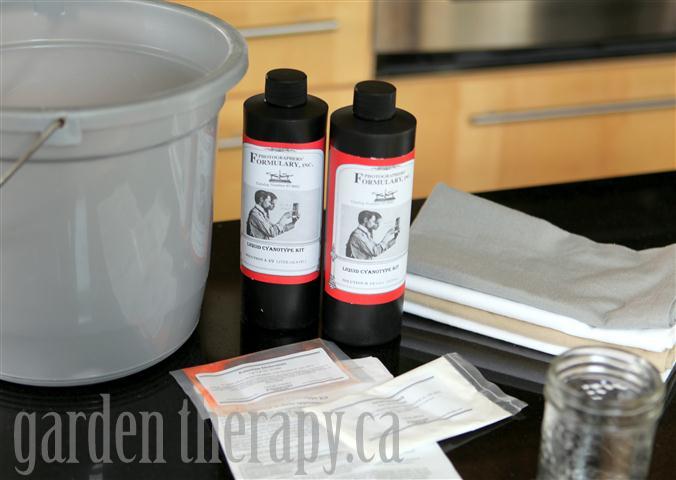
Materials:
- Photographer’s Formulary Cyanotype Printing Kit or if that one is out of stock this is another option (although I haven’t tried this option): Jacquard Cyanotype Sensitizer Set
- Disposable rubber gloves
- Glass mixing jar
- Bucket
- Drying rack
- Plastic tub for under drying rack
- Cotton napkins
- Interesting-shaped dried or fresh flowers and leaves
- Large piece of glass
 Make it!
1. Read the Photographer’s Formulary instructions. Now read them again. It’s best to have a clear idea of how this process works and have all of your materials ready so that you are prepared for using the chemicals. There are precautions listed about skin contact so make sure you wear gloves and be careful as this can get messy.
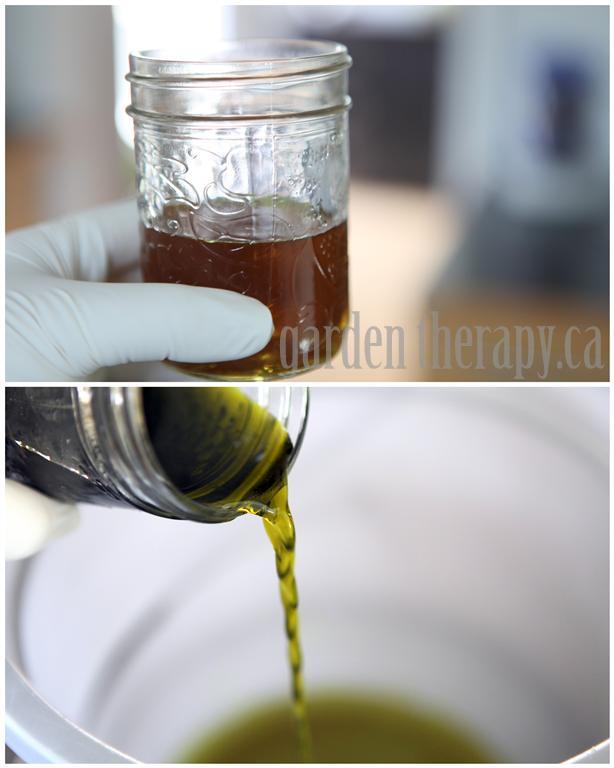
2. Mix solution A and Solution B as described in the instructions. Pour the mixed solution into the plastic bucket and add your pre-washed and dried napkins. Ensure the chemicals soak through the fabric, then gently wring out the excess. This is the messy part; wash everything really well when finished. You, your bucket, and any spills should be cleaned with a large amount of warm water.
3. Hang the napkins to dry on a drying rack set up in a dark room with a plastic tub or drop cloth below to catch the drips. Here’s a tip: hang the napkins with clothespins not by draping them over the bars. In my final project the bars left a mark.
4. Once your napkins are dry, you can begin the printing process. My fabric was dry and ready on a cloudy day so I wanted to wait for the sun. I ended up getting busy so they stayed in the dark room for 4 days before I got to printing. It didn’t affect the print at all, so that’s a good sign.
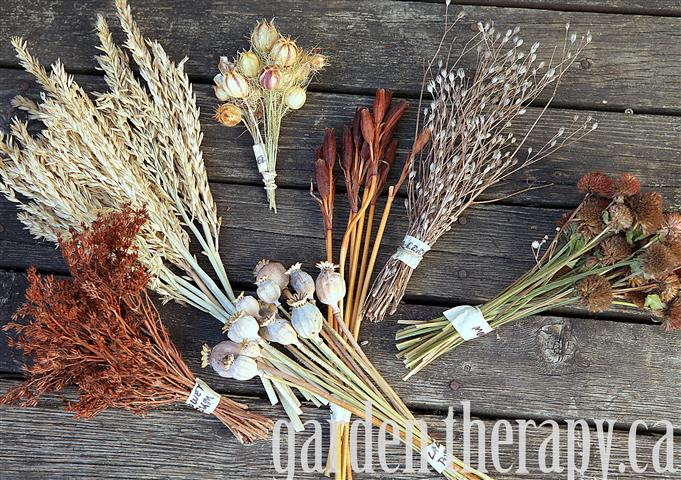
First, lay out your design. Choose plant material that will lie fairly flat for the strongest prints, as round items will cast a shadow and won’t have sharp edges. Experiment with some inexpensive fabric to see what results you like. I used a variety of dried plants that I have in storage. These were given to me by the master of preserving ornamental plants (click the link to find out more on that process).
Lay the design on your fabric and cover with a piece of glass. Use the glass from a large framed photo, making sure it gets a good cleaning. Bonus, your photo glass will go back up on the wall nice and clean!
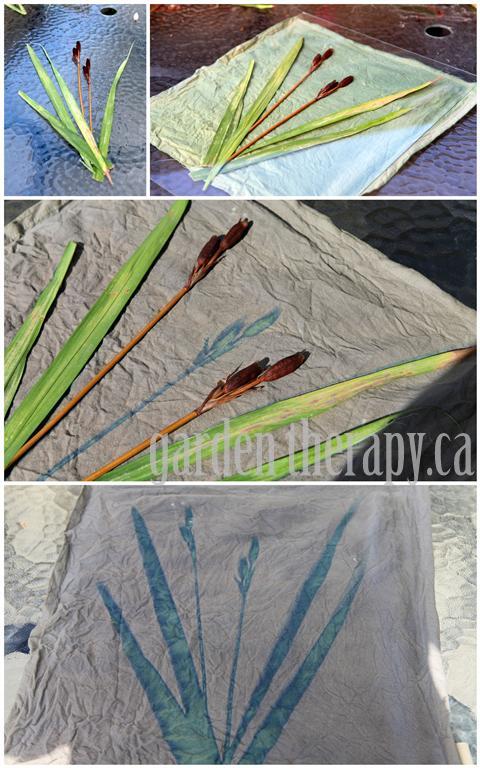
Leave the print in the sun for 20 minutes. Do Not Touch It. I know, I know, you want to check and see what’s happening. I checked and it messed up the print strength. Just leave it alone. 20 minutes, that’s it!
5. After 20 minutes, remove the glass and plants and wash the print really well in warm water for 5 minutes. Washing too long can dilute the print; washing too little can leave chemicals on the fabric that will expose over time.
Hang the fabric to dry (again). I did this in the dark again, not on the sunny clothesline as shown. I hung them on the clothesline afterward to take some photos.
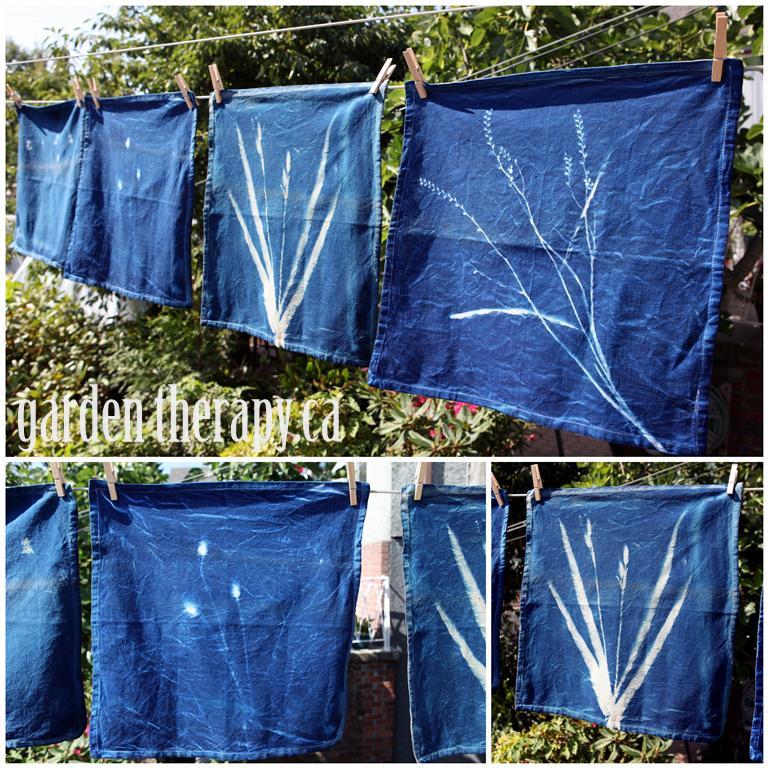
As per the instructions, you can now use and wash your napkins. I have yet to try this but when I do, I will use phosphate-free detergent, hang to dry and iron them a lot to hopefully heat-set the dye. I will not store them in the sun, but in a dark drawer. But I will use them and enjoy them. I hope that you will make some to use and enjoy too! You might also like these Sun Print Cards I made using the same cyanotype method.
Thanks for visiting weekend project #51. Next week will be the project that completes a full year of weekend projects! Check them all out by clicking the tab at the top of the page.


Comments