There are so many plant markers out there in the world. Heck, there are so many plant markers right here on Garden Therapy (like these, and these, and these ones are just so cute!). Why so many? Well, they are a fun rainy-day craft that adds a bit of personality to the garden. Oh, and they help you remember what you planted! These wood plant markers are decorative and fun to make, making them the perfect addition to the garden.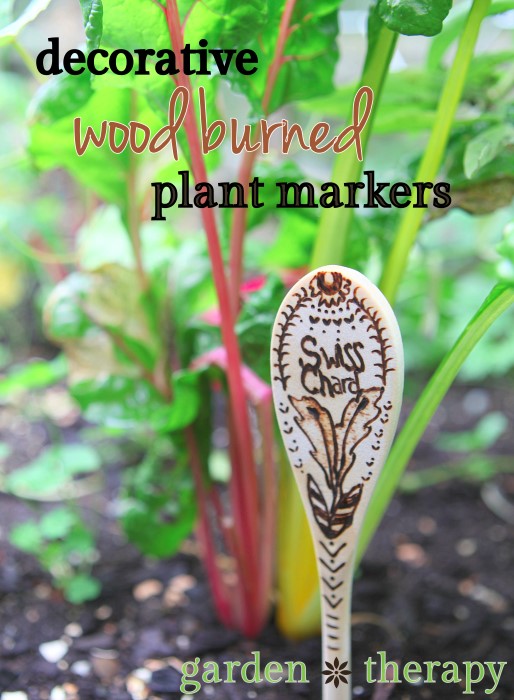
Wood burning mixing spoons is a good way to ensure that your plant label will not fade. Of course, you could also decorate the label with paint or even a marker, but you would be missing out on the part of this project that is so much fun! It certainly takes a little getting used to the feel of wood burning, but these inexpensive wooden spoons are a great place to start. Plus, they have a smooth surface which also smooths out the learning curve a bit.
Materials
- Wood burning pen set
- Wooden spoon
- Pencil
Make it!
Let’s get started by plugging in the wood burning pen to preheat it. Now, draw the design you would like to burn on the wooden spoon with the pencil. Keep the design simplistic and minimal if you’re new to wood burning.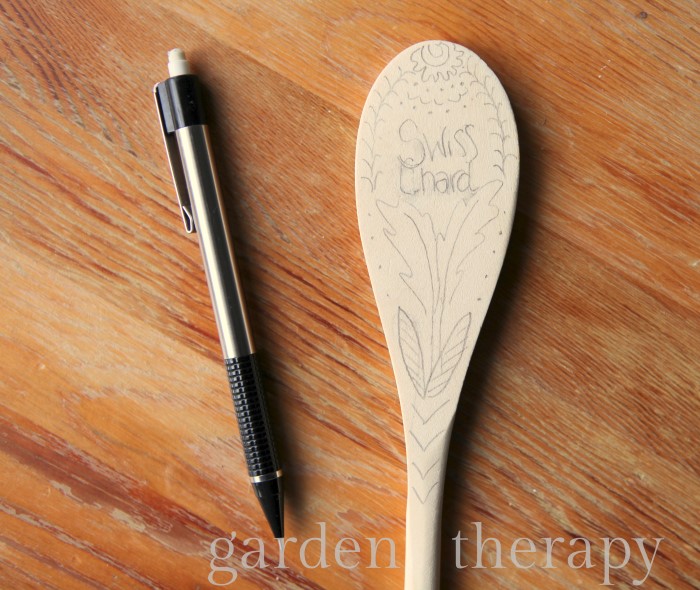
Follow the instructions on the wood burning pen to burn the design into the wood. For this project, I used the pen tip. I burned the lines and outlined the leaves first.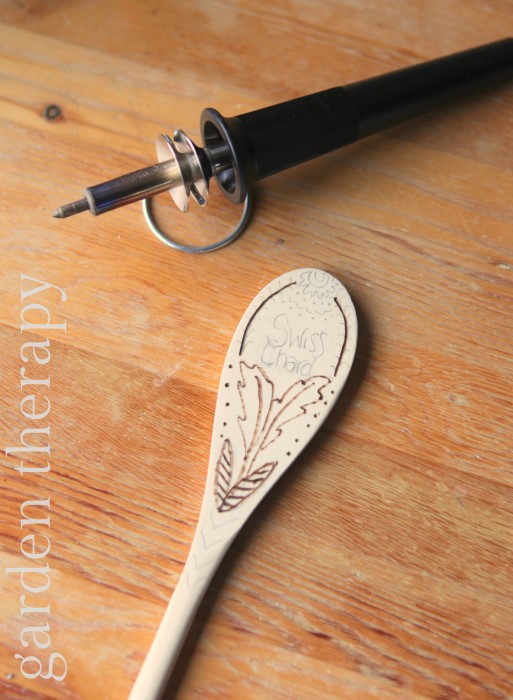
Then I used the tip to burn smaller leaves on the stems and define the lettering.
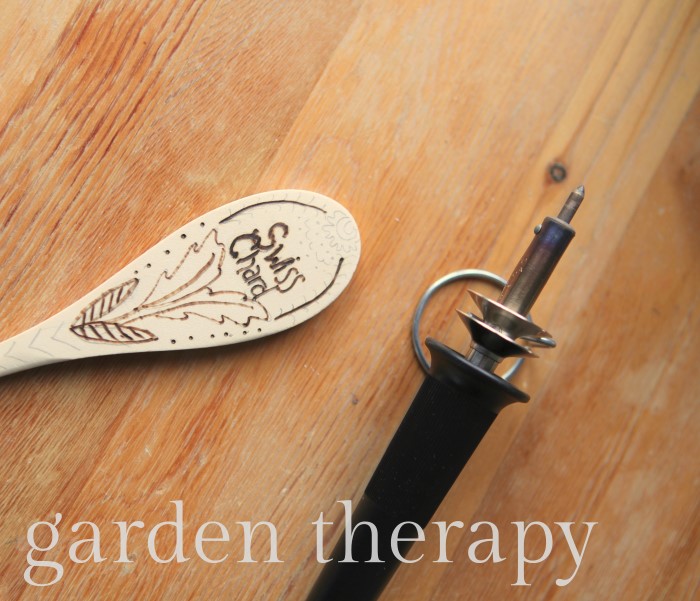
Finally, I used the side of the pen to rub the wood until it turned a bit darker and filled in the leaves.
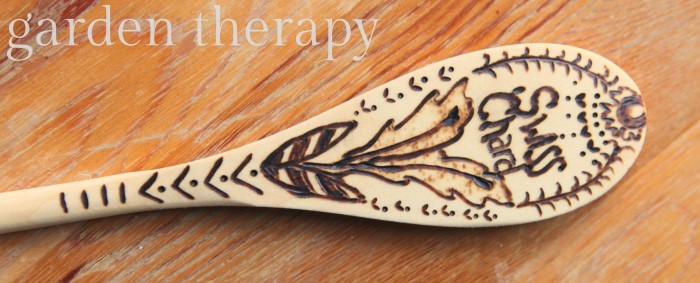
Add some graphical elements to the handle if you wish and then give the spoon a wash with soap and water to remove any leftover pencil marks.
Plant your new wood plant markers in the garden and enjoy forever and ever and ever and ever.
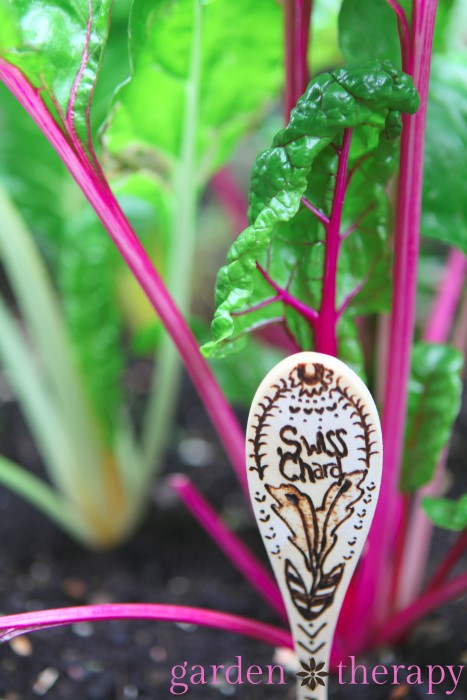
Now isn’t this a fun way to use kitchen utensils out in the garden?
If you get addicted to wood burning after doing this project (it’s SO fun!), try your hand at these wood burned coasters as well.


Comments