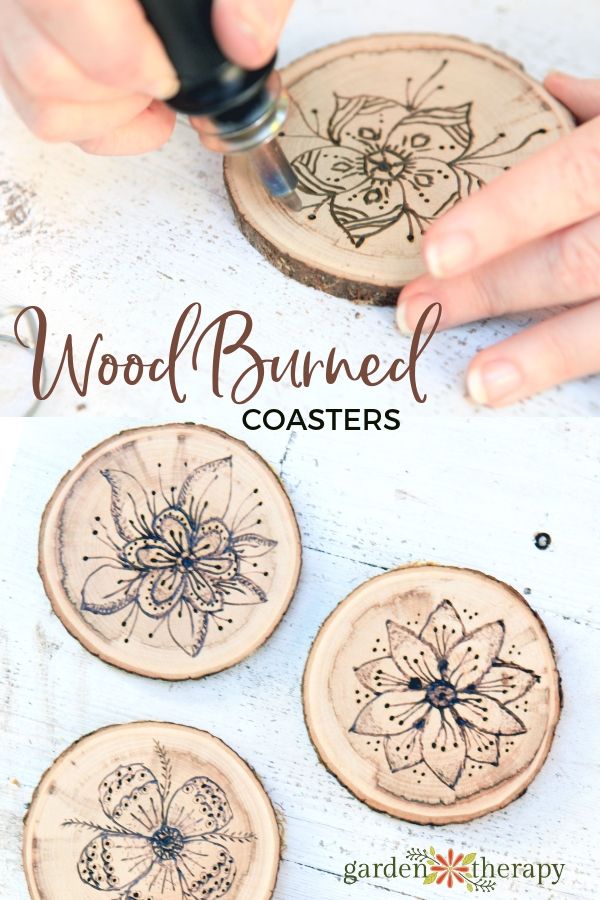
Using a wood burning pen is a simple way to make some floral pyrography. Coasters are one of my favourite creations to make with them, and it’s a super fun project that you can do in one weekend. Here’s how to make your own wood burned coasters!
Wood burned coasters are a great creative project that can be done no matter what time of year it is. Pyrography is the art of decorating wood (or leather) with a heated pen that burns the image into the wood as opposed to using paint to embellish it.
Better yet, it requires only three materials and some practice to find your groove with a pyrography pen. I’ll warn you now though, it can be very addictive!
Here are my top tips for those just getting started with pyrography.
- How to Make Wood Burned Coasters
- Materials
- Make It!
- Wood Burned Coaster FAQ
- More Creative Projects to Try
How to Make Wood Burned Coasters
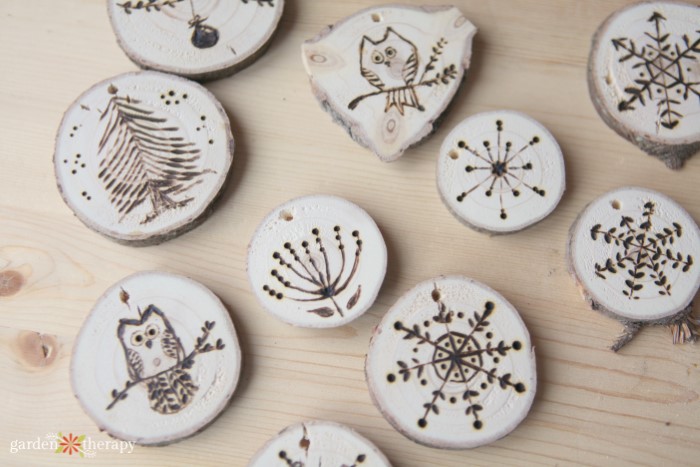
You can get your design inspiration from almost anywhere, but adult colouring books have some lovely line drawings that are easy to copy with a wood-burning tool. I used some of the designs from the Garden Therapy Colouring Book as inspiration for these coasters.
Materials
- Wood slices (make them or buy them)
- Wood burning pen
- Spar urethane sealer
Make It!
Making branch slices into coasters is a fun project that can be done easily from found wood or trees cut down from your property. There are full instructions here if you would like to make your own. Wood slice crafts are so popular these days that you can also purchase wood slices online very easily.
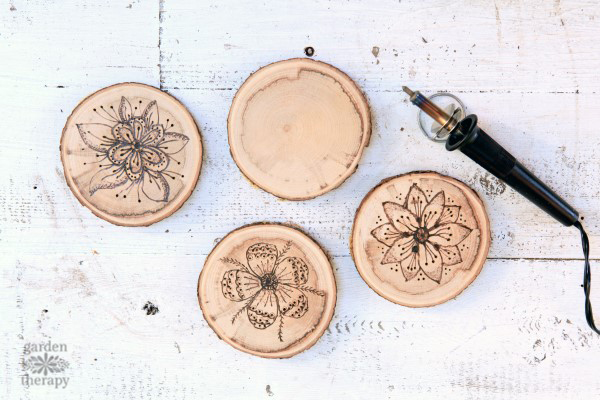
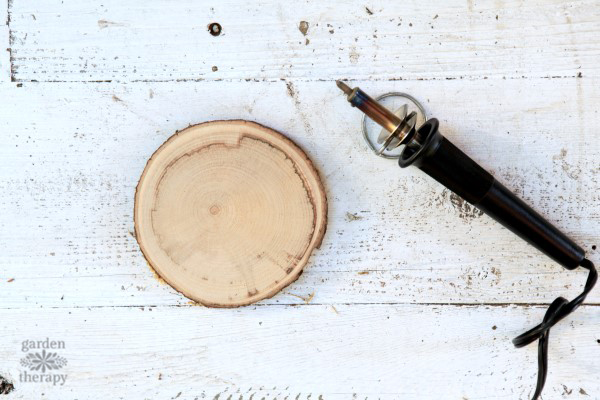
Cut and sand the coasters as in the instructions above, but don’t stain them yet.
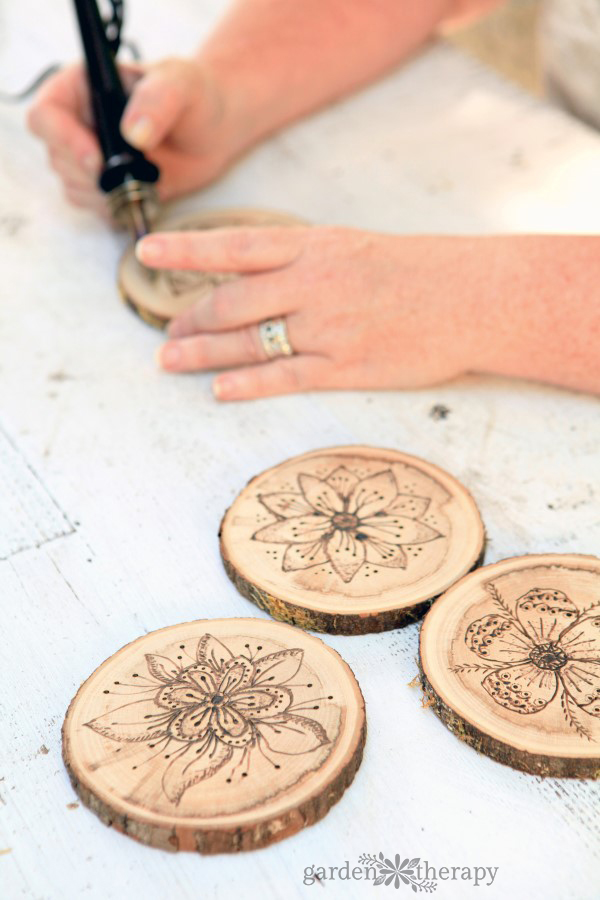
Set up the wood burning pen according to the package instructions and test out the different types of pen tips. I found that I definitely preferred the cone tip, but you get different results with each of them. Grab a block of wood that is well-sanded and test out some of the tips and designs.
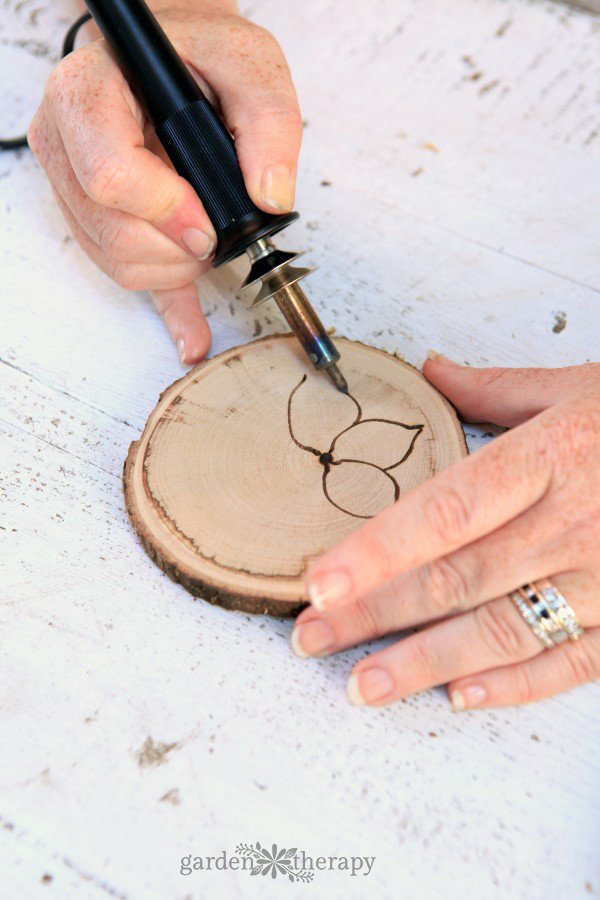
If you prefer to try something a little bit more structured, choose a drawing and use transfer paper to transfer the image onto the wood before using the wood burning tool.
I prefer to freehand the drawing and see what takes shape. As I work on the projects, I learn new techniques and designs that work well with a wood burning pen.
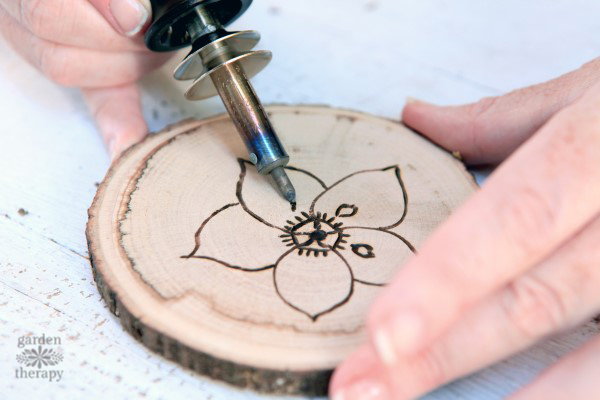
Once you are finished with the line drawing, include embellishments and shading to really add depth to the artwork.
One of my favourite “moves” with the wood burning pen is to make dots. The dots are perfectly round and have a little halo around them. You can also use the side of the wood burning pen to lightly burn parts of the wood and add a little bit of shading.
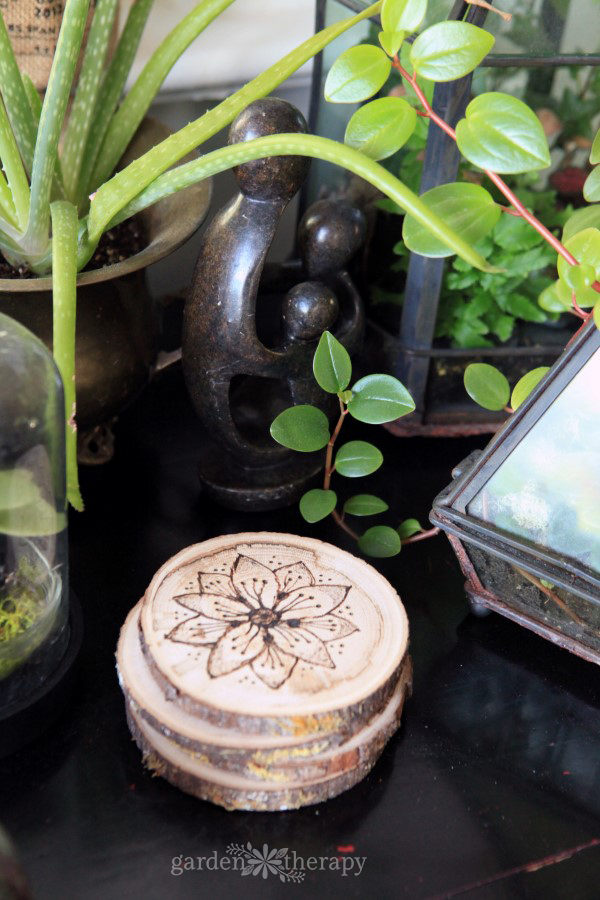
Use a spar urethane sealer to protect the finish of the wood once your design is complete. Sand and varnish the spar urethane as directed in the instructions on the packaging.
You can also add a few non-stick feet or glue a piece of felt to the bottom of the coasters to protect the tabletop that you’re using them on. My coasters are sanded so smoothly that they are fine directly on the table. I will say that my tables are not precious, though, and a few scratches never bother me much.
Wrap up a set of four to give as a gift, or set them out in your own home to enjoy.
Wood Burned Coaster FAQ
If you are making your own wood slices, you must let them dry for quite an extended period of time before you can make anything with them. The key is to dry the wood very slowly in a cool, dry space. You want them in a location with limited moisture and heat. I put mine in my basement for the fall and pulled them out a year later. But really, the amount of time depends on how wet the wood was, how fresh it is, and where it dries.
I haven’t had any issues burning myself with the pen. You can wear heat-resistant gloves if you’re worried about burning yourself. Never touch the metal part of the pen when it’s plugged in, and use a stand to set it down. Never leave the pen unattended when it’s plugged in.
If you want to sand your coasters ahead of time, use a heavy grit sandpaper first, then a finer grit to smooth out the surface. If there’s bark on the edges, do not sand it.
More Creative Projects to Try
- Wooden Ornaments: How to Dry, Design, and Seal
- Decorative Wood Plant Markers
- Eco-Printing: How to Hammer Flowers Onto Fabric
- Make Resin Coasters With Pressed Garden Flowers
A city girl who learned to garden and it changed everything. Author, artist, Master Gardener. Better living through plants.


I cut a palm tree and it sat out for about 3 weeks and my husband cut the circles out now they are curling up . Help