Perennials are the garden gift that keeps on giving. You plant them once and enjoy them for years to come. While fairly maintenance free, dividing perennials is something you need to do every few years to keep them happy. Plus, you get more free plant copies! Here’s everything you need to know about how to divide a perennial.
Perennials are wonderful garden plants. Plants that are hardy enough to continue growing each year in your garden are considered perennials, as opposed to annuals which you need to replant every year.
Once established, they can be very low maintenance, providing gorgeous blooms and even edible parts through the growing season.
Dividing perennials is often the only job needed to keep them in tip-top shape. Dividing helps perennials from becoming overcrowded, keeps them within the space designated in the garden, and can give you more plants for free!
As perennials develop an established root system in the ground, they spread and form larger and larger clumps. Dividing helps to improve aesthetics and blooming as well as protection from fungal diseases and insects.
If any of your perennials are underperforming, dividing may be the solution!
This post will cover…
- The Rule of Thumb for Dividing Perennials
- When is the Best Time to Divide Perennials?
- How to Divide a Perennial
- Remove the Plant
- Check the Root System
- Prep the Soil
- Plant Divisions
- Frequently Asked Questions About Splitting Plants
- More Perennial Gardening Fun
The Rule of Thumb for Dividing Perennials
Timing is everything. You want to divide your plants when they’re under the least amount of stress. This means you want to divide the plants after they’ve finished blooming for the year and just before they go into dormancy for the year.
This rule applies to the time of day as well. Never divide the plant when it’s hot outside. Wait for a cool time of time to divide your perennials.
You’ll know they’re ready for dividing when they’ve begun creating a hole in the middle of the plant, are flopping over, or are just spreading too large for the space.
When is the Best Time to Divide Perennials?
The best time to divide perennials is after they have bloomed and gone dormant for the year. With the exception of irises and fall bloomers, most perennials would adore being divided in the fall and thank you for it next year.
FYI, divide irises in summer after blooming and divide fall perennials in the fall after blooming or the following spring.
Dividing perennials in the fall gives the plants more time for the roots to develop strongly into the soil before the next gardening season.
Divide the perennials when the plants look full and lush but before they show signs of overcrowding. The growth and performance of perennials decrease as the plants become crowded. The centers can start to die, or the whole plant can underperform like this Heuchera.

Of course, do what you can and divide the perennials when you have the opportunity, but if you’re noticing that your plant is performing well but is starting to push the boundaries of the space, this is the time to divide the plant.
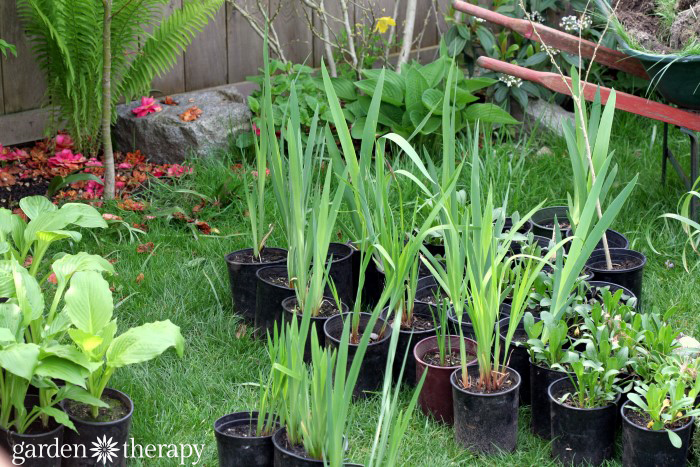
You can use divisions elsewhere in the garden or give them to friends. Free plants!
How to Divide a Perennial
If you’re dividing in the fall, finding a cool day shouldn’t be too difficult. The best time of day for splitting plants is when the weather is not overly warm, as plants establish more quickly in the soil when they aren’t under stress.
Remove the Plant
Lift the plant from the soil with as little root disruption as possible. Imagine that the roots below equal the size of the plant above to get an understanding of how much spread there is.
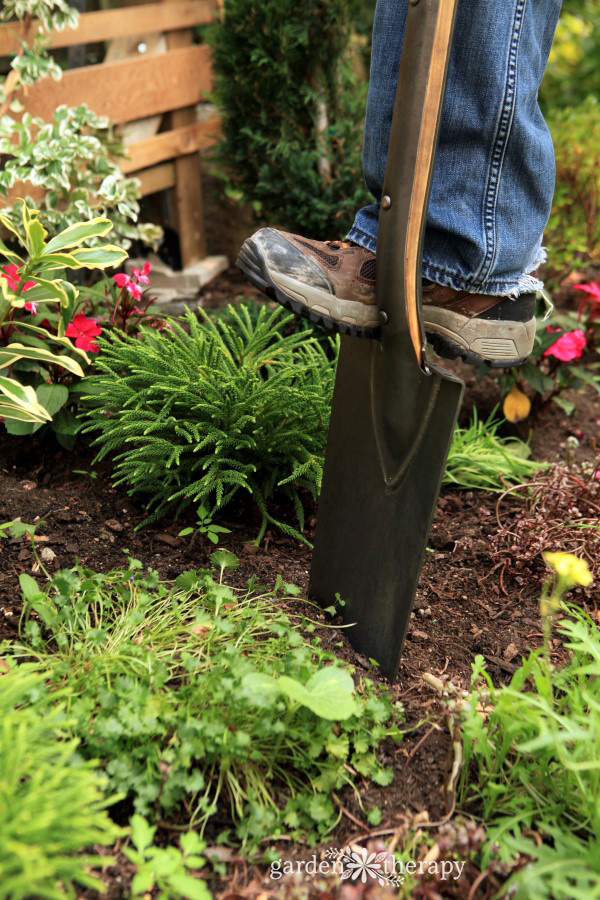
Use a shovel to start digging around the soil at the edge of where you think the roots are. Dig the perimeter of the roots by driving the spade around the root ball.
Put the spade into the soil and gently try to lift the plant from the bottom of the roots by pushing the handle down and the spade head up. Do this around the circle until the perennial pops out of the soil easily.
Check the Root System
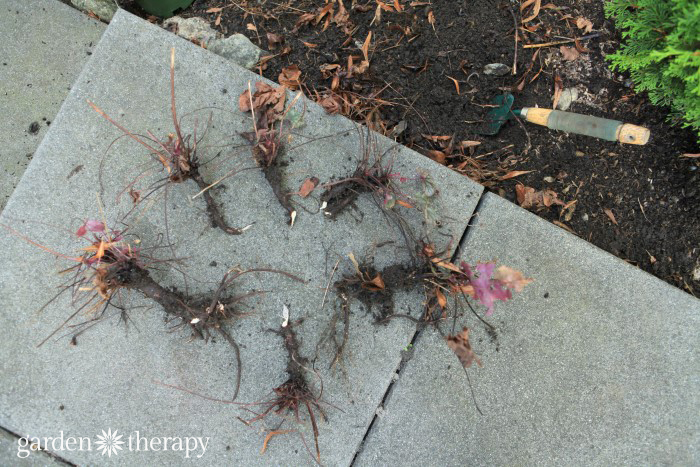
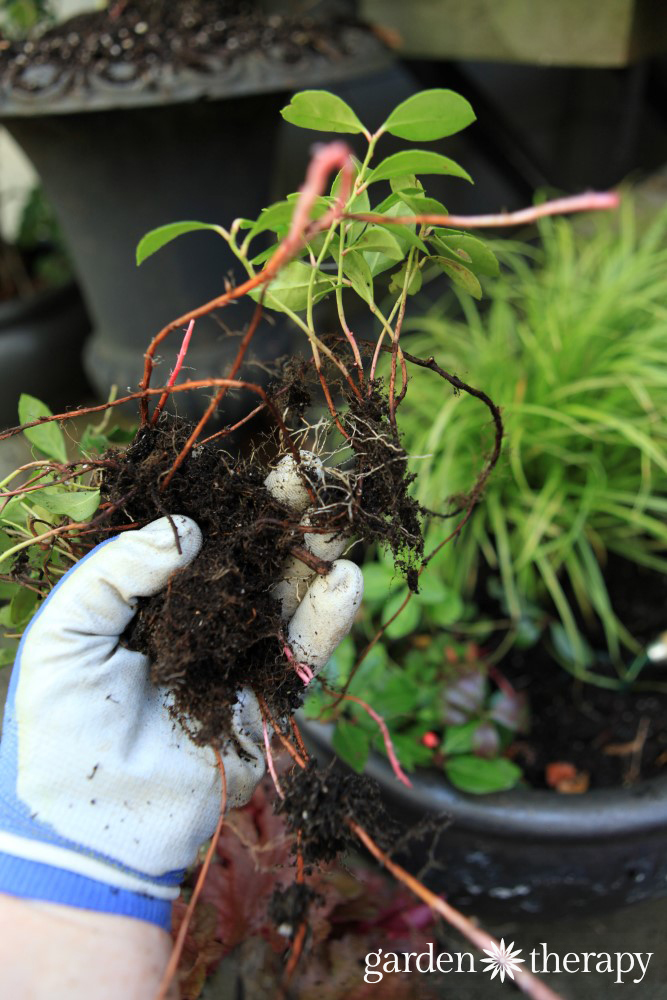
I find it handy to have a large tarp or blanket in order to put the big perennial roots on so I can then take a good look at what is there. Shake off the soil and have a look at the roots.
How much are they entangled? Are there any plants that look like they’ll easily start to separate?
Use your hands or two garden forks to gently pry the plant divisions’ roots apart. If the roots are strongly tangled into clumps difficult to pry apart, you can use a garden saw (keeping in mind that this might cause damage to the plant).
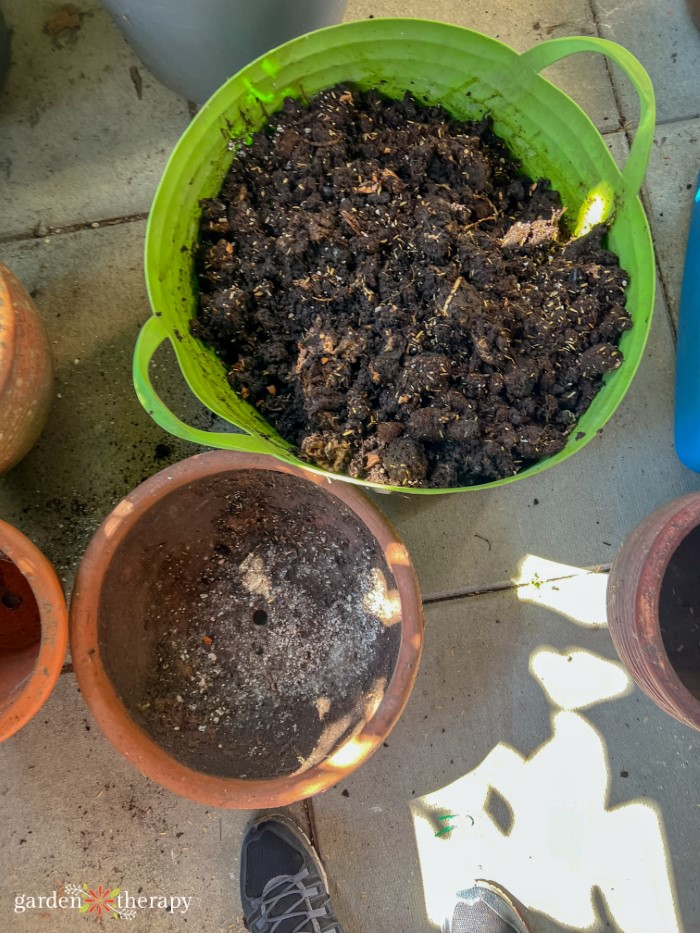
Prep the Soil
Prepare your garden soil for transplanting by adding compost and manure into the soil. Remove any debris or diseased leaves and give the soil a good turning so it continues to be healthy, light, and well-draining.
Plant Divisions
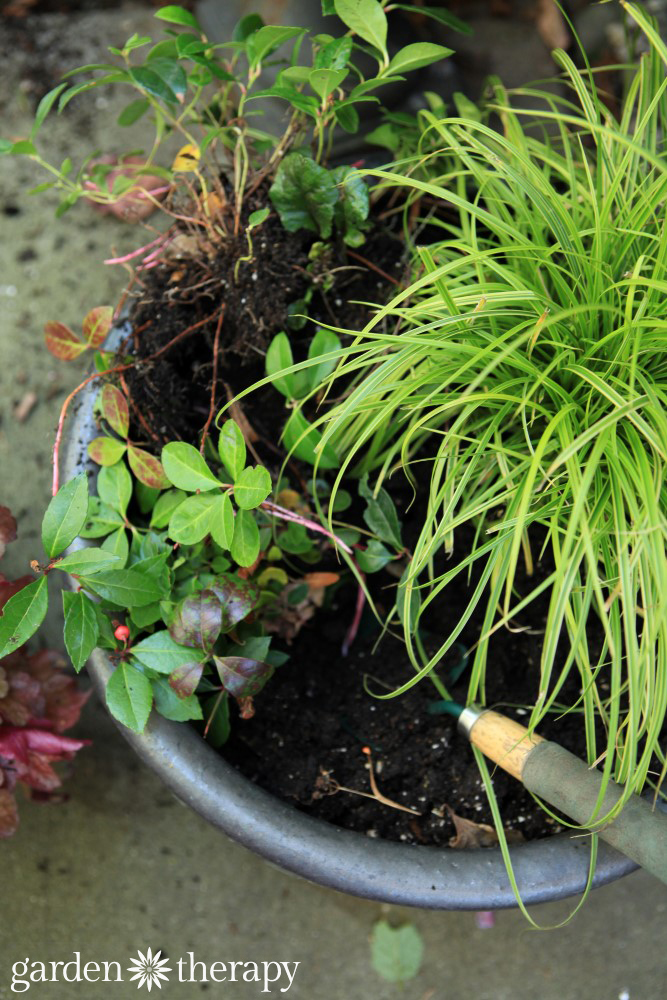
Plant a vigorous, healthy-looking section of the plant back into the space where you removed the larger clump. Backfill the area with soil and water well.
The remaining sections can be planted in the garden immediately or potted up to be given away. The same rules apply whether the plants are being transplanted to other areas: put them into pots with healthy, rich soil with compost and water well.
If any parts of the plants don’t look healthy, then dispose of them rather than planting them in the ground or in pots. Plenty of healthy plants should be left over, and you want to start them off on the right foot.
Frequently Asked Questions About Splitting Plants
You may need a few tools for dividing the perennials. First, use a shovel or space; just ensure it has a nice sharp edge to lift the root ball. A shovel may be enough to split the plant in two, or you may need to use a saw or soil knife to help split the roots.
More Perennial Gardening Fun
- Perennial Vegetables to Plant This Season and Enjoy for Years to Come
- Grow Your Own Perennial Herb Container Garden
- Save Money and Start these 14 Perennials from Seed
- Grow These Fall Perennials for Brilliant Autumn Color!
- Fall Perennial Gardening: Garden Design on a Budget
A city girl who learned to garden and it changed everything. Author, artist, Master Gardener. Better living through plants.


Hi Stephanie Rose!
Thank you for your blog and all the hard work you do.
My husband & I are planning on moving soon (maybe within a year). I have several hosta varieties that need dividing. Can I divide them and leave them in a plastic pot to over winter and plant in a new location next season? If so, do they need extra protection from the winter weather? I am in Michigan, zone 5. Any tips/suggestions would be greatly appreciated.
Thank you for your time.
Lee Dodd, Redford, MI
Hi Lee, thanks for your kind words! I’ve done this myself when dividing perennials – potting them and overwintering, and it’s usually quite successful. I’m in zone 7, but they do fine under cover (like under the deck or under the garage overhang. Divide them, pot them in the largest pots you have with lots of soil, mulch the top of the soil, and water them as you would normally at this time of year making sure they can drain properly. Then, before frost, move them to a covered area that is protected from the elements. They will go dormant so you wont need to water them in the winter. Just keep an eye out for the tender ones. I have heard others use a string of Christmas lights and wrapping the pots in burlap, but we don’t get that cold here so I’ve not tried it. I would hate to create too much heat so they break dormancy, because then they will surely not make it through the winter. Good luck!