Before decorating your Easter eggs this year, head out to the garden and hunt for leaves to imprint on them. The spring garden may just be emerging, but there are surely plenty of unusual shapes of leaves that you can use to adorn your Easter eggs. With just a few supplies, such as nylons and a bit of food coloring, leaf imprint Easter eggs are a fun way to celebrate the season. This project can be done with natural vegetable dyes such as red cabbage and beets as well.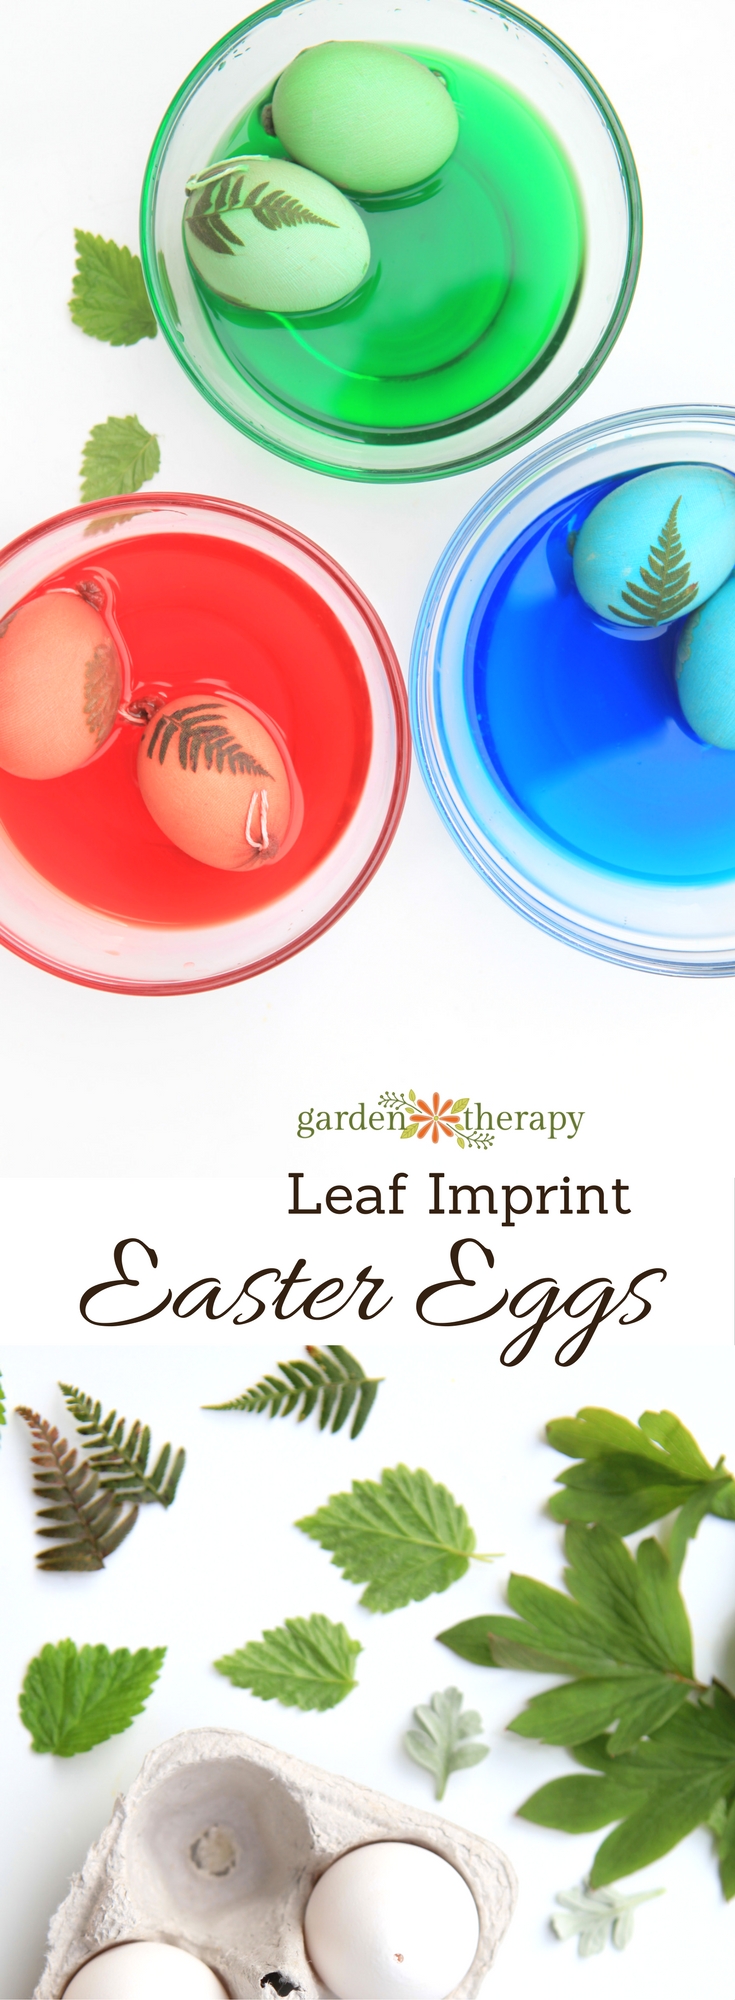
Materials
- White organic eggs
- Nail
- Four glass bowls
- Leaves
- Nylon stocking
- Baker’s twine
- Liquid food coloring (red, yellow, green, and blue used here)
- White vinegar
- Spoon
- Paper egg carton
Make it!
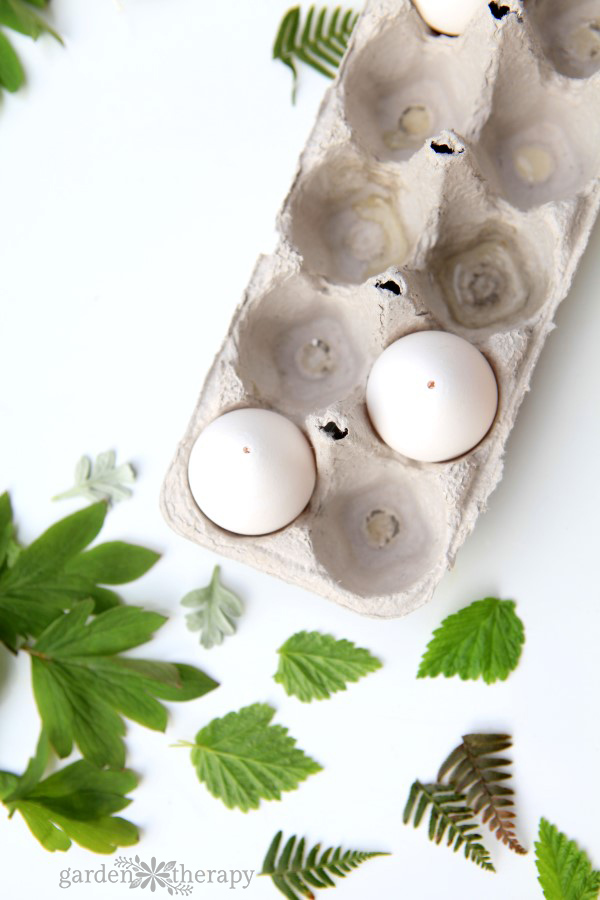
To make leaf imprint Easter eggs, start by blowing the yolk and whites out of the eggs. Use a nail to gently tap a hole in the round end of the egg. Move the nail around in the hole a bit to make it larger. Tap a second hole in the pointy end of the egg; this one can be a bit smaller. Use the nail to stir up the inside of the egg and break the yolk. Blow on the pointy end of the egg so that the egg’s insides come out into one of the bowls. Rinse the inside of the eggshell with water and pat the shell dry.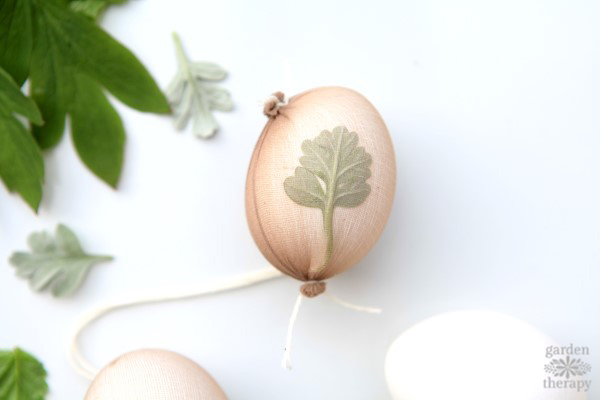
Place the eggs into sections of a nylon stocking that are tied on one end with baker’s twine. Press a leaf, top side facing the eggshell, inside the nylon and pull the other end tightly to hold it in place. Tie the other end of the nylon firmly with baker’s twine.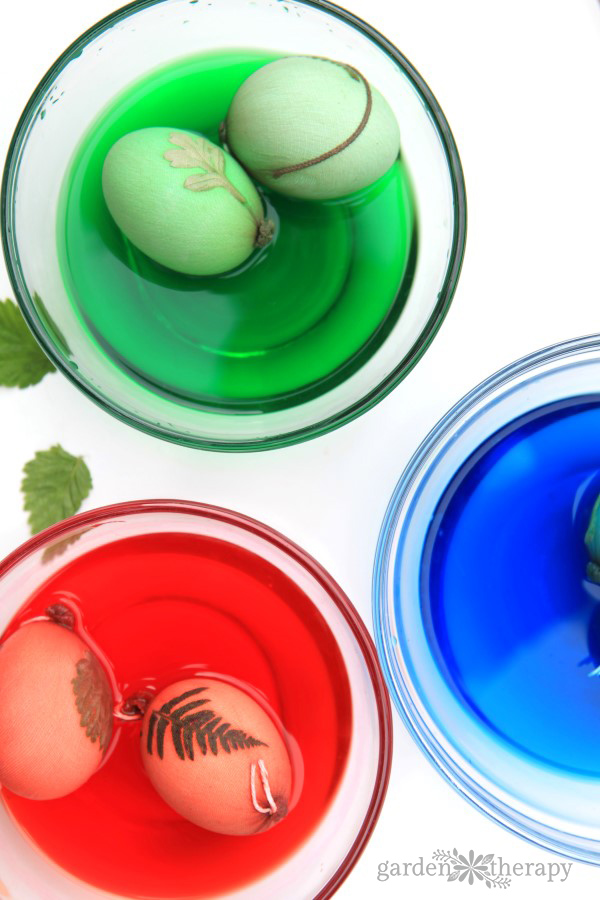
Prepare the dye in the other three glass bowls by mixing a half cup water, two tablespoons vinegar, and some drops of liquid food coloring. Start with 10 drops and add more for a darker color. I used almost a whole bottle of yellow dye added to a few drops of red and about 20 drops of green to get the shades I like. All dyes will have different concentrations, so use your judgment when mixing the colors.
Dip the egg into the dye and use a spoon to baste it. Basting it with the dye will allow the color to be more even around the egg. The dye should be transferred in just five minutes or so, but you can remove the eggs and test the color when you think they are ready. Add them back into the dye if you want a deeper color.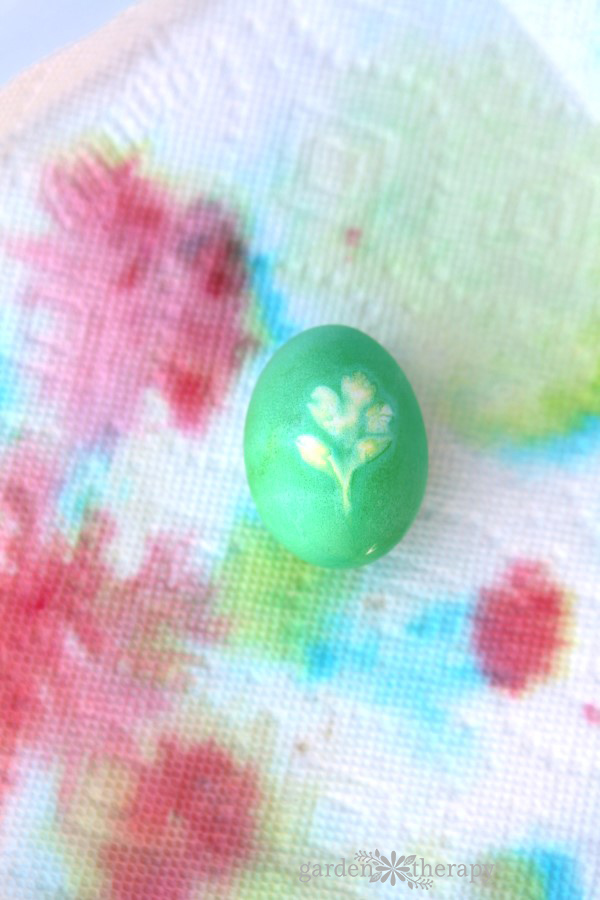
Remove the nylon by cutting away the baker’s twine. Remove the leaves and allow the eggs to dry completely by setting them into a cardboard egg carton.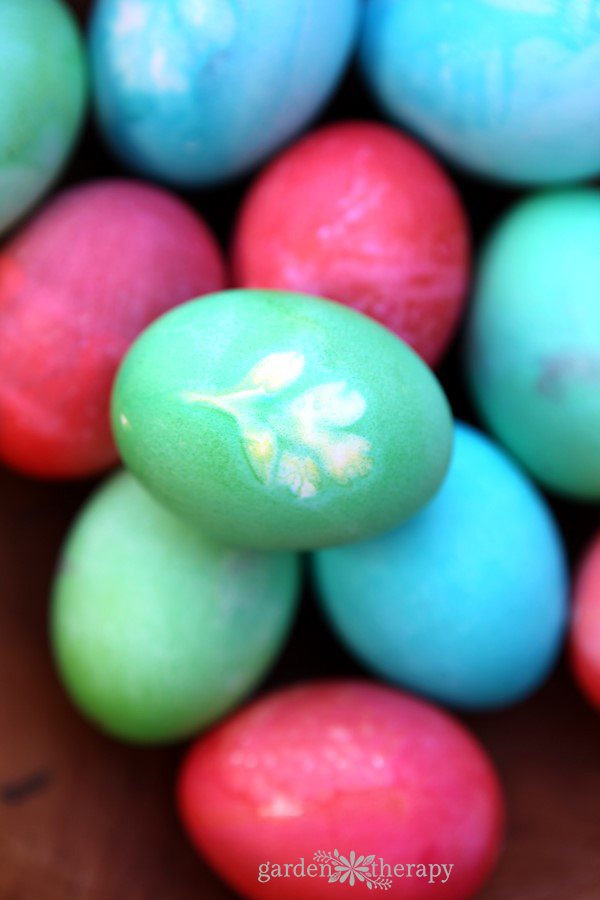
Display your leaf imprint Easter eggs and enjoy!

Monday
Tuesday
Wednesday
Great news! You can also enter to win the tablecloth giveaway by commenting on this or any of the other projects in the tour! Just leave a comment in the comments section and those in Canada and the US (except Quebec and where prohibited) will be entered to win.









Truth be told I haven’t colored Easter eggs for so long I’m not sure I would know how! These are darling though and so fun for kids. Well done!
Love this idea! Would be fun with the kids!!
Oh, Stephanie! These are absolutely beautiful. I love how simple and elegant they look.
I love Easter eggs!! I always think they blank canvas and I this idea is very clever.
stephanie, i have never seen this method before, how clever. thanks for sharing some inspiration.