Handmade wedding favors are a really fun thing to make as a group with family and friends. Crafting up something simple to give to the guests can be a lovely bonding activity for bridesmaids, family, or anyone else who is helping with the planning of a wedding or other large event. You will have a blast spending a whole afternoon talking, laughing, and making! And let’s not forget the savings from creating your own favors instead of buying them. Most of all, I think that a little handmade flare for your wedding day is a thoughtful way to say “thank you” to guests from far and wide. That’s what I love about these Mason jar candle favors!
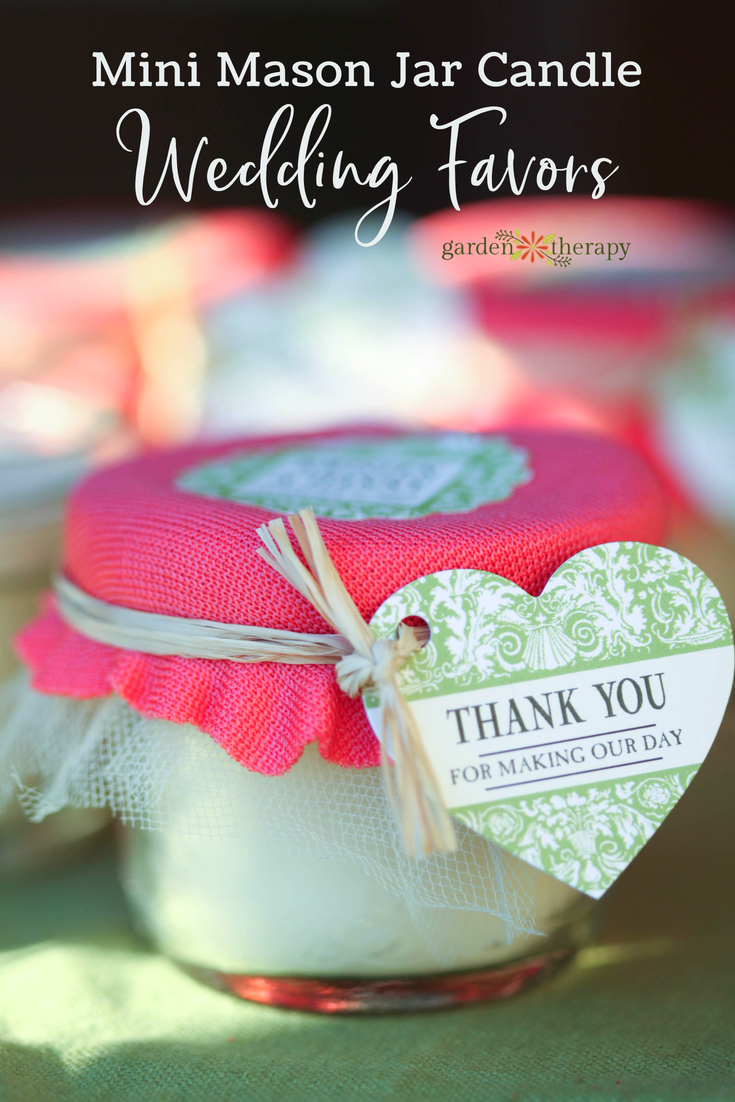
This project is suitable for even a beginner crafter. That means it’s a great choice if you want to get a group together for a day of candle making, no experience necessary. Imagine a fun afternoon with the bridesmaids making a few dozen candles for an outdoor wedding. Pick your scent to personalize the candles, then dress them up with fabric, tulle, raffia, and, of course, some beautiful labels!
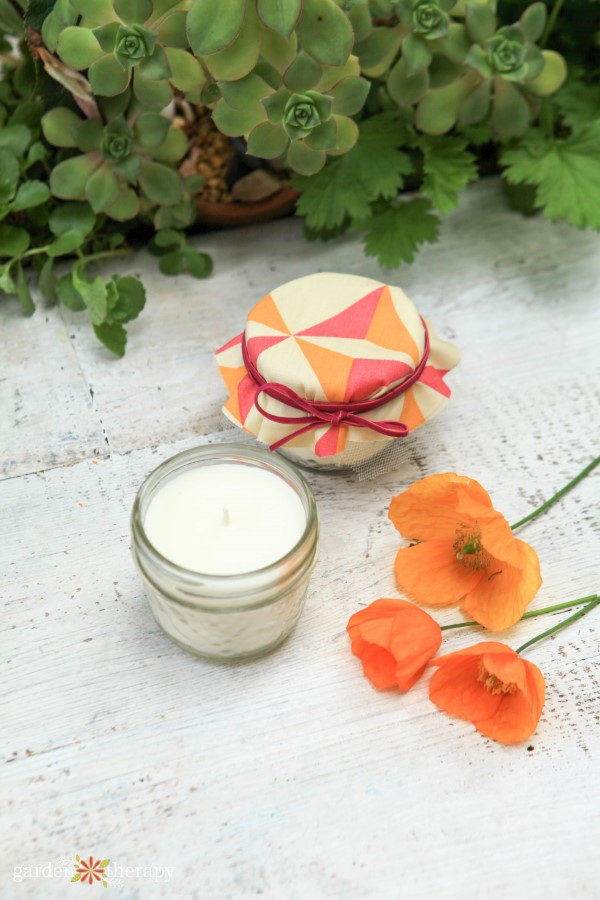
Want to match your candle favors to the decor theme of the wedding? Soy wax can be dyed any color you want and takes to fragrance perfectly. Try making a large batch and switching up the scents and colors in different combinations. Soy wax also blends well with beeswax which yields a smooth-textured, light golden, slightly-sweet-smelling candle that captures the benefits of both soy wax and beeswax.
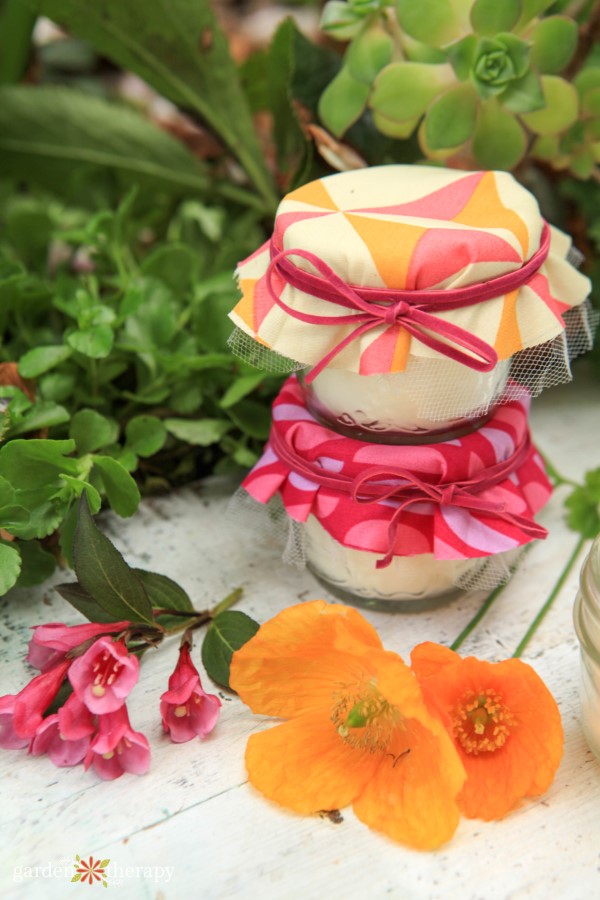
Makes twelve 3.5 oz (100 g) candles
Materials
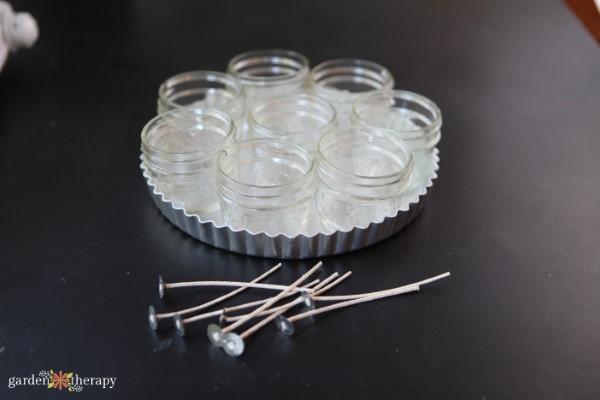
- Twelve 4 oz (125 g) jam jars with canning lids and rings
- 2 lbs 6 oz (1200 g) soy wax for container candles
- Twelve 4” waxed and wired wicks with tabs
- 2.6 oz (75 ml) essential oils for scent (optional)
- Crayon pieces or wax dye for color (optional)

Equipment
- Double boiler
- Hot glue gun and glue or wax adhesive
- Thermometer
- Kitchen scale
- Chopsticks or clothespins
- Old towel

Make it!
Assemble the double boiler and measure wax into the top pot. Heat over medium heat setting, stirring regularly.
While the wax is melting, measure essential oil and prepare the crayons or wax dye.
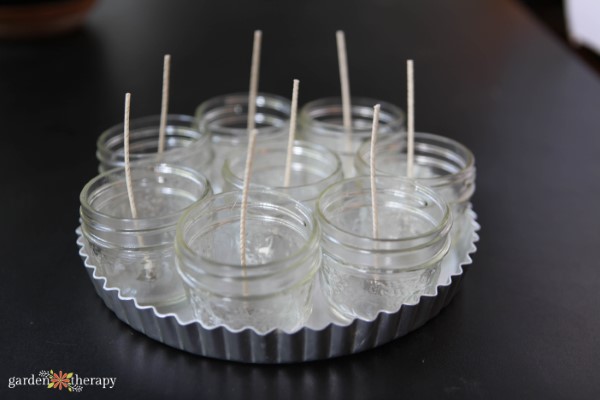
Prepare the jars by adding a bit of hot glue or wax adhesive to the bottom of the wick tab and press it firmly into the center of your container.
If you are adding color and scent, bring the wax to the specified temperature for adding dye or scent oil (i.e.: 160°F—see the instructions that came with your wax). Add color and scent and mix thoroughly to combine.
Cool wax to 140°F and carefully pour into jars. Wrap a towel around the outside of the jars and set aside to cool.
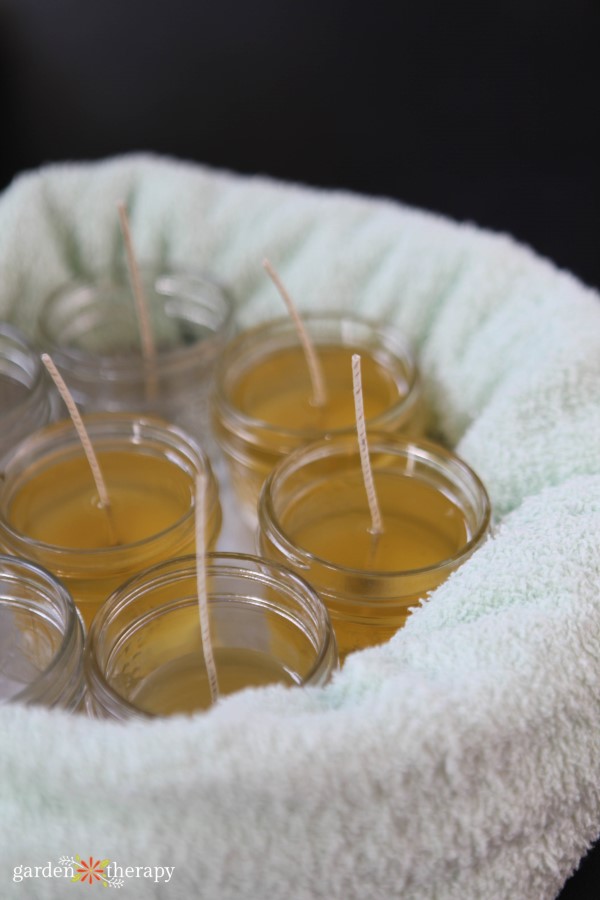
Prop up the wicks with a chopstick or clothespin to keep them centered.
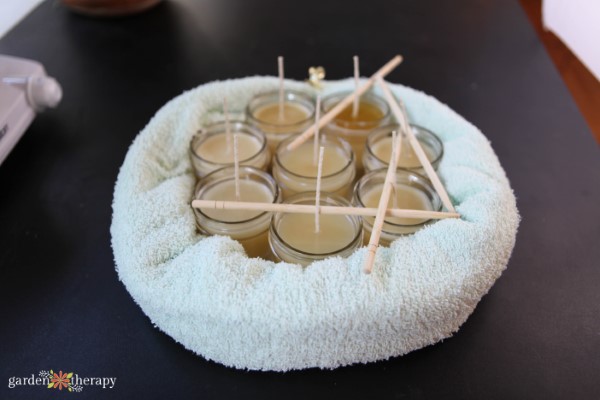
Be careful not to disturb the candles too much while they set. Once set, trim the wicks to ¼” above the wax.
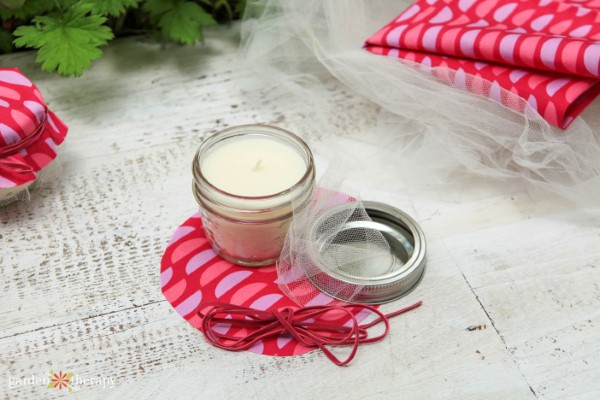
Give it!
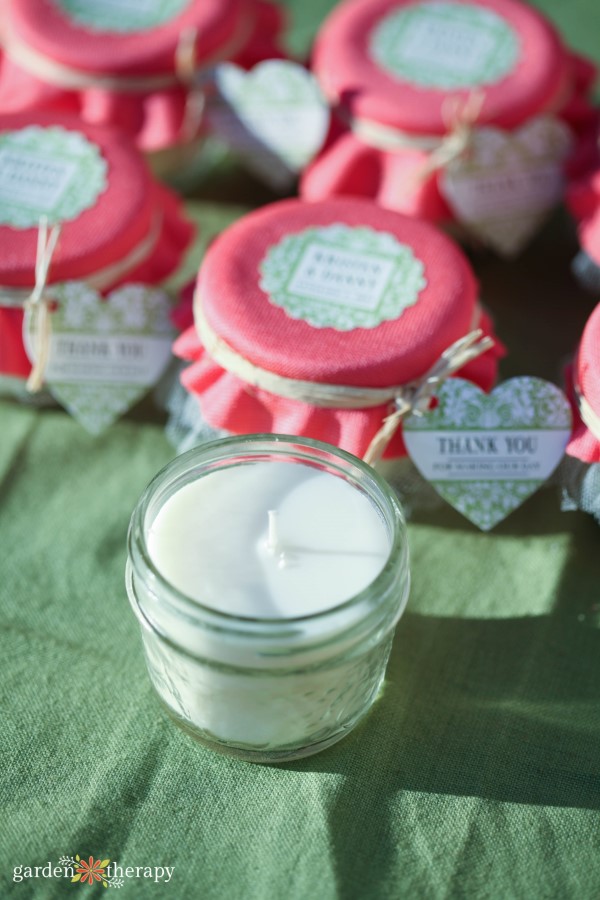
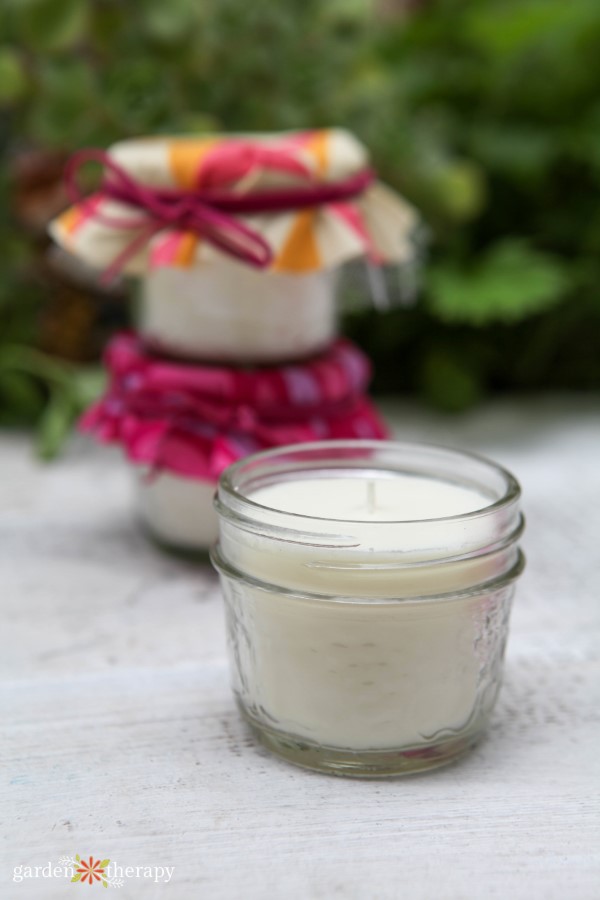
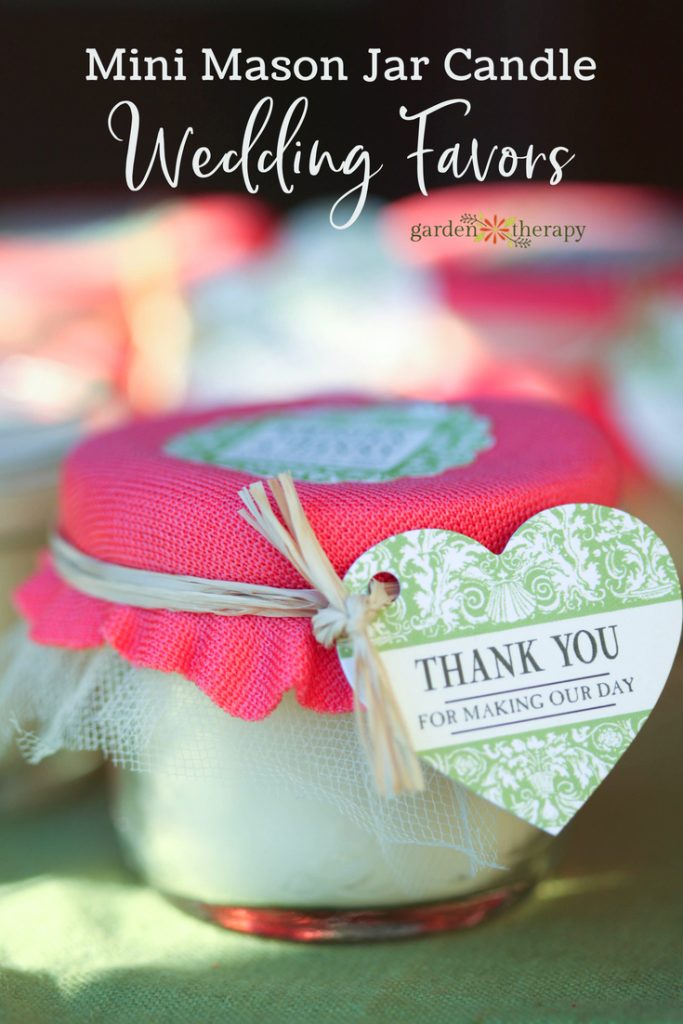
To make these jam jars picture perfect, cut out a circle of fabric that is double the diameter of the jar lid. Lay a piece of tulle over the circle and cut a slightly larger circle of tulle. Layer the fabric over the tulle and secure by tying natural raffia around it. Add a personalized label and a tag for even more wow-factor.
More Ideas to Dress Up a Summer Wedding:
- Pretty Up the Party with Birdcage Hanging Basket Planters
- A Sweet Garden Party Treat: Edible Flower Lollipops
- Creative Gift-Giving with DIY Pansy Crafts
- How to Make the Perfect Edible Flower Ice Cubes



This is awesome! I’m already thinking of doing this for Christmas :) Thank you for sharing :)
Great idea. One concern though, isn’t that a fire hazard?