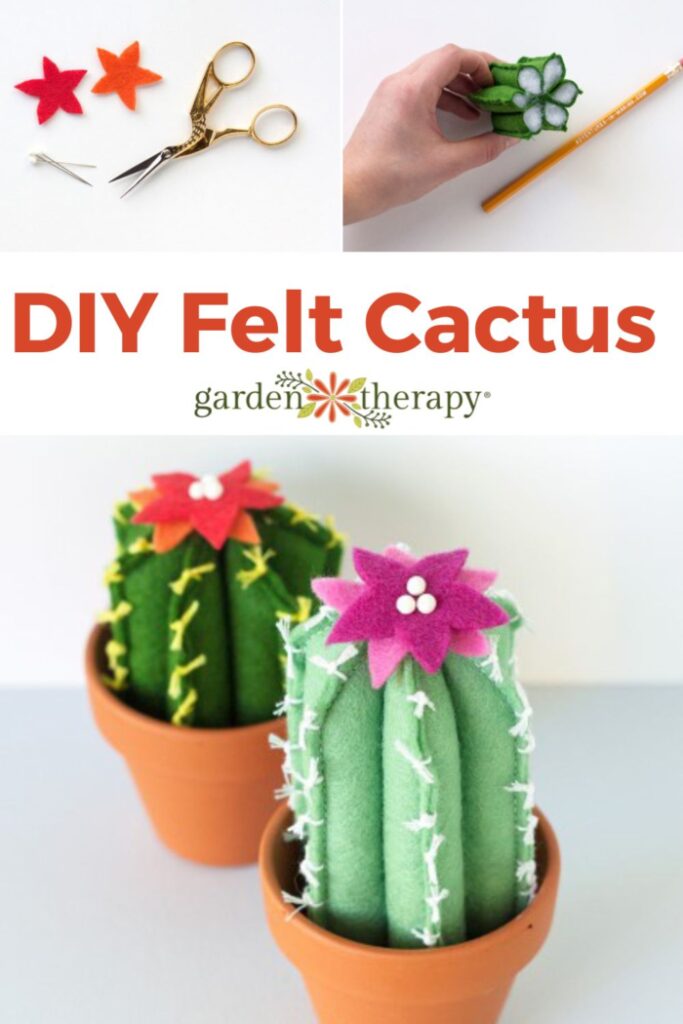
Looking for your next afternoon craft project? This felt cactus project is not only ADORABLE but easy to make too. Use them to decorate your home or gift them to friends who insist they have “brown thumbs” when it comes to keeping plants alive. They’ll appreciate a cute ‘plant’ that can’t be killed.
I love having indoor plants in my home. Unfortunately, none of my windows receive any direct sunlight, which means that come winter, I’m struggling to keep my little plants alive.
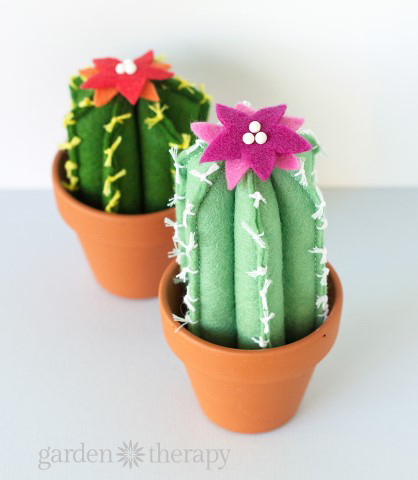
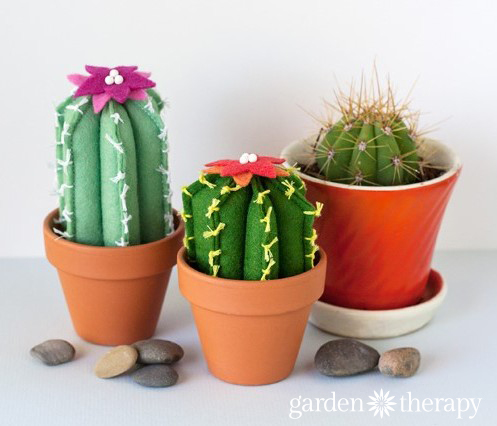
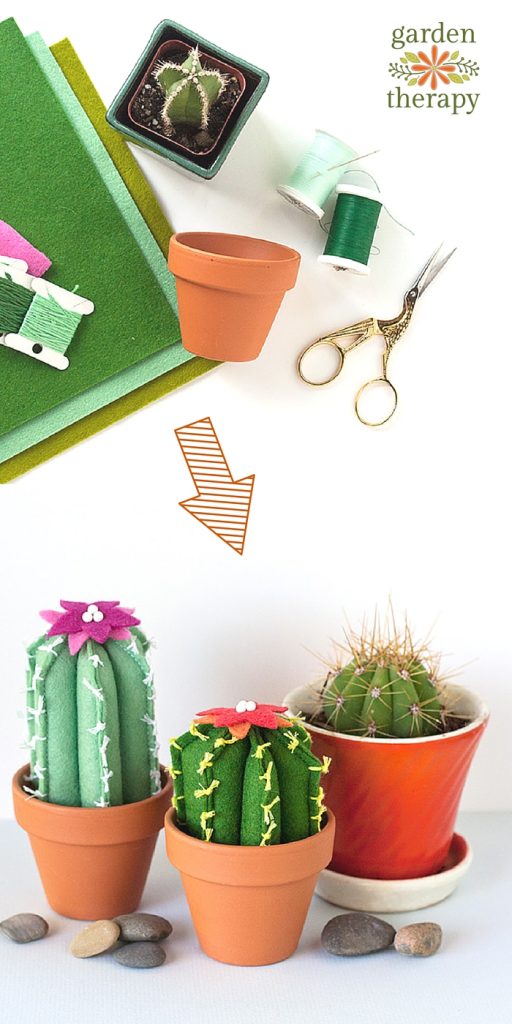
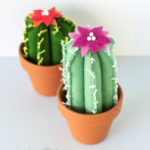
In an effort to resist my “it’s a new year, get a new plant” urges, I decided to make up some adorable felt cacti instead. Could you spot the difference between the felt cacti and the real one in the picture above? They look so cute sitting on my windowsill and come with a few bonuses: my cats don’t try to eat them AND they can never die!
No More Fake Cacti!
One of the reasons I adore these cuddly felt cacti so much is that they are a much better alternative to buying fake plants. Fake plants always look, well, fake! They look like plastic and are prone to collecting dust. While these felt cacti aren’t trying to look real, they acknowledge they aren’t the real thing by being cute and cuddly.
Plus, have you ever been pricked by a cactus before? Whether I’m walking by, watering, or trying to repot a cactus, you betcha it is ready to poke me. These felt cacti would never be so mean!
Felt Cactus: the Perfect Beginners Sewing Project
This project is great for beginners. Oftentimes when people hear sewing, they think it will be a lot of extra, hard work. If you are new to sewing or have never done it before, I encourage you to give these felt cacti a try.
While making it, I used a sewing machine for efficiency. But if you don’t have a sewing machine, don’t feel like lugging it out, or aren’t sure how to use one, stitching by hand is also fine. Felt is an easy and forgiving material to use for hand sewing as it hides mistakes well and isn’t as slippery as other fabrics.
How to Make a Felt Cactus
For this project, I used a sewing machine simply for efficiency, but you could easily stitch everything by hand. Whichever method works best for you will work just fine!
The following lists may include affiliate links.
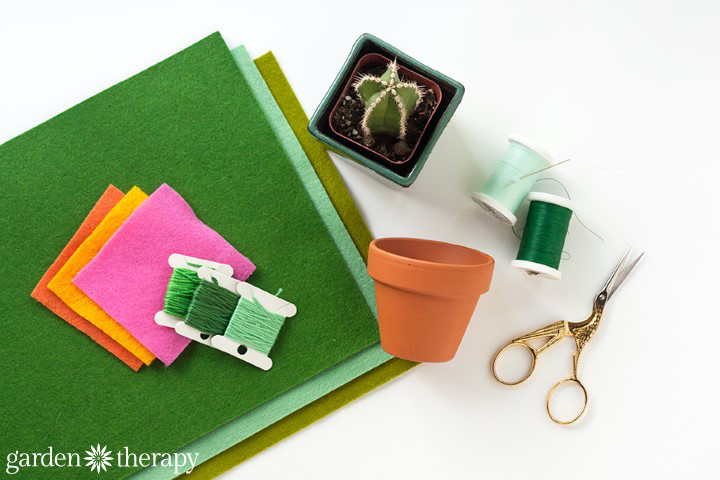
Materials:
- Felt
- Embroidery floss
- Sewing thread & needle
- Fiberfill
- Small terracotta pots
- Pins
Or get all the supplies in one place with this DIY cactus kit from Etsy.
Additional Tools:
- Sewing machine(optional)
- Sewing scissors
- Craft scissors
- A real cactus (for inspiration)
Make It!
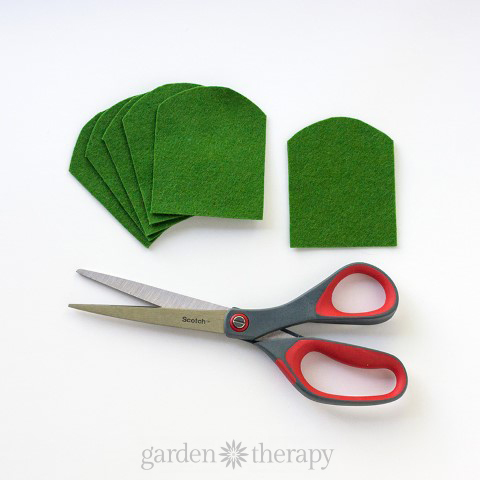
Choose a green-colored sheet of felt and cut out 6 rounded dome shapes as shown below. You can make your own paper template first or cut out one shape, and use that as a template for cutting the other 5. Keep in mind the width should be about the same as the diameter of your terracotta pot. The length can be as long or as short as you like (depending on what type of cactus you like best).
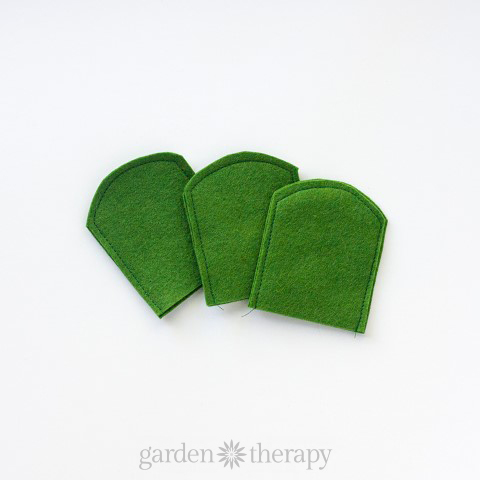
Pair up your cut pieces and sew along the edge, leaving the bottom open as shown in the photo below. When sewing, keep in mind that this seam will be visible on the finished product.
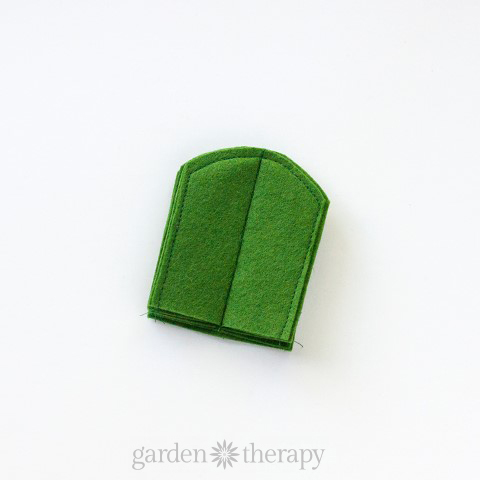
Next, stack the three sewn pieces on top of one another and sew a line down the center, through all 6 layers of felt.
Stuff each section with fiberfill. I used a pencil to help stuff each section nice and full.
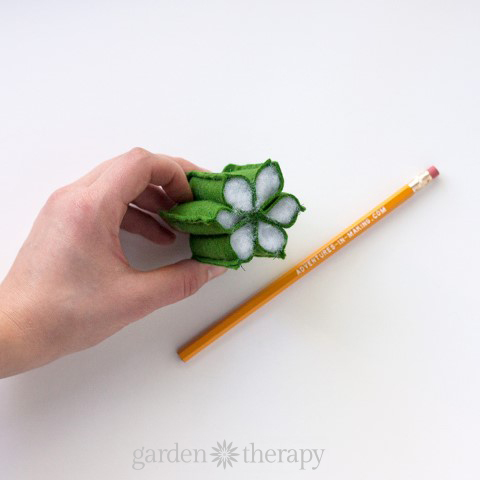
Now your cactus is starting to take shape! Next, choose some bright colored felt and cut out two little flowers (to be layered on top of each other). This is one of the best parts about a felt cactus…it is forever in bloom!
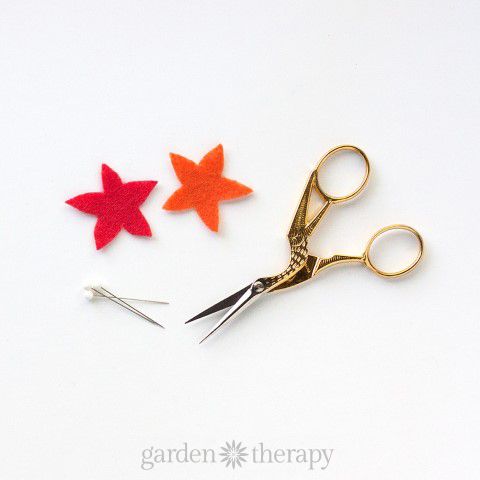
Use three pins to secure the flowers to the top of your cactus (the pins creating the center of the flower).
Next, use embroidery floss to create the pokey spikes. Thread your needle with embroidery floss but don’t tie a knot in the end. Poke through the edges of the cactus but be sure to leave a thread. Tie it in a knot and then clip your thread. Once you have all your spikes, you can trim them all to match and be the same length.
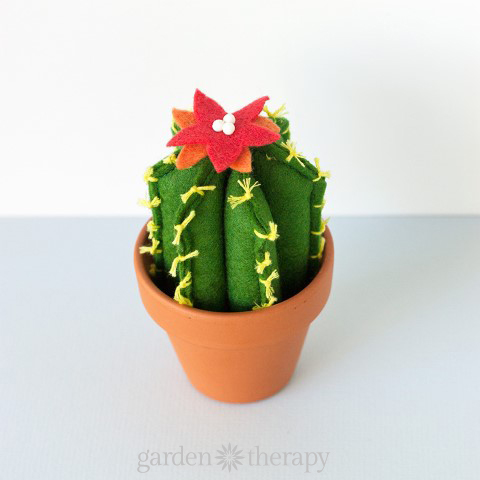
Once you’re finished, insert your cactus into a terracotta pot and you’re done!
Pin it!
I hope these cuddly felt cacti made you smile! Be sure to check out Rachel’s book, Felt Decorations: 15 Eye-Popping Projects to Create, for even more unique felt projects!
More Projects to Try:
- How to Make a Butterfly Feeder
- How to Make Concrete Planters
- DIY Stepping Stones for Your Garden
- How to Create a Moss Terrarium
Cuddly Felt Cacti
Equipment
- Sewing machine optional
Supplies
- Felt
- Embroidery floss
- Sewing thread & needle
- Fiberfill
- Small terracotta pots
- Pins
- Sewing machine (optional)
- Sewing scissors
- Craft scissors
- A real cactus (for inspiration)
Instructions
- Choose a green colored sheet of felt and cut out 6 rounded dome shapes. The width should be the same as the diameter of your terracotta pot. The length can be as long or as short as you like.
- Pair up your cut pieces and sew along the edge, leaving the bottom open.
- Stack the three sewn pieces on top of one another and sew a line down the center, through all 6 layers of felt.
- Stuff each section with fiberfill. I used a pencil to help stuff each section nice and full.
- Choose some bright colored felt and cut out two little flowers (to be layered on top of each other).
- Use three pins to secure the flowers to the top of your cactus (the pins creating the center of the flower).
- Use embroidery floss to create the spikes. Thread your needle with embroidery floss but don’t tie a knot in the end. Poke through the edges of the cactus but be sure to leave a thread tail. Tie it in a knot and clip your thread. Once you have all your spikes, you can trim them all to be the same length.
- Insert your cactus into a terracotta pot and you’re done!
Rachel Beyer is an artist, designer and creative maker living in Portland, Oregon. She spends her days working at Molly Muriel Apothecary and blogging at Adventures In Making. Her favorite hobbies include cooking, gardening, and crafting.


Cute ideas :)
My cactus has turned out beautifully! Thanks to your wonderful guide. I was wondering how you got the embroidery floss spikes to attach to the cactus. Thanks
Randi, try threading a needle with embroidery floss with no knot in the end- and poking through where you want it to be on the cactus, pretty close to the edge. Pull it through but leave a tail that you can tie in a knot. Tie a couple knots and then clip off. When you get as many as you want you can trim so they are all the same length.
Hope that helps!