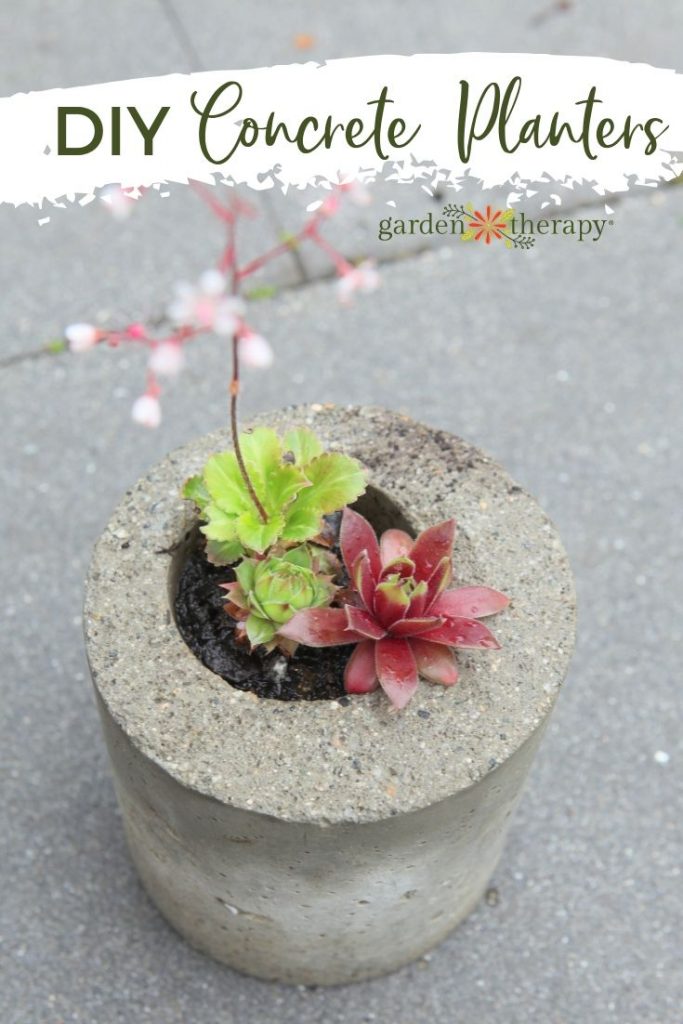
These DIY concrete planters are simple to make in just a weekend and with materials you may already have around the house. They look modern with unique shapes that come straight from the recycling bin! Grab just a few supplies and let’s make concrete garden pots!
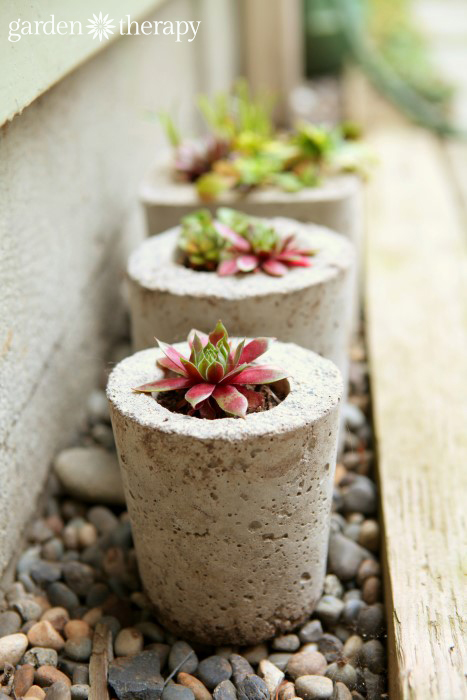
I made these concrete planters many years ago, and have since made many more for gifts and to decorate my home garden.
At the time I didn’t write out the whole tutorial with steps and materials, so here it is. I know you’ll enjoy this project in your garden as much as I have.
- How to Make Concrete Planters
- Materials
- Make it!
- More Garden Projects with Concrete
- Leaf Print Stepping Stones
- Large Leaf Cast Stepping Stones
- Adorable Hopscotch Stepping Stones
What Kind of Concrete Should I use for Concrete Planters?
Before you start grabbing bags of concrete from the local home improvement store…stop! You’ll need to find topping or repair concrete rather than your standard mix.
The reason for this is that standard concrete has gravel in it. These larger stones will affect the overall look and function of your DIY planters.
Instead, look for a smooth concrete made of sand without large rocks. This is typically the type of concrete used to repair concrete or as a top coat for rough surfaces. As long as the planter isn’t huge, this will be the best concrete to choose.
How to Make Concrete Planters
You’ll be plesantly surrpised at how easy these planters are to make.
Materials
- Plastic containers to use as concrete molds—choose all sorts of shapes for the molds, but make sure that the plastic is strong enough to hold the shape of heavy concrete. If the sides of the container are too flimsy, they will warp and you will get some weirdly-shaped planters (although they may also turn out kind of fabulous!).
- Cooking oil – we’ll use this to grease the molds, so it doesn’t need to be anything fancy.
- Foam brush
- Fine concrete – see notes above
- Trowel
- Rocks
- Drill
- Concrete drill bit
Make it!
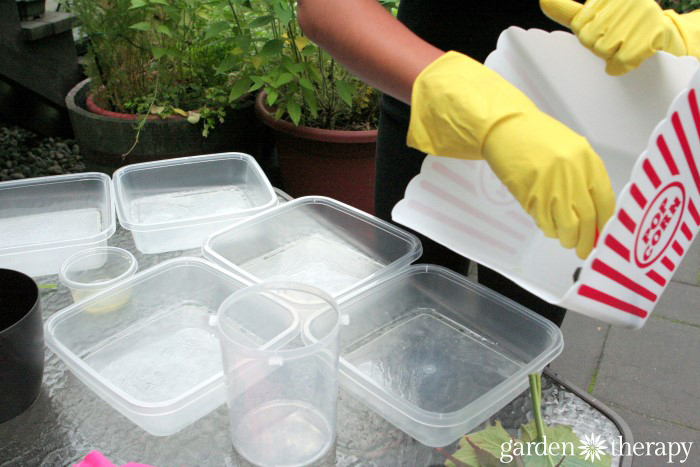
Thoroughly grease the containers with cooking oil so that the concrete doesn’t stick. I’ll write it again for emphasis: thoroughly. It can be tough to get the concrete out of the molds, so take some time and grease them up well.
You will thank me later. ;)
Mix the concrete by following the instructions on the package. Next, scoop concrete into a large mold and set a second, smaller mold into the first one. Make sure that you grease both the outside and the inside of the smaller mold.

You can fill the smaller one with more concrete and insert an even smaller mold in that one. Keep going until the planters get too small and fill the final one with some pebbles to weigh it down.

Top up all of the planters with more concrete and tap them to remove bubbles. Smooth the surface so they even out.
It’s important not to skip this step as bubbles will create weak points in the planter which can lead to cracking and breaking.
Let the concrete planters dry for 24 hours. Unmold them by shaking the concrete loose, or cutting it away where it is too difficult to remove. It may take a bit of work, but if they were well oiled this is where you will thank me.
I have used the same containers many times over now, so it is possible to get them out with some upside-down shaking.
Now, let the containers cure for another week or so to ensure that they are fully ready for drilling. Use a concrete drill bit to drill a hole into the bottom of the planter for drainage.
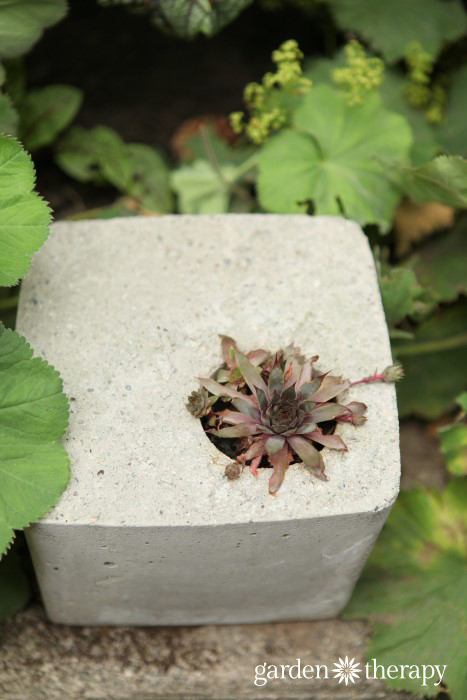
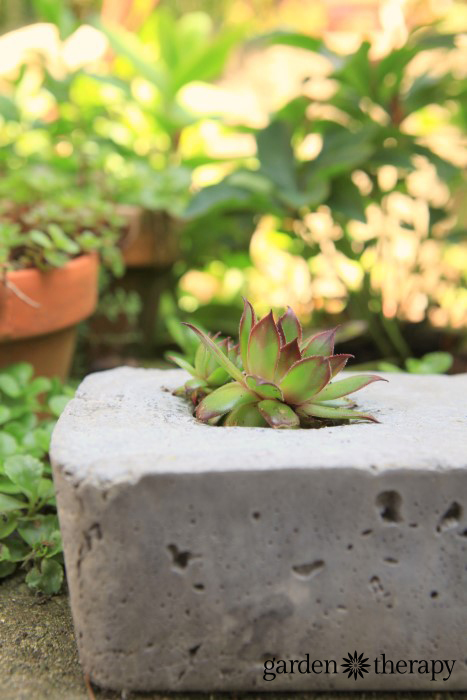
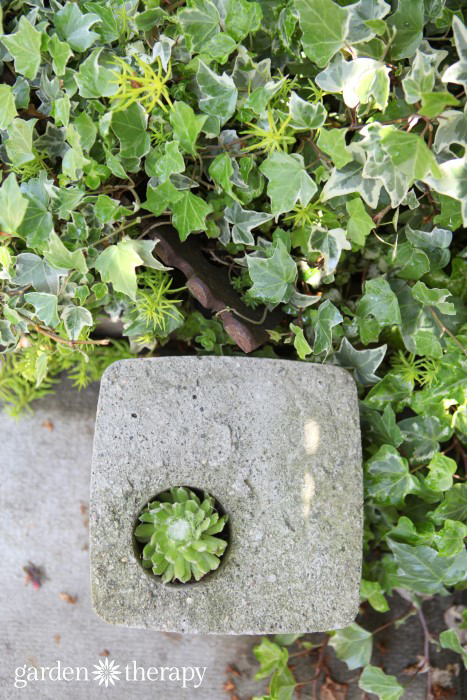
Plant them up with some succulents or your favourite annuals and keep them well watered. Set them around the garden and enjoy!
FAQs About Concrete Planters
Concrete pigment or dye is the easiest way to stain your planters. I made a version of these planters with concrete dye layers for my book, Garden Made. 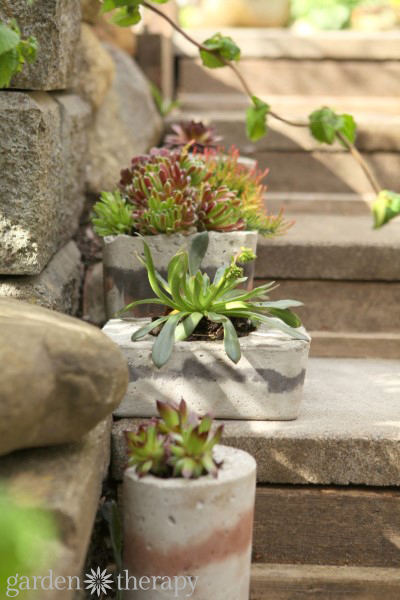
Yes, you’ll need drainage holes in these planters. There are two ways you can do this. Each has its merits and both require some finicky work.
Firstly, you can follow the method mentioned above with drilling holes into the bottom of your planter.
Secondly, you an add PVC pipe for drainage, which is what I did in the colorful planters above.
The PVC pipe requires measuring it and cutting it to the right height to go from the inside planter to the outside one. Oil it well and pour the concrete around it.
With the PVC pipe, you will inevitably be chipping at it (or drilling it!) to get the excess concrete out of the hole, so choose your method based on what you have on hand.
More Garden Projects with Concrete
Or you can visit my other concrete garden projects. Happy creating!
DIY Concrete Planter
Equipment
- Trowel
- Foam brush
- Drill
- Concrete drill bit
- Gloves
Supplies
- Plastic containers to use as concrete molds choose sturdy containers that will hold their shape
- Cooking oil
- Fine concrete topping or repair concrete, do not use standard concrete
- Rocks
Instructions
- Use your cooking oil to make sure your containers are thoroughly greased. Don't skimp here – the more grease the better!
- Mix up the concrete by following the directions on the bag.
- Add concrete into your greased mold, then place a smaller greased mold inside the center of the first to create a spot for the plants. Weigh the inner mold down with rocks.
- Add more concrete to top it off if necessary, and use the towel to smooth the top flat.
- Let the planters dry for 24 hours.
- Unmold the planter by either cutting the container or shaking it loose.
- Let the containers cure for another week. This is necessary to make sure they are fully dry and ready to use.
- Use a drill with a concrete bit to create drainage holes on the bottom of the concrete planters.
- Add your favourite plants and enjoy!
A city girl who learned to garden and it changed everything. Author, artist, Master Gardener. Better living through plants.


Do you use any kind of sealer on your planters? If not, why? Doesn’t the water seep though and make them unusable indoors? And if so, what kind(s) do you recommend?
No sealer needed. They are water tight. I also add drainage holes and set them on a saucer.
When in the process do you add drainage holes and what do you use to do this?
Hi, this is a more in depth DIY process that I show in detail in my book, Garden Made. Grab a copy from the library or bookstore and it will show you how!
excellent