This WallFlower certainly does not fade into the background. On the contrary, it comes alive with three dimensions of an art composition straight from nature! With foliage that jumps out to meet you alongside bark, moss, pinecones and even mushrooms, this art proves that anyone can have a garden. Whether you have a plot of earth outdoors or not at all, this WallFlower living frame will bring the garden inside for year-round enjoyment!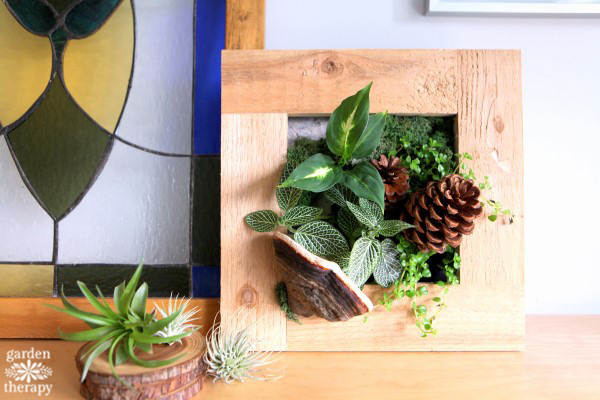
This WallFlower living frame was provided to me to from ByNature Designs after I toured their East Vancouver studio. You can see my tour photos of their cool MossArt here and living vertical planters here. The WallFlower frame comes with a pouch of specially-formulated soil that has a number of cotton wicks out the bottom. Once you soak the soil well to hydrate it and add in plants, the wicks sit in a trough at the bottom of the frame that holds water. This smart system ensures that the soil never dries out, and that your plants stay very happy.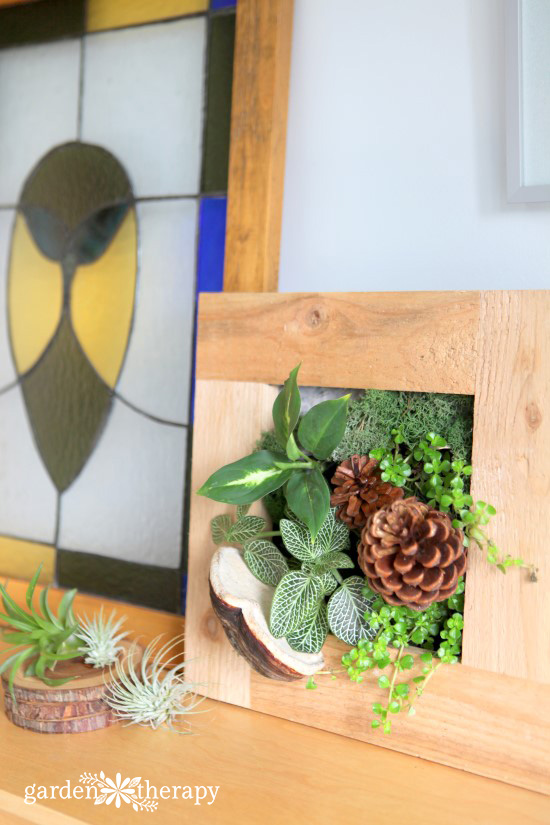
Despite that fact that the wicking system means low-maintenance water regulation on an on-going basis, I found it fairly difficult to get the water hydrated at first. I soaked the pouch in a bucket of water, including the wicks, yet it only became lightly hydrated. It wasn’t until I cut the pouch open to insert the plants that I was able to soak the water well enough. Once I figured that out, the rest was easy peasy!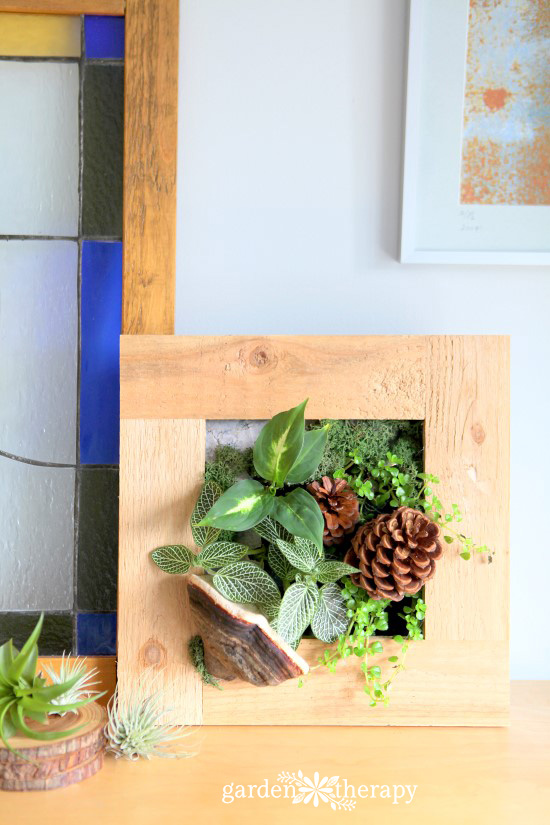
Plants for Indoor Living Wall Planters
Nicolas Rousseau from byNature provided me with a list of the best plants for WallFlower planters, and if you remember the photos of their studio tour, they sure know which plants thrive in an indoor vertical environment! He recommend plants sold in a 2″ pot for WallFlower planters such as:
- Ivy species (green and variegated)
- Spider plants (Chlorophytum species)
- Pilea Baby Toes (Pilea depressa)
- Pilea Kireweed (Pilea depressa)
- Pilea Aluminum (Pilea aluminum)
- Baby Tears – Helxine (Soleirolia soleirolii)
- Creeping Fig – (Green/Riki/Bellus) (Ficus repens)
- Philodendrons (Pothos golden, Pothos marble, Pothos jade, Poths satin, etc.)
- Schefflera (Schefflera species)
- Dracaena (Dracaena species)
- Pothos (Scindapsus species)
- Fittonia (Fittonia species)
- Assorted mosses
- Assorted ferns
Nicolas also can recommend the following plants that are often not sold in 2″ pots but will also work well in a vertical frame
- Peace Lily (Spathiphyllum species)
- Nephthytis (Syngonium species)
- Sprenger’s Asparagus (Asparagus densiflorus)
- Plumosa Ferns (Asparagus plumosa)
- Anthurium (Anthurium species)
In addition, I chose plants for my WallFlower from the miniature garden section at my local nursery. If you are in Canada, contact ByNature Designs for the plants. In the US, the best curated selection of miniature garden plants can be found at Two Green Thumbs Miniature Garden Center.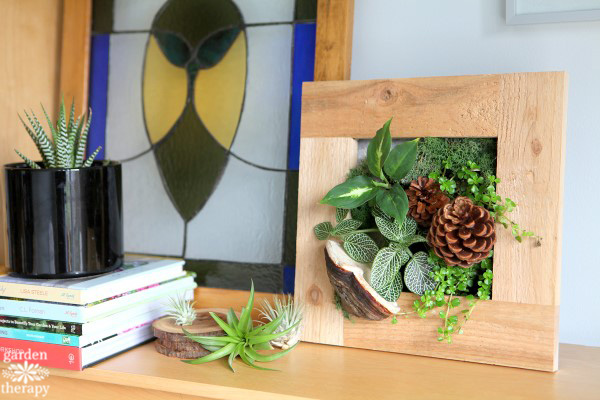
The plants I used for this project are:
- Fittonia verschaffeltii
- Pilea depressa
- Pothos
Materials
- WallFlower Living Frame
- Plants (as listed above)
- X-acto knive
- Bracket mushroom
- Pinecones on wires (see how to make them here)
- Birch bark
- Reindeer moss
- Hot glue gun and glue
- Paint brush
Make it!
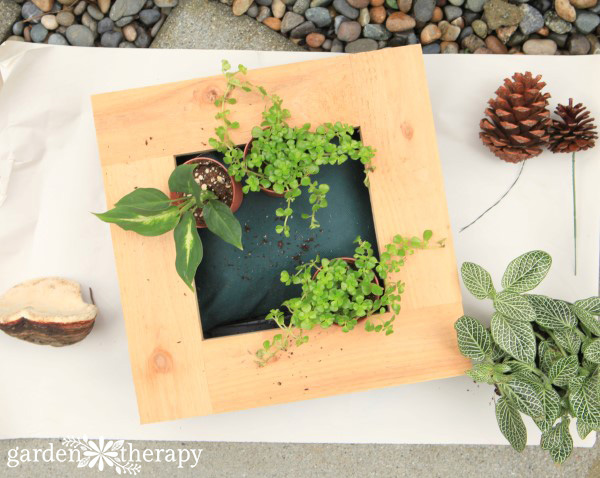
Soak the soil pouch in water, then assemble it inside the frame as outlined in the instructions (hooked on back with wicks hanging into the water trough).
Lay the planter flat on its back and cut an “x” in the fabric where you want to add the plants. Remove the plants from their pots and shake off some of the soil. Dig a little hole in the pouch where the “x” was cut and gently add the roots to the hole. Push the soil around the roots to hold in the plant and pull the fabric points of the “x” over the soil.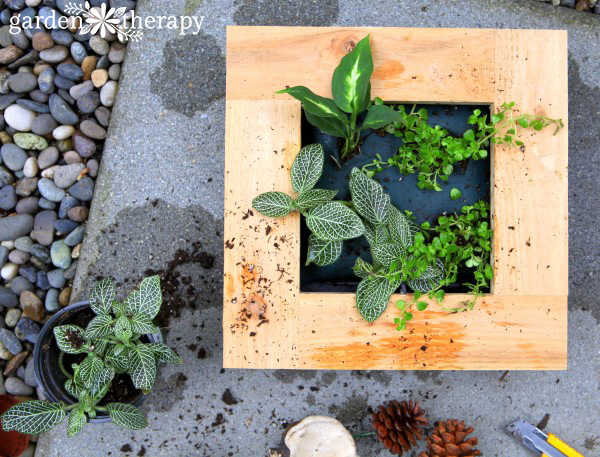
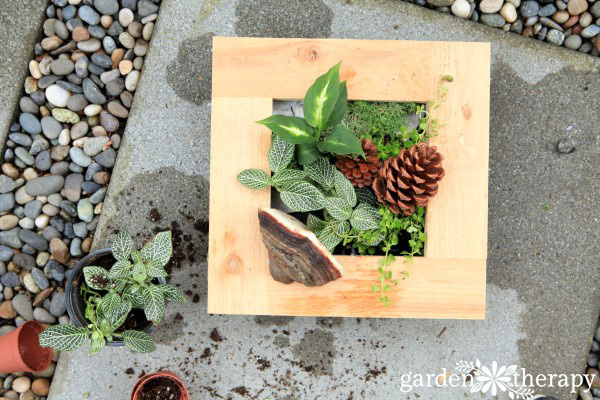
After all the plants have been added, add your decorative elements. I tucked in some pinecones on wires (see how to make them here) and used a hot glue gun to attach a bracket mushroom.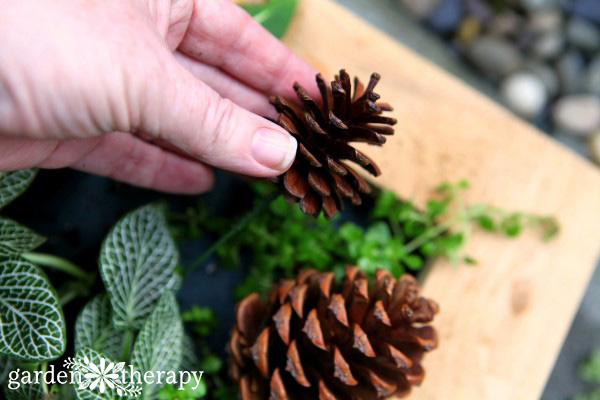
I covered some of the area between plants with birch bark and moss.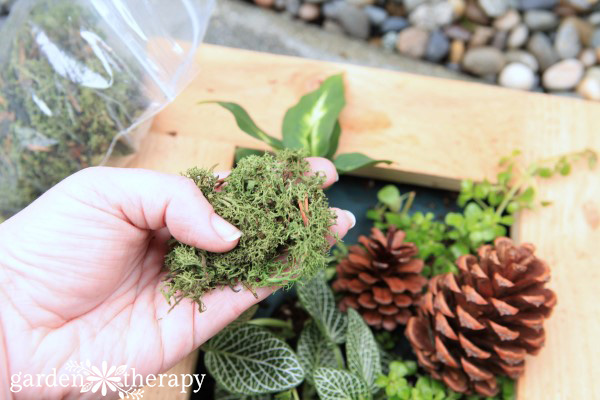
Use a soft paint brush to dust off any soil.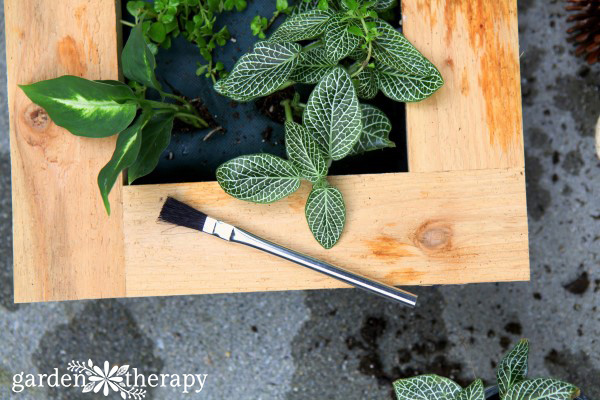
Voila!
Hang on the wall or set on a shelf, fill the water trough, and enjoy your ever-changing artwork.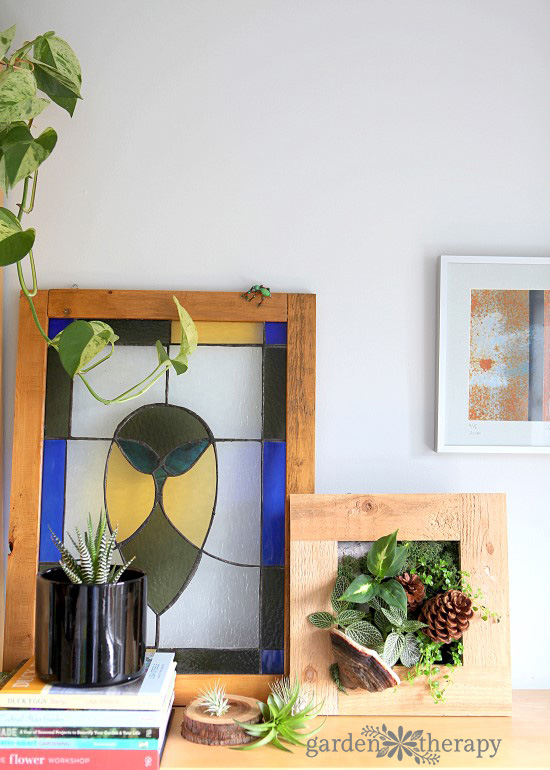
Note: don’t let the water trough dry out. In the first few days the trough needed to be filled every day. After a few days, the water needs to be topped up every 2-3 days. I also use a mister to spray the plants every day or so.
Here is a video on how the WallFlower planter that shows more of the pouch and the wicking system if you want a little more visual guidance!

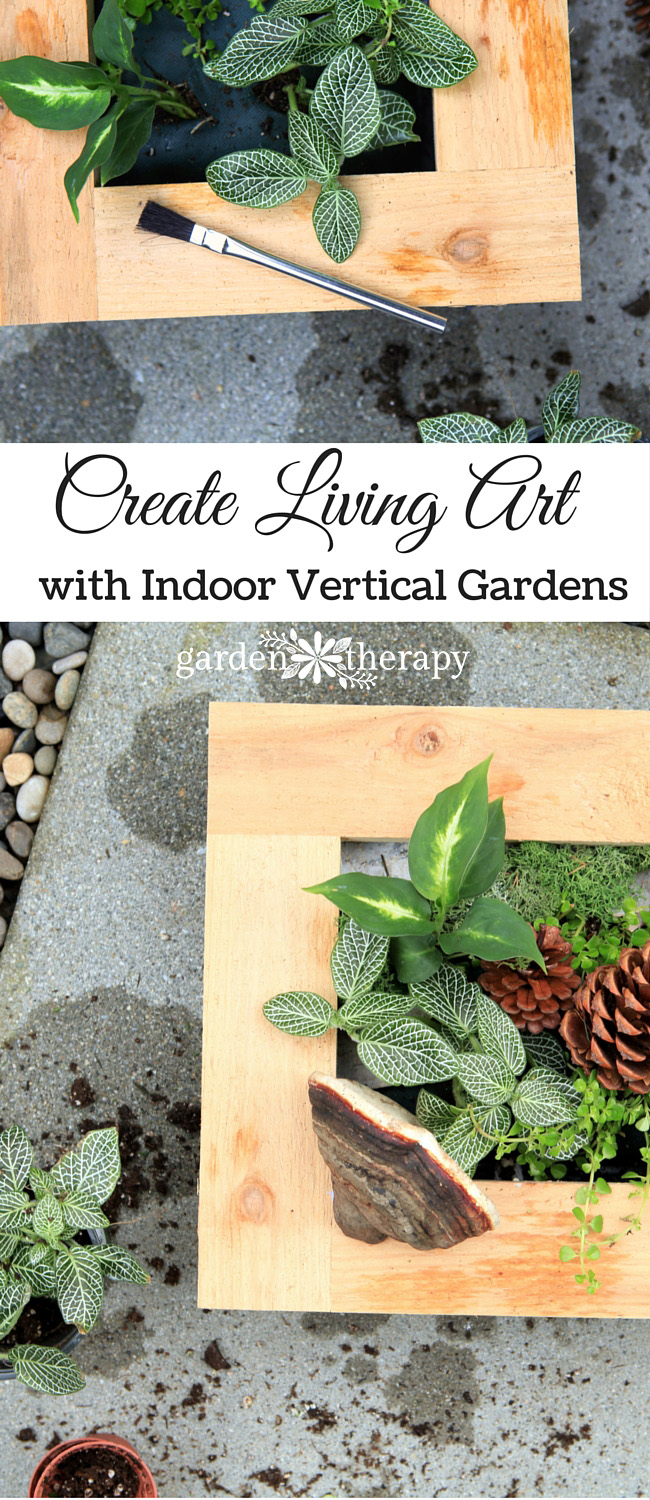
Pin it!
A city girl who learned to garden and it changed everything. Author, artist, Master Gardener. Better living through plants.


There square measure many styles ofexclusive designer created Lehenga kind sarees and bandhani sarees too.
The national characteristic of the Kazakh people is hospitality.
Umrah packages are of many types depending on standards of services required by pilgrims depending upon their needs budgets.
What a pretty project! I’d love to have one of these in every room. Great tips of how to water too. Thank you for the inspiration.