Worms have dug their way into my heart, and you’re about to understand why! Using the power of worm castings, you can completely transform your garden naturally. Master the practice of vermicomposting with this guide on how to use worms and kitchen scraps to create the best organic matter.
When it comes to friendly bugs, why do bees, butterflies, and ladybugs get all the love? While I appreciate these beneficial bugs as much as the next person, I’m here to shout out my love for worms from the rooftop gardens around the world.
Whether you think of worms as friends or hard-working employees, they are a welcome addition to my garden every day. Even if I can’t see them.
An unknown practice to many, vermicomposting harnesses the superpowers of the worm to create some of the most potent fertilizers around. With vermicomposting on your side, you will have the fullest, greenest plants in the neighbourhood by far!
Here’s what I’ll be covering today…
- What is Vermicomposting?
- Composting vs Worm Castings
- Types of Worms
- Taking Care of Your Worms
- Create a Home
- Feeding Your Worms
- Worms on Vacation
- Troubleshooting
- Rotate Where You Place Food Scraps
- Foul Odour
- Fruit Flies
- DIY Vermicomposting Bin
- Materials
- Make It!
- Harvesting Worm Castings
- How to Use Worm Castings
- FAQ About Worm Castings
What is Vermicomposting?
Vermicomposting is the fancy word for having worms as pets. Or, more technically speaking, intentionally using worms to decompose kitchen scraps and carbon materials like paper and straw.
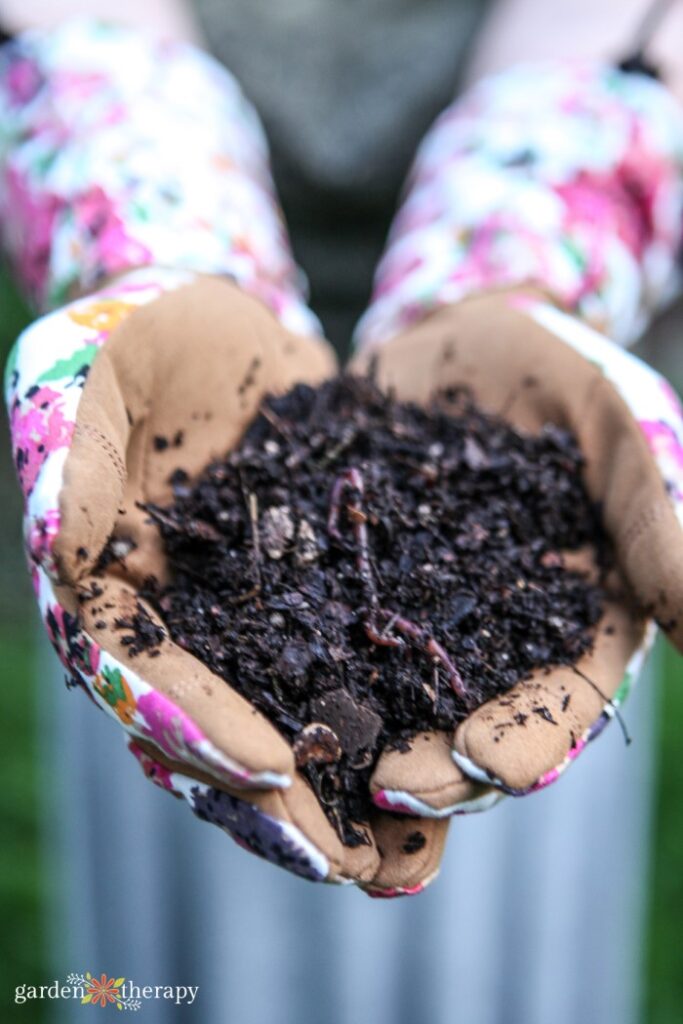
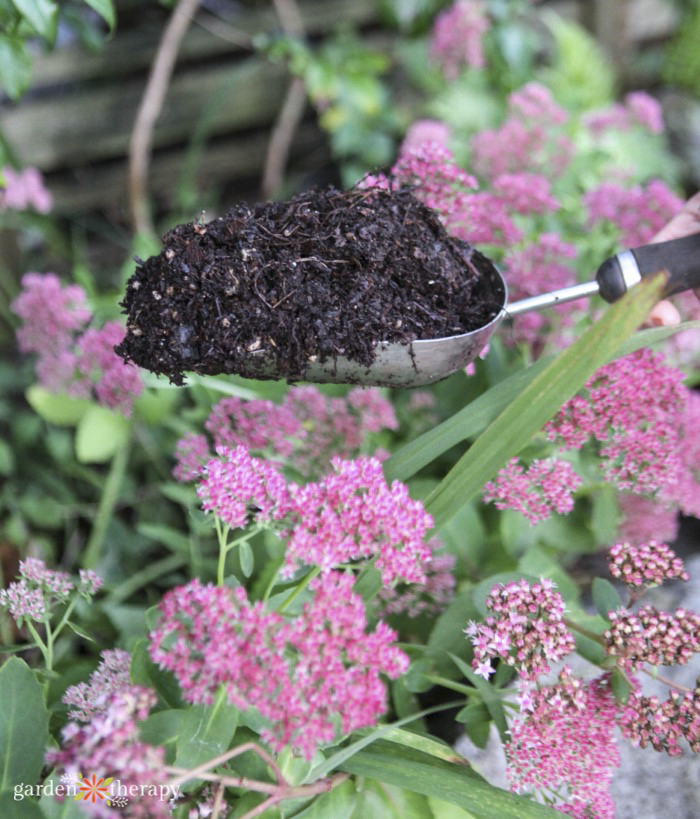
This results in worm castings. And yes, worm castings is a nice word for worm poop.
Why on earth would you want worm poop, you ask? Worm castings have a much finer texture than soil and are excellent when it comes to holding moisture. If you want a balanced garden fertilizer, they are highly nutritious, though the N-P-K values will fluctuate based on the worm’s diet.
Worm castings look like very rich soil. You will see dark brown, teeny tiny bits of material. When you harvest them, you try to leave behind all the worms and take their castings in gratitude.
Composting vs Worm Castings
You can add worm castings directly to your soil or as a wonderful addition to your compost.
Similar to composting, you need greens, browns, water, and air in order to make vermicompost. BUT, you need another very essential ingredient…worms!
As mentioned earlier, vermicompost holds moisture. This is due to its high concentration of humus, a carbon-based substance that not only keeps soil hydrated but spongy texture also helps to aerate the soil. Combined with the high levels of nutrients, vermicompost tends to be more valuable than compost in the garden.
You will see that reflected at the store too. You can purchase worm castings anywhere that also sell compost. Vermicompost will have a higher price tag than compost, which is why making your own vermicompost bin is so valuable!
Since you have living creatures in your vermicompost, you need to keep your bin cool. Compost on the other hand values heat to decompose material and this helps to kill pathogens, weed seeds, and other issues. This means that vermicompost may still have some pathogens and other tiny bugs inside.
However, the extra nutrients and benefits of vermicomposting are well worth it. The process is completely safe for you and your plant babies.
Types of Worms
Not all worms are born equal. When it rains, you can’t simply go outside and collect worms off the sidewalk to put in your vermicomposting bin.
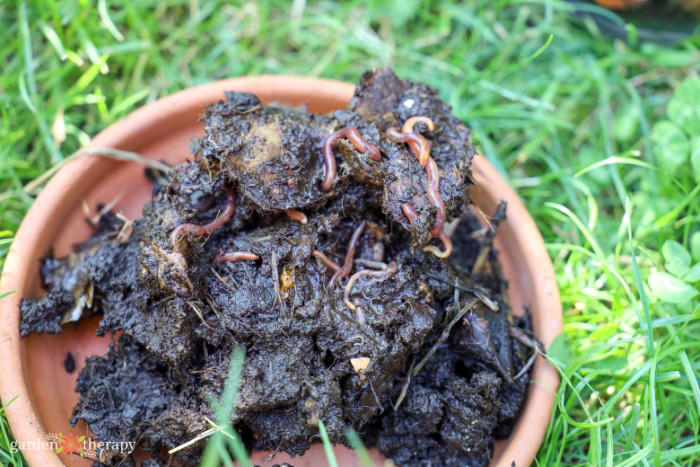
For vermicomposting, you don’t use the earthworms you would find out and about in your garden. Instead, you want hungry worms who will happily eat away your kitchen scraps.
Red Wigglers (Eisenia fetida) are the most common worm used for vermicomposting. They don’t like soil, instead opting to survive in decomposing leaves, manure, and other decomposing materials. This is why they thrive in a vermicomposting bin!
Another popular option is red worms (Lumbricus rubellus). They like similar conditions, although you will find them further down in the bin, and they may reproduce a tad slower than red wigglers. But they will happily eat away and create some worm castings for your benefit.
Taking Care of Your Worms
Create a Home
To make a home suitable for a worm king, you need to satisfy their 4 needs:
- Browns: the bedding and shelter for the worms to live in. They will also eat this too.
- Greens: garden waste and kitchen scraps for the worms to feast on.
- Water: typically, the kitchen scraps provide all the water that is needed.
- Air: air holes in your vermicomposting bin, along with loosely packed material, are necessary.
You’ll also need a bin itself. See below for an easy DIY version. If you provide all these materials, your worms will quickly get down to business and start digesting the food and bedding. Every month, their population should double, and they will slowly build up the space.
Don’t worry about expanding your worm bin. More often than not, you don’t have to worry about taking worms out or adding more. They’re self-regulating creatures. Once the food or space runs low, the worms will stop multiplying and control their own population. It’s a worm-eat-worm world out there.
Feeding Your Worms
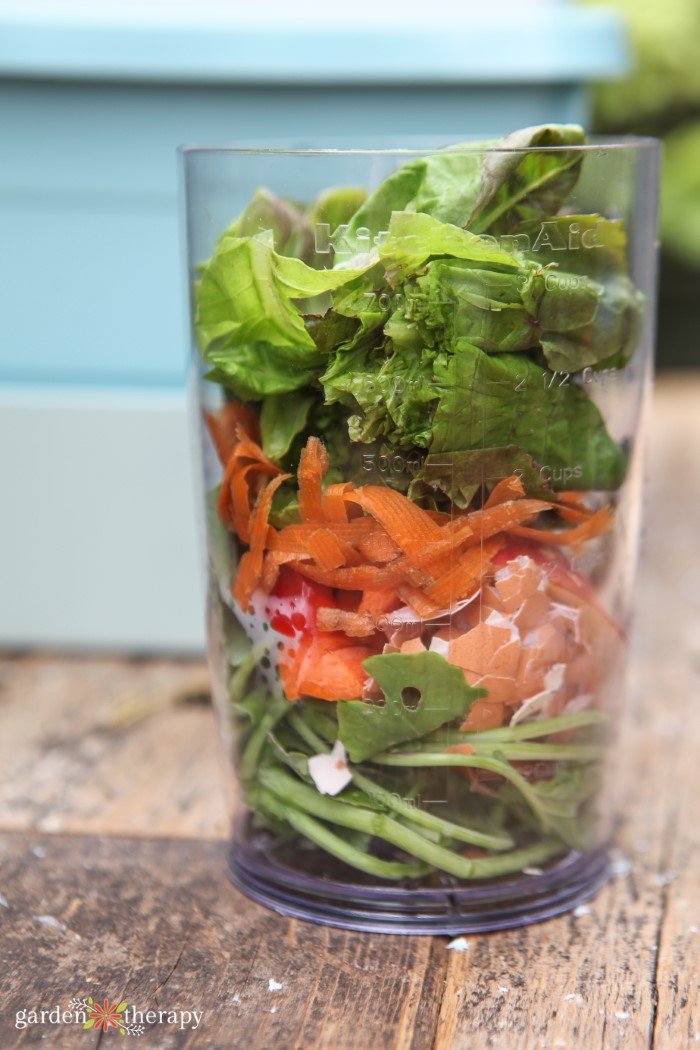
Think of worms as gluten-free, raw vegans. They have a very particular diet! Worms love to eat any raw vegetable scraps, eggshells, coffee grinds, flowers, and green leaves from the garden.
In terms of kitchen scraps, there are certain things you will want to exclude from your vermicomposting bin.
Avoid…
- Cooked food
- Dairy
- Meat
- Bones
- Vinegar
- Oil
- Citrus
- Juicy foods like tomatoes or watermelons
- Plant seeds
Like us, they need a balanced diet to stay healthy. Make sure that no more than 20% of the food is made up of one material. A mix is good!
Worms on Vacation
Worms may sound like high maintenance, but they will do just fine on their own. They can easily last a month on their own without any new food being added to their bin. Feed them before you leave and when you get home, and they will happily do their own thing while you’re away.
Troubleshooting
Rotate Where You Place Food Scraps
Some things may go awry with your bin. To make sure your bin is a hospitable place for the worms to live, alternate where you place your food scraps in the bin.
Each week, designate a new corner for the scraps. After a month, the worms will have eaten and digested the first corner of the scraps.
Foul Odour
An odour is also possible and indicates something has gone wrong. Look at your four corners and see if you can get to the root of the problem. For instance, lots of acidic materials can change the pH, and the worms migrate away to the opposite side of the bin where life is good.
Clean out the materials that seem to be causing the problem and replace any bedding as necessary. The bin should be spick and span again in no time.
Fruit Flies
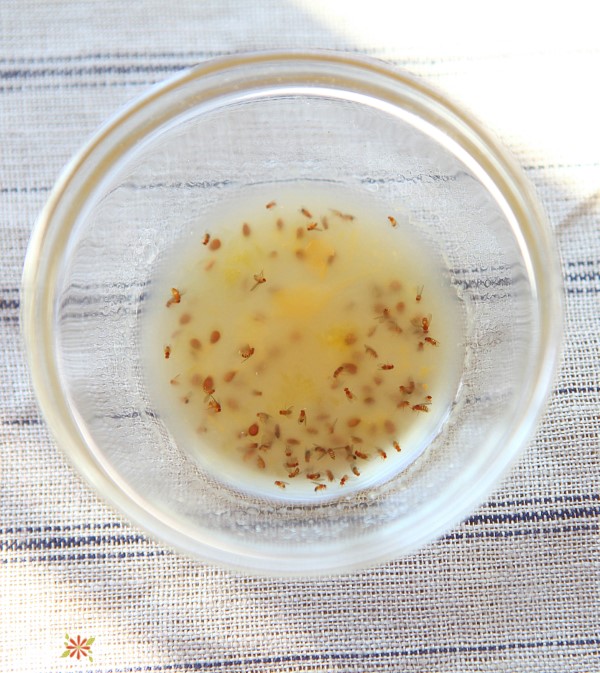
If fruit flies can’t get enough of the vermicomposting bin, make sure the bedding stays on top of the food. You may also want to avoid any fruit or sweet-smelling scraps that attract fruit flies.
And if all else fails, you can make a fruit fly trap and nestle it on top of the bedding to try and capture the pests.
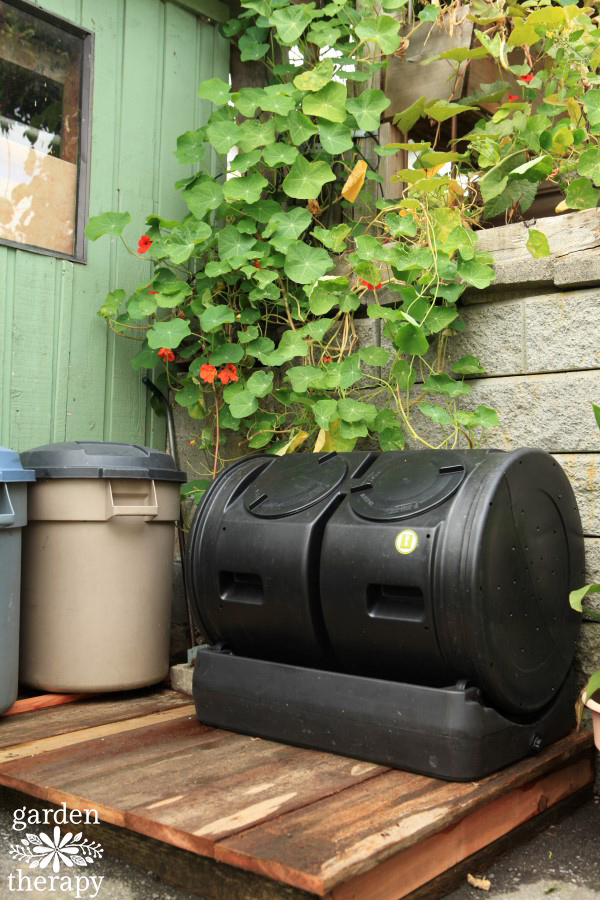
DIY Vermicomposting Bin
Over the years, I have used many different vermicomposting bins. However, my favourite comes from Pau Farré, who teaches workshops on vermicomposting at City Farmer here in Vancouver, BC. This project and 80 more can be found in my Garden Alchemy Book.
This design works perfectly for my urban garden, staying small but providing plenty of worm castings.
But I also have a worm hotel version throughout my garden that I have shared in my book, The Regenerative Garden. It helps folks work with nature rather than against it by showing the steps to make over 80 permaculture projects I use in my garden.
Materials
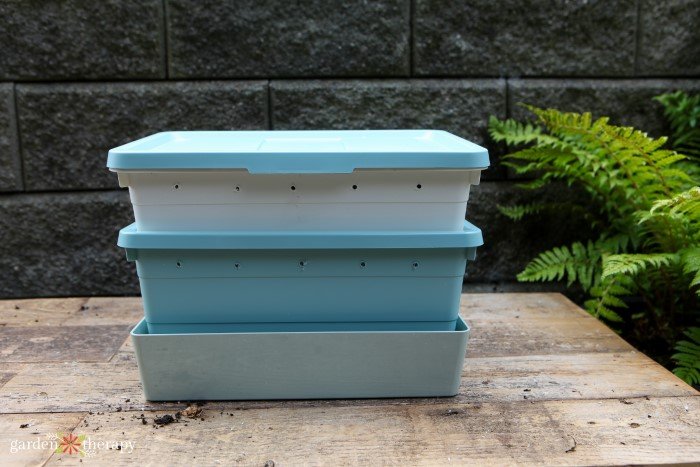
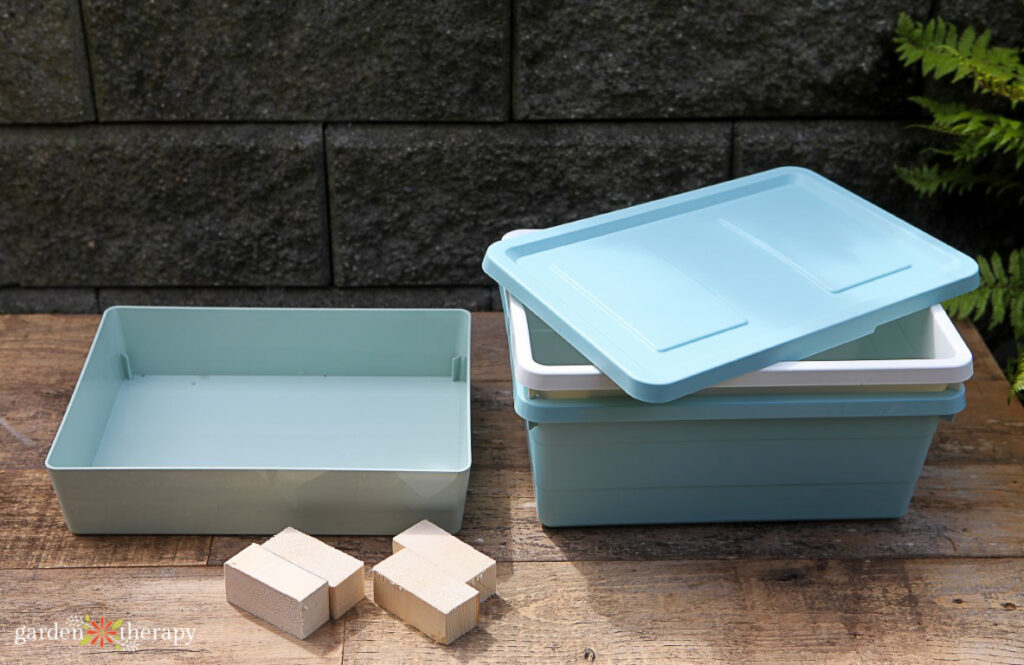
- Two nesting plastic bins (one with a lid)
- One shallower bin in the same width
- Power drill or hammer and nails
- Eight 2-3’ square wood blocks for risers
- Dry materials (shredded newspaper, straw, dried leaves)
- ½ lb red wigglers (approximately 500 worms)
- Kitchen scraps
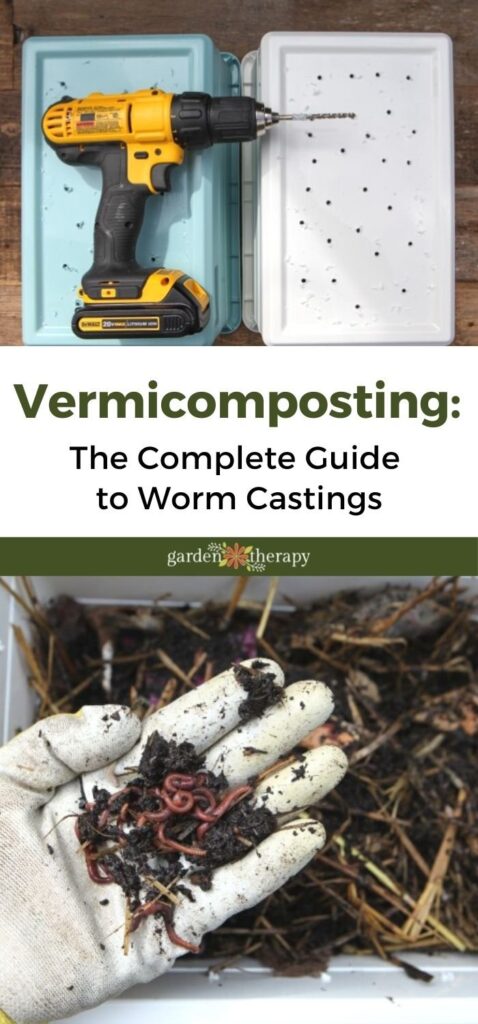
Make It!
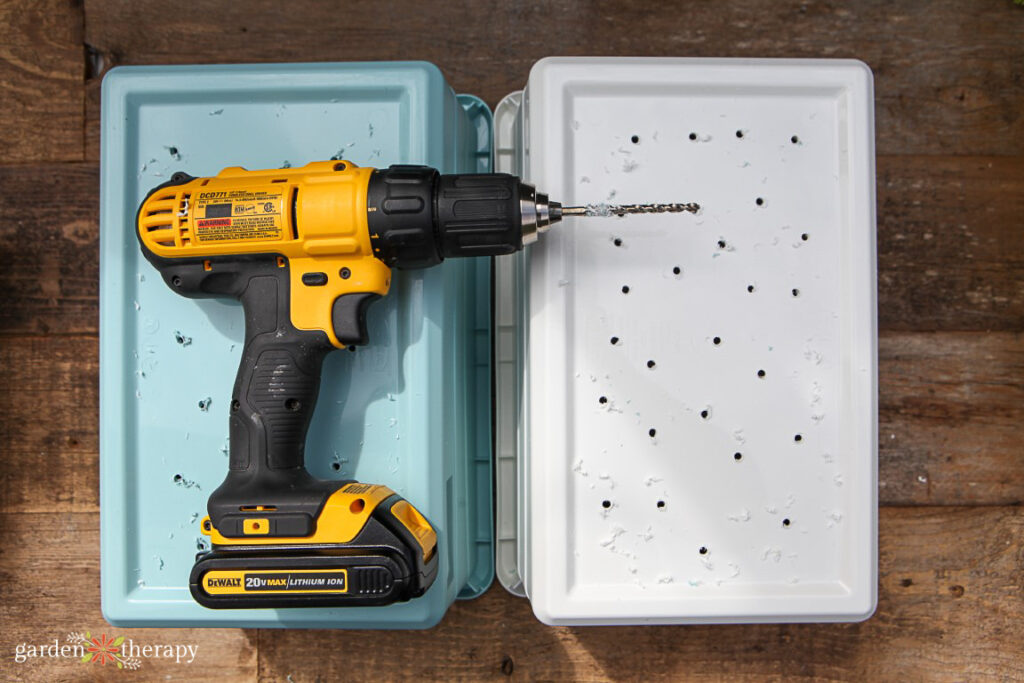
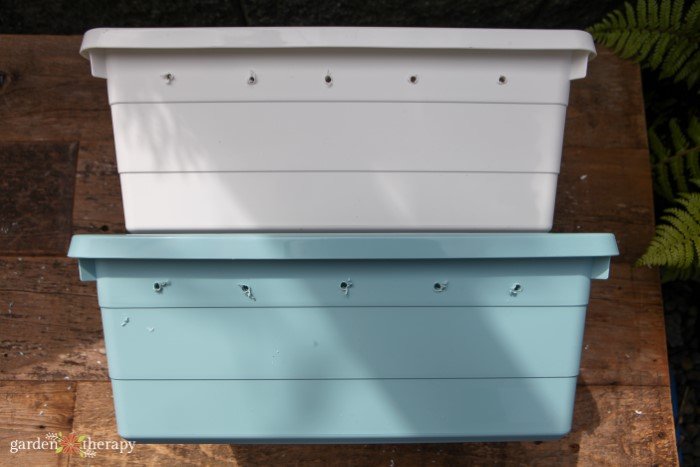
Using your power drill (or hammer and nails), make drainage holes at the bottom of your two nesting bins. Make air holes on the sides of the bin. The air holes should be spaced around the perimeter of the bin, above where the two bins overlap.
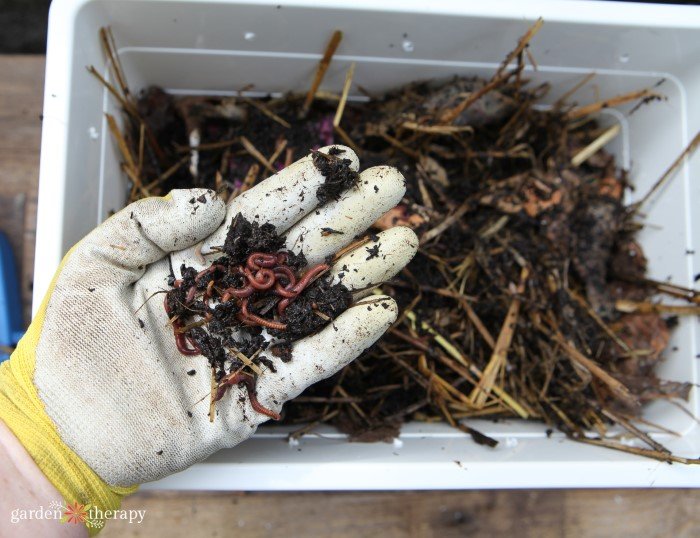
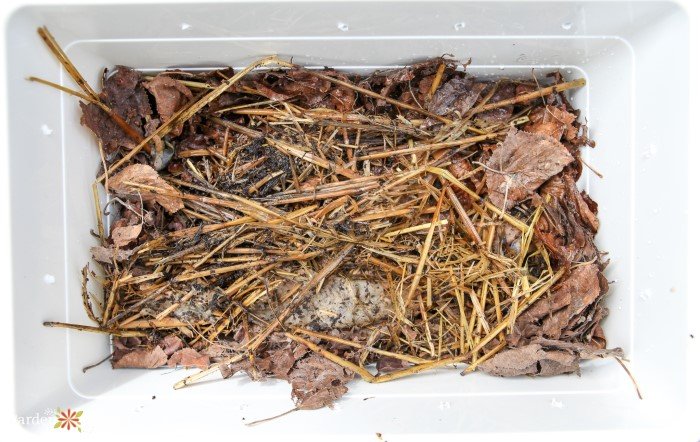
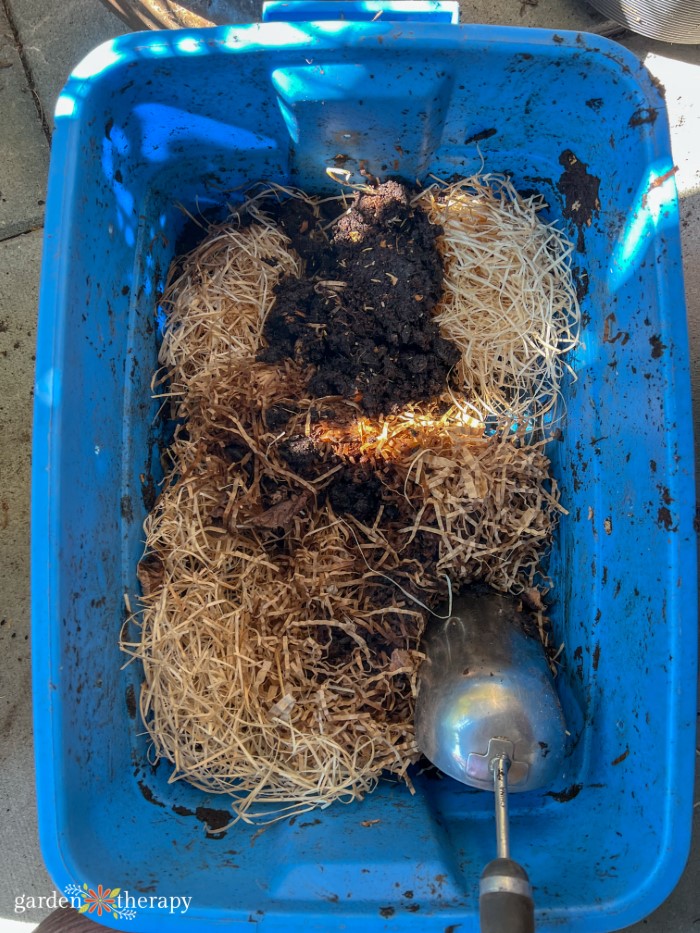
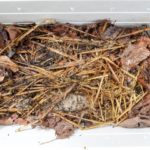
Fill one of the tall bins 1/3 full with the mixture of dry bedding materials. Wet down the bedding until it reaches the consistency of a wrung-out sponge.
Add your worms to one corner of the bin. On top of the worms and bedding, add 4 cups of roughly chopped kitchen scraps. Cover the kitchen scraps with another layer of dry materials, leaving them dry this time.
Place four of the wooden risers in the shallow bin to allow room for the leachate to drain. Set down the middle bin on top of the risers, then add four more risers in the bin. Place your worm bin on top and secure it with a lid.
Keep the vermicomposting bin outside in a cool, shady spot in the summer and a warm, covered spot in the winter. The temperature should be between 5-30°C. If you live in an area with a cold winter, move the worms to a garage or place a blanket over the top of the bin if it doesn’t get too cold.
Harvesting Worm Castings
My DIY vermicomposting bin makes harvesting worm casting bins easy, collecting in one easy bin. When you are ready for worm castings, stop feeding the worms for a few weeks until you notice that all the kitchen scraps have been digested.
Remove the dry top layer of bedding and move the worms to the middle bin. You want to set up the empty middle bin with new bedding and kitchen scraps, just as you initially set up the bin. This time, leave out the worms.
Put your new bin on top of the one that contains all the worms and castings. The worms will now migrate up through the holes to get to the bin with the food. This leaves you with a nice, clean supply of castings to use in the garden. You can harvest worm castings every 3-4 months for your garden.
How to Use Worm Castings
Vermicompost is good for any and all plants, including potted plants such as houseplants and succulents. To use worm castings, you can sprinkle them over top of the soil and let the nutrients work their way down.
Alternatively, you can mix the vermicompost with the regular topsoil when planting potted plants inside or in the soil outside. It especially helps to give clay or sandy soil more organic material. They also work extremely well in making a seed starting mix.
The only time you wouldn’t want to use worm castings is when you already have soil rich in organic material. After all, too much of a good thing can turn bad.
Just like adding too much fertilizer to a plant, you can overdo it with nutrients. Use worm castings sparingly, treating it as potent fertilizer.
FAQ About Worm Castings
You can add worm castings whenever they’re ready. Worm castings generally take about 3-4 months to be ready for harvest.
I like to add it especially in the spring and summer during the growing season since it acts as a potent fertilizer. You can leave the worm castings for longer in the fall and winter, waiting to add them to your seed-starting soil mix.
The N-P-K values will fluctuate based on what the worm is eating. Overall, the castings are highly nutritious and well-balanced if you are feeding a good mixture of kitchen scraps.
Treat your worm castings as a potent fertilizer. So yes, too much of a good thing is absolutely possible. If your soil is already high in organic material, you don’t need worm castings. Overall, you could add it as frequently as you might fertilizer, and your plants would be completely fine.
Worms like temperatures between 5-30°C (41-86°C F). For those with mild winters, keep them in a covered place in the winter. For those with harsher winters, you want to move your worm bin to a garage or place a blanket over the bin.
I’ve lost worms before in the winter. I don’t beat myself up over it, instead starting fresh in the spring with some new worms, bedding, and kitchen scraps.
And that’s it on all things worm poop! Be sure to keep an eye out for more information and projects from my permaculture and garden books, Garden Alchemy and The Regenerative Garden. I’ve only just scratched the surface of permaculture with vermicomposting! Let me know in the comments down below if you are going to add worms to your composting routine.
DIY Vermicompost Bin
Equipment
- Power drill or hammer and nails
Supplies
- 2 Nesting plastic bins (one with a lid)
- 1 Shallower bin in the same width
- 8 2-3’ square wood blocks for risers
- Dry materials shredded newspaper, straw, dried leaves
- ½ pound Red wigglers approximately 500 worms
- kitchen scraps
Instructions
- With a power drill (or hammer and nails) drill drainage holes at the bottom of the two nesting bins. Also use the drill to make air holes on the sides of the bins around the perimeter where the bins overlap.
- Fill one of the tall bins a third full with a mix of the dry bedding. Wet it down so it feels like a wrung-out spunge.
- Add the worms to the bin in the corner. Then top with 4 cups of kitchen scraps that are roughly chopped.
- Add a layer of dry bedding, leaving dry this time.
- Add four wooden risers in the shallow bin. This will allow room for the leachate to drain. Then, set down the middle bin on top of the risers. Next, add four more risers to the bin. Finally, place your worm bin on top and add the lid.
A city girl who learned to garden and it changed everything. Author, artist, Master Gardener. Better living through plants.


I would like to use my worm castings in my seed starting mix, is there anything I should do to the worm castings before adding it to my soil block mix?
It will be filled with microorganisms that could kill the germinating seeds. Plus, seeds have all they need to germinate, no additional nutrients are helpful. I would wait and use the castings for the potting mix you move the seedings in to after they have 2 true leaves.
What about worm eggs? Are we putting eggs into our indoor plants pot that will potentially hatch out?
If you are lucky! They will help to keep the soil healthy. But don’t worry about it becoming a problem, the worms will die if they don’t have enough food. So they will manage themselves without worry.