Have you heard the news? Gardeners are going bananas for vegetable gardening in grow bags. Who knew that something so simple would become so popular?
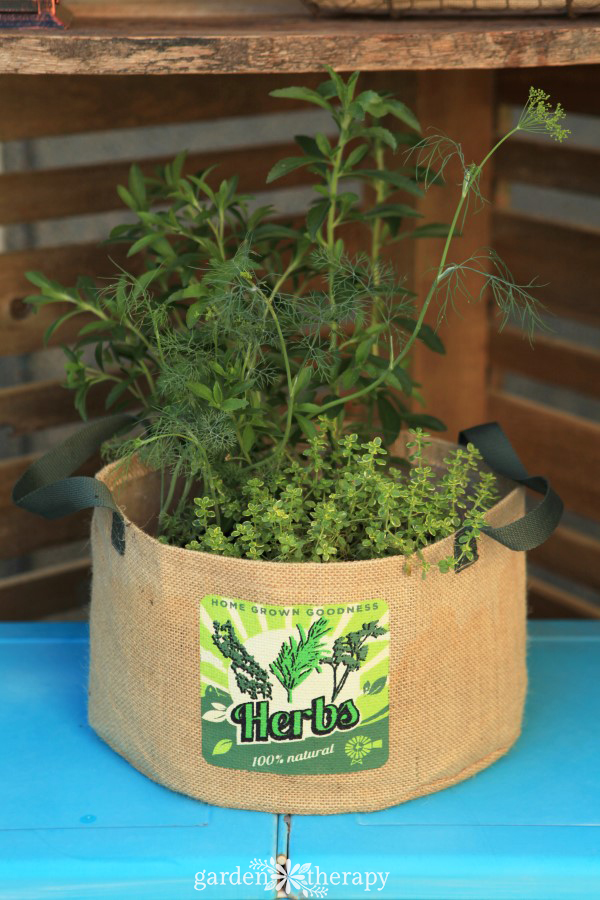
Last year I ordered a set of vintage print burlap grow bags for my deck makeover project. At the time, I chose them based on style more than practicality. What I didn’t expect was how exceptional they would be at growing vegetables – perhaps even better than my regular containers!
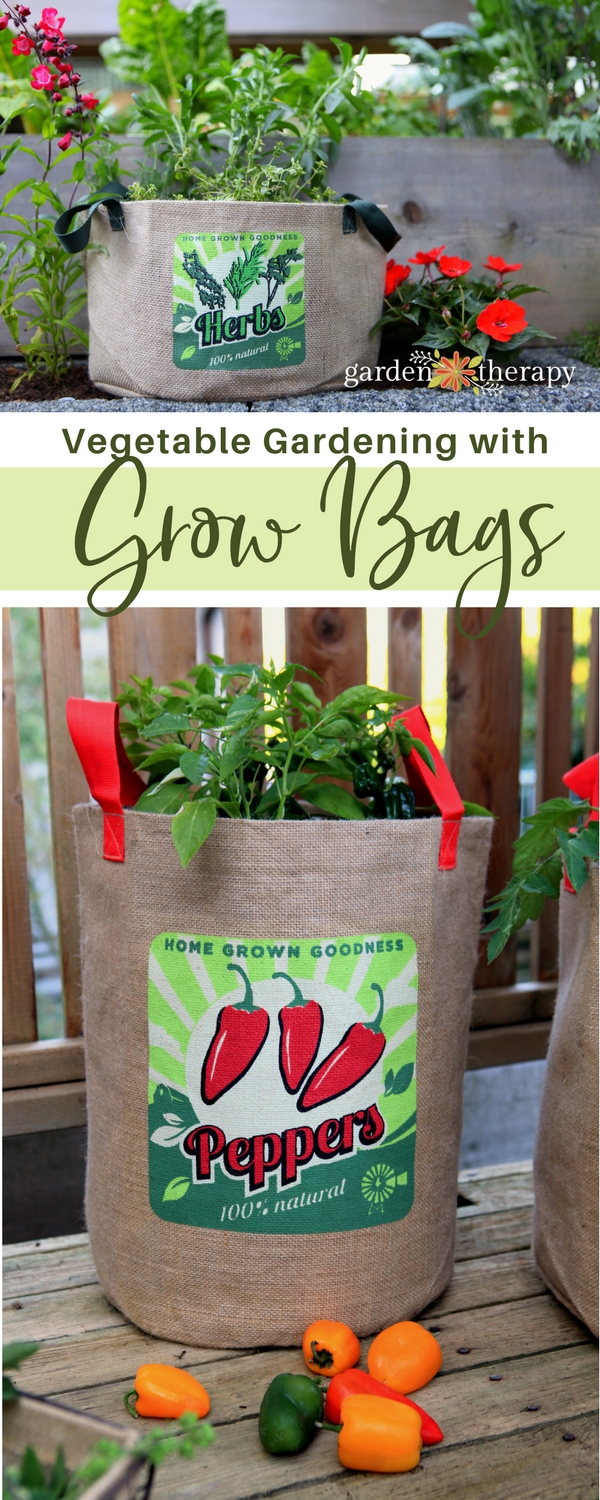
When I say “regular container,” I mean a large terracotta, ceramic, or resin garden pot. I grow a lot of vegetables and ornamental plants in container gardens year after year, so I’m rarely surprised. But the grow bags did exceptionally well at growing tomatoes, peppers, and herbs.
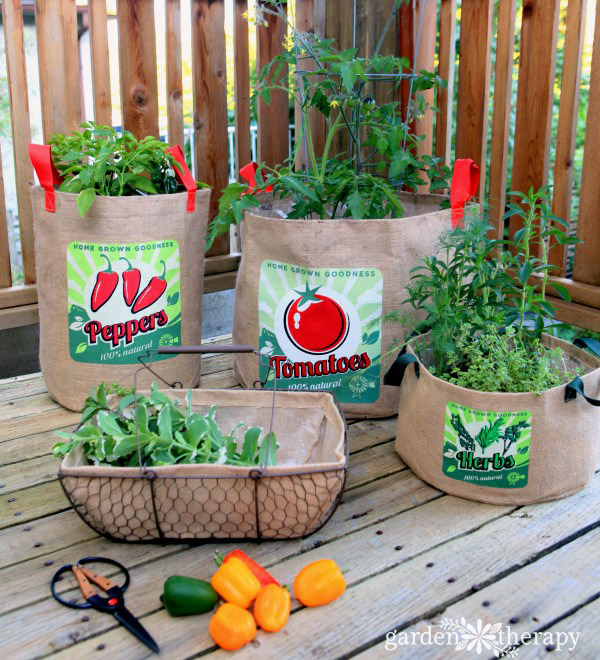 SPONSORED CONTENT: A.M. Leonard’s Gardener’s Edge provided me with a set of three grow bags (tomato, pepper, and herb) plus a Leonard ArborRain™ Tree and Shrub Hydration System. I loved them so much that they agreed to sponsor this post and give away a set to one of our lucky readers. All of the opinions that are shared in this post are my own. See the full disclosure policy here. Be sure not to miss the giveaway at the end of this post!
Click here to see these grow bags on Gardener’s Edge.
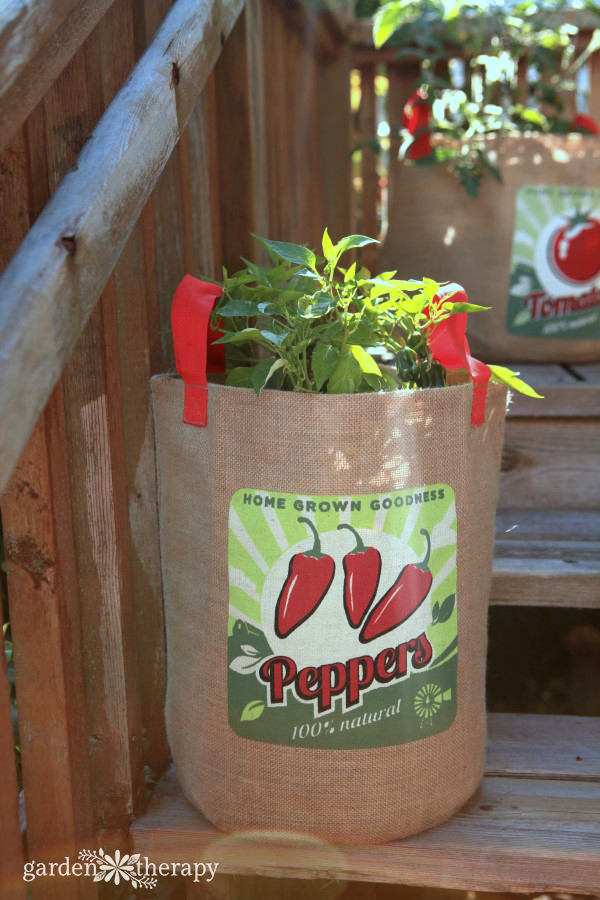
Grow bags are different from container gardens for a few reasons. They can hold a lot more soil in the same amount of space because of the shape of the bag and the thin walls of its sides. I was shocked at how much soil I had to use to fill up the bags. With a lot of soil you can actually grow a fair-sized plant in a smaller footprint than you would normally be able to.
The handles on each bag made it easy to move the bag from place to place as I needed. And I often needed to move the bag to accommodate garden parties on the deck. But I also moved them to the sunniest part of the garden, or under cover if the weather forecast predicted rain.
I got a wonderful harvest from my grow bags and I can’t wait to grow them again this year!
Here are some tips to grow tomatoes, peppers, and herbs in burlap grow bags.
How to Grow Heat-Loving Vegetables in Burlap Grow Bags
Start with the Soil
As with any garden, the first step in preparing for planting is to start with the soil. You can see a recipe for container gardening mix here that’s light and holds moisture. This will provide the perfect foundation for the plants.
Planting Vegetables in Grow Bags
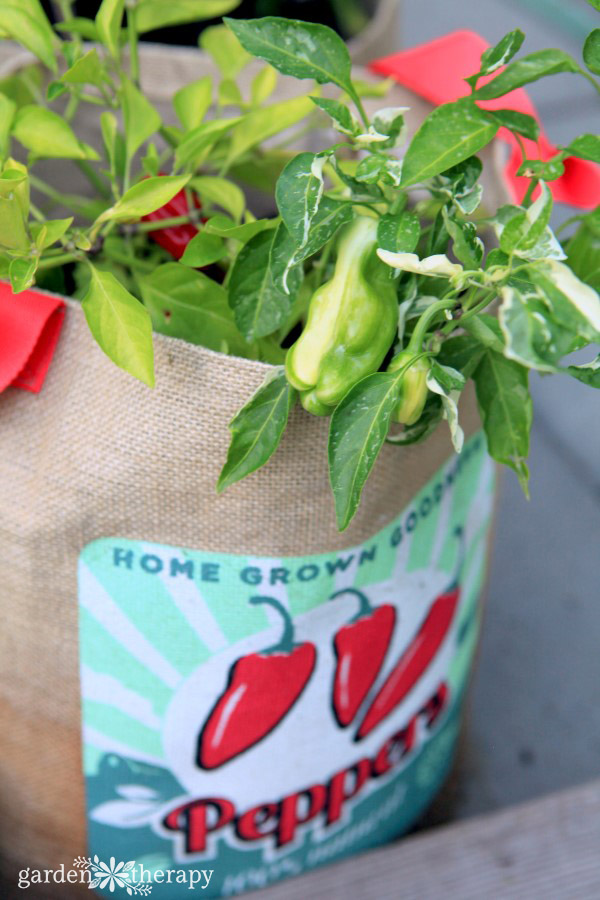
Plant seeds right in the grow bag or transplant seedlings into place. Where you would normally only have the space for one plant, I find that you can double up and pack more plants into a grow bag and still have great fruit production.
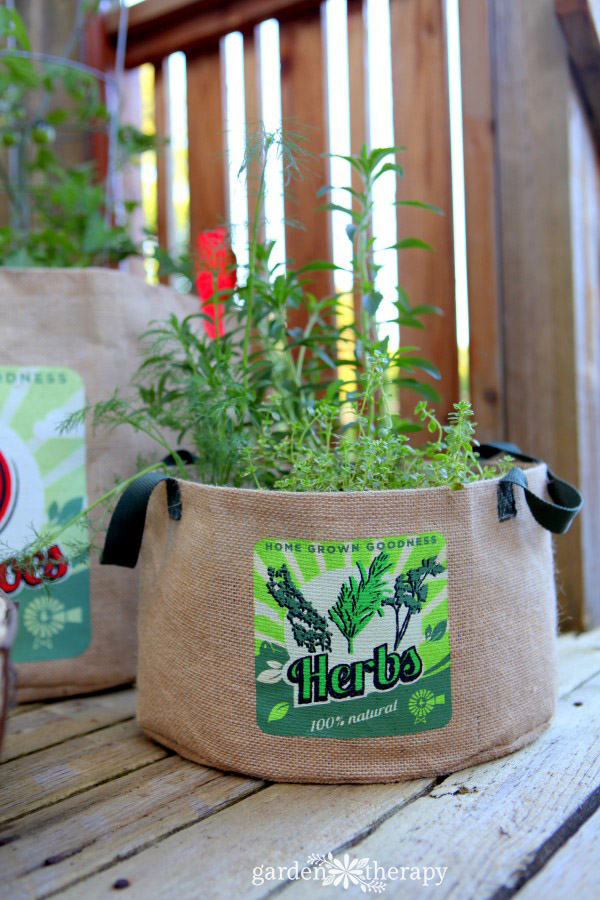
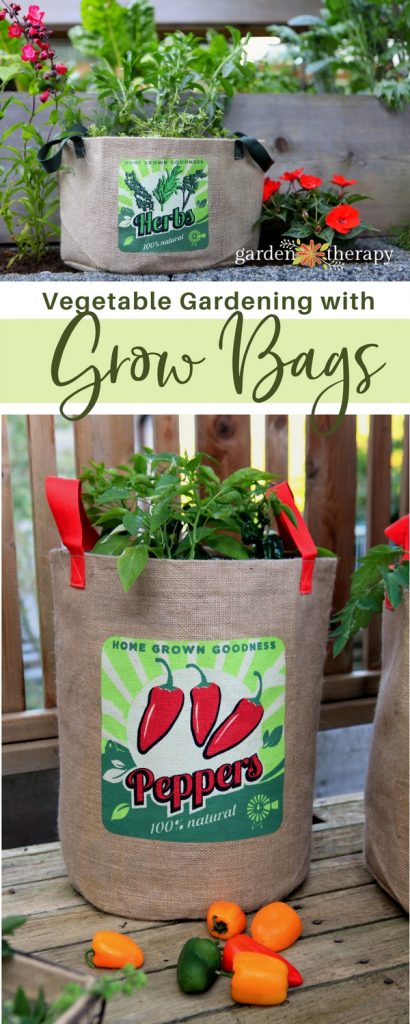
Plants that don’t have exceptionally deep roots—like tomatoes, peppers, eggplant, cucumbers, and herbs—grow really well in grow bags. And those examples are sun-loving, heat-loving plants. Tomatoes, cucumbers, and eggplant will produce more fruit in the sun, and heat is needed for hot peppers to get spicy! The three grow bags that I use are clearly marked so you can see what they are best made for.
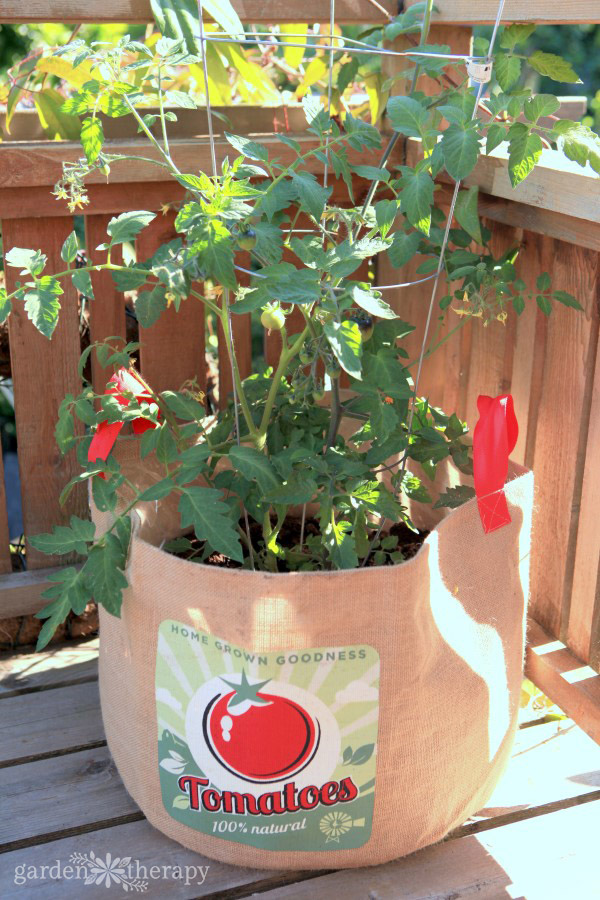
Plant tomatoes deep into a grow bag only half filled with soil, as the plant grows, top the bag up with more soil, to bury the lower stems and create a stronger root system. Keep topping up the soil throughout the season. Peppers and herbs can be planted in full grow bags at the top of the soil line. They don’t benefit from having the stems buried like tomatoes do.
Watering Grow Bag Gardens
These grow bags are lined with a thin sheet of plastic and they have a drainage hole in the bottom of the bag to allow excess moisture to drain. The plastic helps to keep the burlap from soaking through so that the burlap bag will last longer. Water plants on the top of the soil to avoid getting the burlap wet.
Don’t worry if it does get wet, though! The burlap can be out in the rain and it won’t fall apart. The rain does stain, so on quite rainy weeks, I moved the grow bags under cover to keep them from becoming over-saturated. Even so, the staining doesn’t bother me as it looks the way it should—vintage and well used.
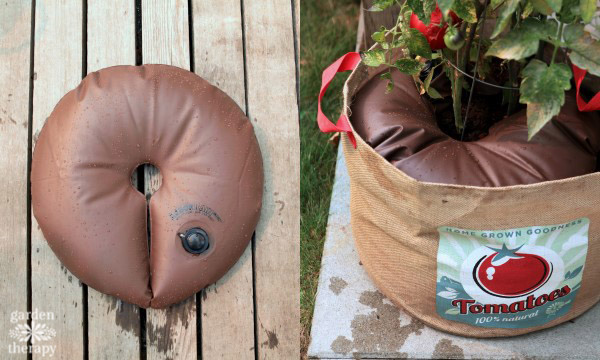
During hot, dry periods I used a drip watering bag in the largest grow bag for tomatoes. This allowed me to go on summer vacation and not worry that the plants would die before I got home.
Growing and Staking Vegetables in Grow Bags
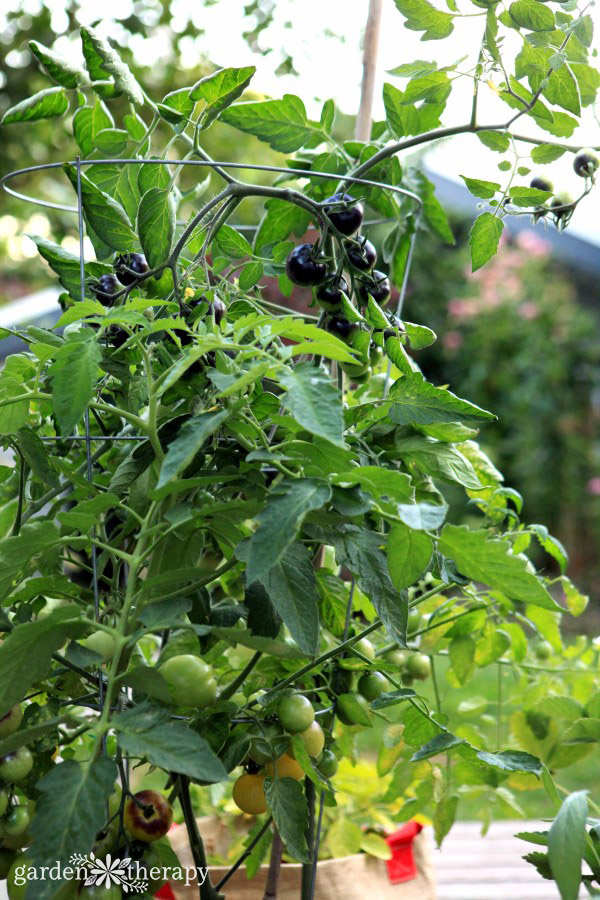
As the plants grow, you may need to stake the indeterminate tomatoes or vining plants like cucumbers. Help them grow with a sturdy support such as bamboo tents or tomato cages.
Harvest and Aftercare
At the end of the season, once you have harvested all of the vegetables from the grow bags, you can compost the plants, roots, and soil and give the inside of the bag a wash with soapy water. Allow it to dry completely in store for the winter. Your bag will be ready for use again next year.
Giveaway!
Gardener’s Edge has kindly offered to give away a set of three grow bags (tomato, pepper, and herb) plus a Leonard ArborRain™ Tree and Shrub Hydration System. To enter, simply leave a comment on this post by May 6th, 2018 for your chance to win and be sure you are signed up for our newsletter to get news and special offers we don’t share anywhere else. This contest is open to residents of the continental US and Canada, except Quebec and where prohibited. This contest is now closed. Congratulations to our winner, Carla!

Check Out These Posts:
Growing Vegetables in Containers – These Are The Easiest Ones
Natural Pest Control – How To Plant Mixed Herbs and Vegetables To Deter Pests



I have yard & garden pests like squirrels, chipmunks, and raccoons. Bunnies too.
How do I keep them from eating a hole in the bag and/or eating the produce? Would a mesh covering help?
This is the same as my last answer about your tulips and the bunnies on that post. I am also writing more specifics on mammals that might help. Stay tuned for those articles.