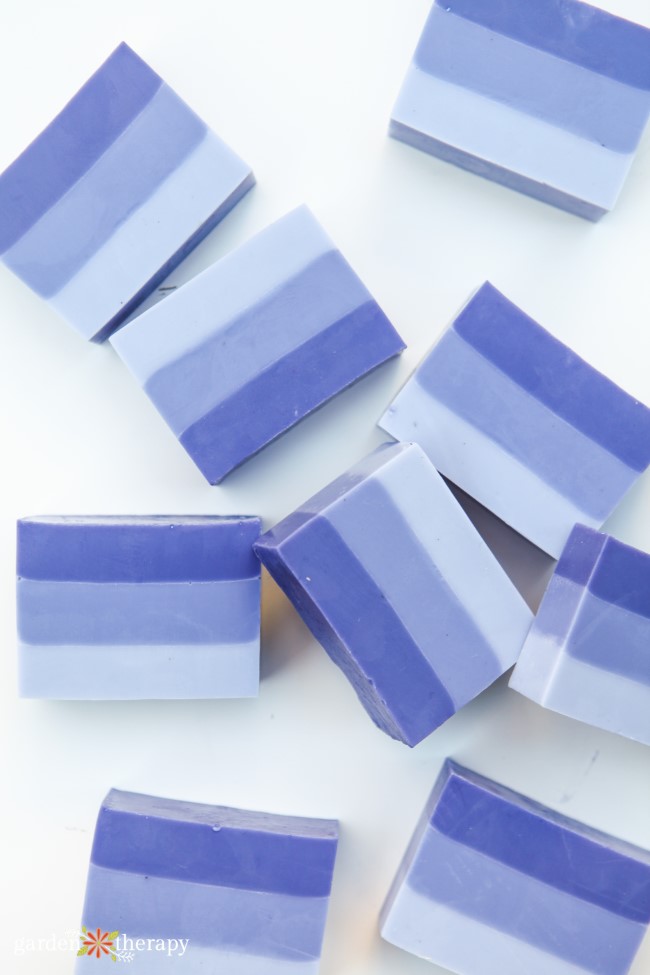
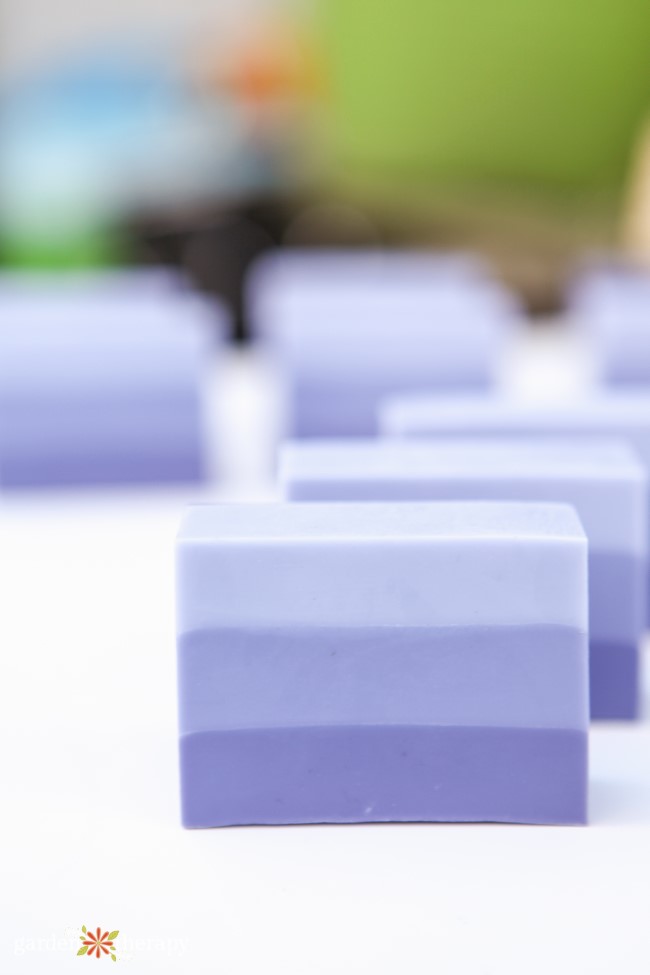
This attractive ombre soap is lightly scented with lavender and moisturizing with rich shea butter. While it looks like a high-end decorative soap from a fancy shop, it’s surprisingly easy to make at home. 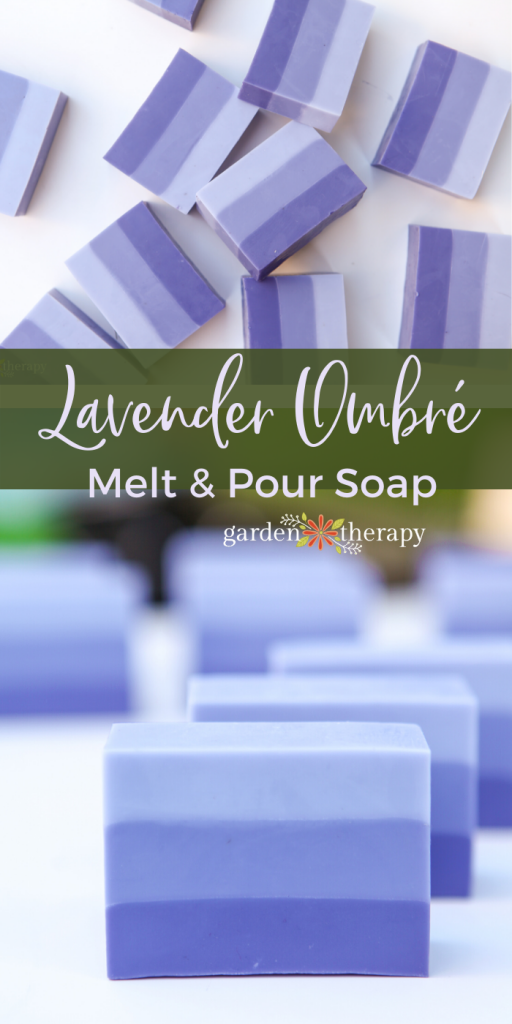
Follow these steps to create beautiful ombre triple-layer soap.
Materials
- 2 lbs shea butter soap base
- Lavender soap dye
- 1 teaspoon lavender essential oil divided into thirds
- 4 cup Pyrex measuring cup
- Microwave
- Silicone loaf soap mold
- Mason jar or 1 cup Pyrex measuring cup
- Spray bottle of isopropyl alcohol
- Soap planer box (optional)
Now, let’s ombre!
Lavender Ombre Melt and Pour Soap
Make it!
First things first, familiarize yourself with the melt and pour soap making process by checking out these posts and my book on melt and pour soap.
You can choose to use natural soap dyes such as rattanjot (purple), madder root powder (pink), turmeric (orange), and spirulina (green), but there are also some fun color dyes that you can play with to make much more vibrant colors. You can see how the natural colors look in my cold-process soap recipes.
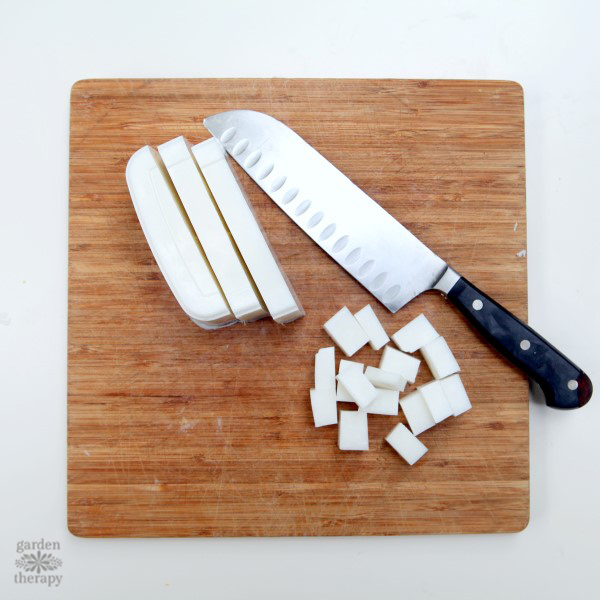
Tailor your soap dye to be one color in three shades. To do this, remove a few cubes of soap and add them to the smaller Pyrex measuring cup or a Mason jar. Melt the cubes in the microwave and add a bunch of dye. I know that “bunch” isn’t an exact term, but it is hard to know the measurements for the many different dyes and colors that you could be using. I’ll describe my process as much as possible, and you can judge the color.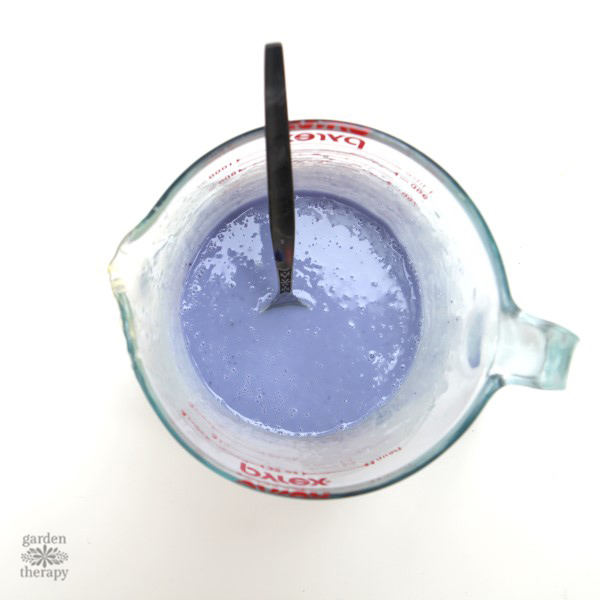
The idea of adding all the color into a jar is so you get the right measurements to layer the ombre rather than just eyeballing it. When you have the dye mixed with the soap cubes in the small glass jar, then you will add half of it to the first batch, half of what is left to the second batch, and half of what is left (again) to the third batch. That will ensure that each layer has half the dye of the previous layer.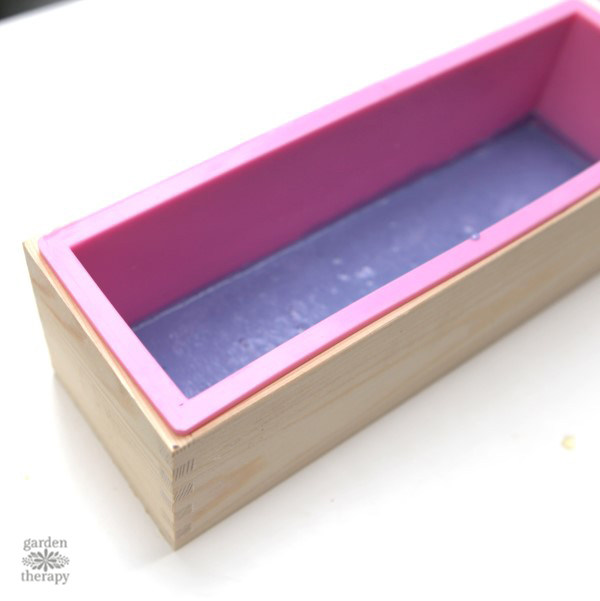
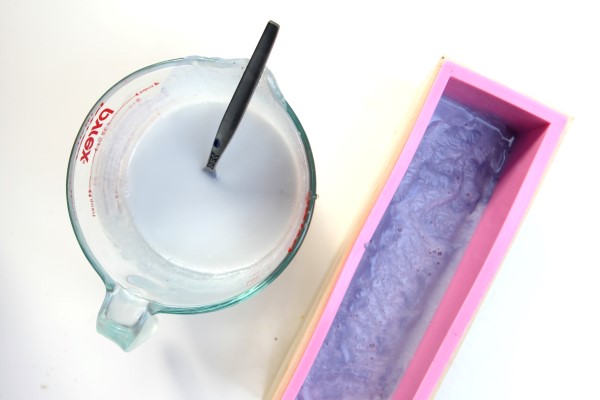
Layer the ombre melt and pour soap by adding the first layer, and spritzing it with isopropyl alcohol. Let the first layer set until it feels firm, then add the second layer and repeat the process of spritzing and setting before adding the third layer. Allow the layered soap to dry until firm but warm before removing it from the mold and cutting the loaf into bars. Be sure to spray the surface of each layer with isopropyl alcohol both before and after you pour the layers.
You can do this process as many times as you want to get four, five, six, or more layers of soap. The only trouble you could run into is if the soap cools too much between layers, it can separate when cut. Prevent this by working quickly and pouring each layer just as the one below it hardens. Also, cut the soap when it is firm but still warm. Do not chill the soap to make it easier to remove from the mold, as this can contribute to the layers separating.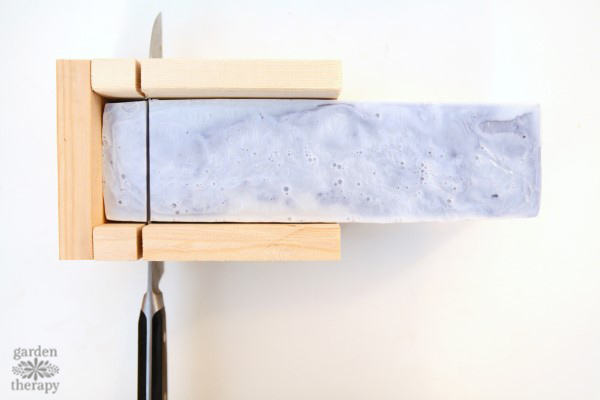
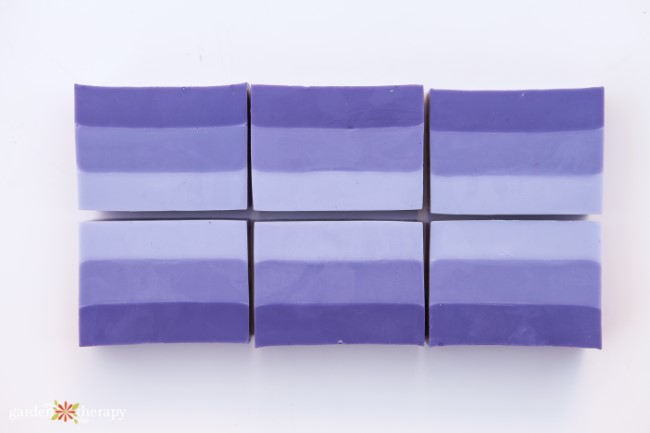
You can cut the soap with a sharp kitchen knife or a soap cutter box. I use this DIY version that I shared the building plans for in my Good Clean Fun book. I like that it gives me a clean, evenly-spaced cuts so I get 10 same-sized bars every time.
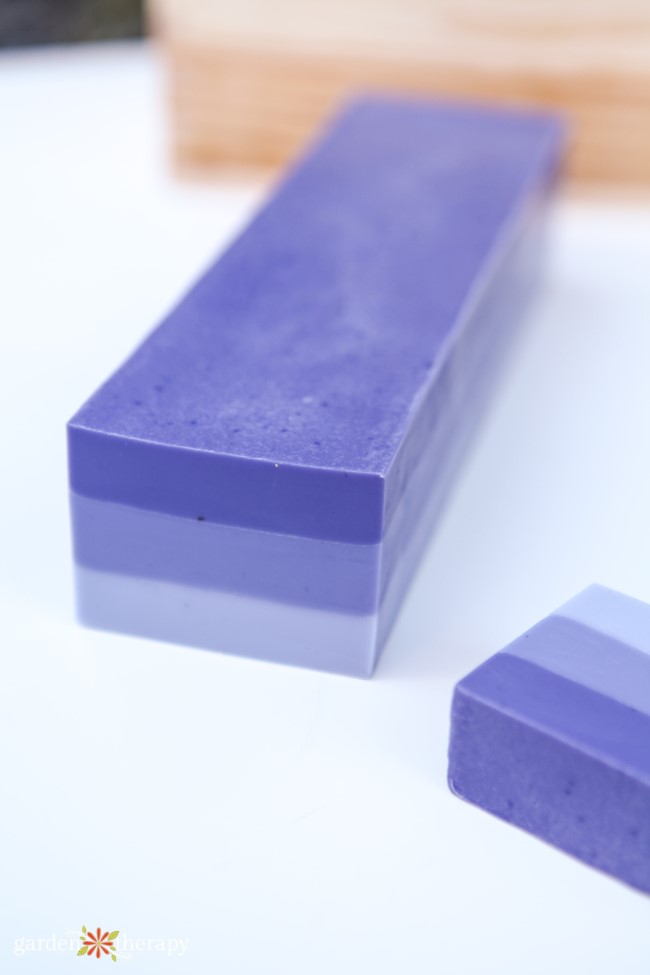
I don’t find that symmetry matters much in cold process soap as it has a rustic, natural look anyhow. This ombre melt and pour soap is so pristine and clean looking that I like it to be much more clean in the cuts as well.
Making Soap is Fun!
You can see some of my other homemade soap projects here:
- Rosemary Lemon Soap-on-a-Rope {Stars and Bars}
- Gorgeous Lavender Oatmeal Soap Cupcakes (That Anyone Can Make)
- Homemade Foaming Hand Soap Recipe + a DIY Mason Jar Soap Dispenser
- Pink Grapefruit Soap Recipe
- Cold-Process All-Natural Handmade Soap


This has the ultimate creativity since you can do the ombre thing over and over and make different ombre shades. Awesome idea!
These are beautiful and I wanna make some!! ????
great!