Some things seem to be drawn together organically, like the flavors of blood orange and raspberry. It’s citrus season here in the winter- the only time of the year blood oranges are available. Since raspberries are abundant in late summer, this jam recipe is prepared for over 6 months. Despite having very different seasons, the tie between these two fruits is undeniable. When I first tasted the blood orange juice it was kind of, well, blah. Not as sweet and vibrant as an orange, albeit the juice is beautifully rich to look at, the flavor lacks punch. But what I did taste was a slight hint, a murmur maybe, of raspberry. It was immediate and undeniable that these two fruits must go together. Hence this blood orange and raspberry jam recipe was born.
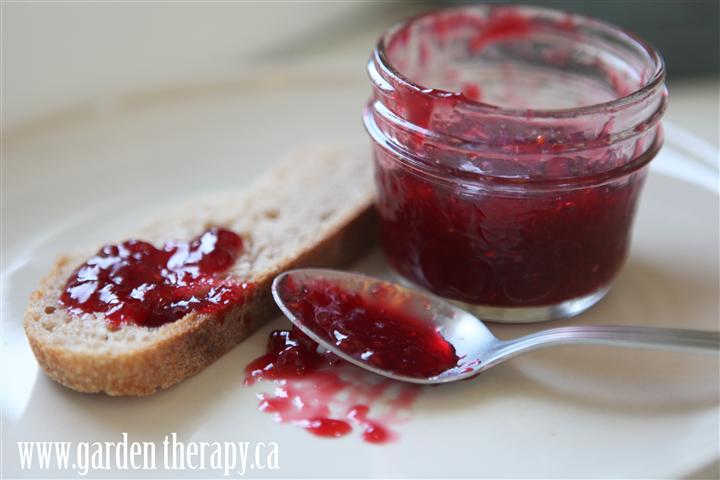
First made last winter, the jars were quickly gobbled up as it is my all-time favorite jam of all time. Then in the summer when raspberries were ripe and ready, I hunted for blood oranges. In this day and age of abundance I though someone might stock a few. Nope. I settled for making the recipe with cape gooseberries and it was good. Just not my all-time favorite of all time.
But now it’s time, my friends, time for blood orange and raspberry jam. Finally. Here is the recipe:
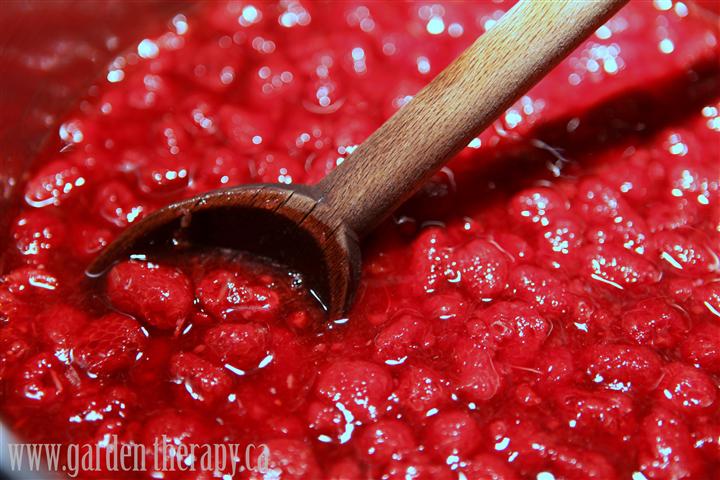
Ingredients:
- enough blood oranges to get 4 cups freshly-squeezed juice
- 4 cups raspberries
- 3-4 cups sugar (this really depends on your preferences and how sweet the fruit is) I used 3 cups and my jam is perfectly sweet and tart
- cheesecloth
Make it!
- Put a couple of plates in the freezer.
- Juice those bloody oranges until you get 4 cups. Take all the membrane and seeds out of the peels and tie into a square of cheesecloth (I used a 4-ply thickness of cheesecloth, i.e. a large square folded in half twice). Tie the ends of the cheesecloth around a large wooded spoon. This is your pectin bag.
- Add juice to a large pot with the raspberries and sugar and bring to a boil on medium-high. Stir frequently. Hang bag of orange guts from the edge of the pot. I rigged up something with a chopstick and a clip on the side of the pot, but the large wooden spoon works great too.
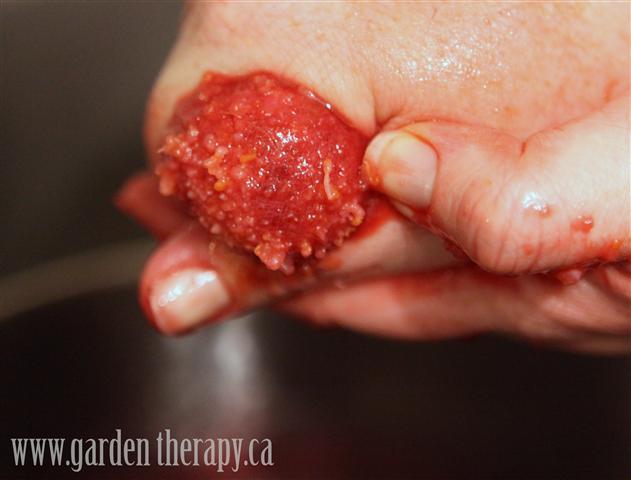
- When boiling, reduce heat to medium-low and continue boiling and stirring until reduced. Remove pectin bag and let cool. When cool enough to handle, squeeze the bag so that a creamy gel comes out of the pores of the cheesecloth – that’s your pectin! Scrape the pectin back into the jam and stir. Then you can discard the bag and membranes.
- Jam is ready when it passes the gel test: put a spoonful of the jam on a plate from the freezer. When the jam has cooled, drag your finger through the middle of the glob. If it spreads back into a puddle, it isn’t gelled yet. If your finger mark stays put, then your jam is ready to be canned.
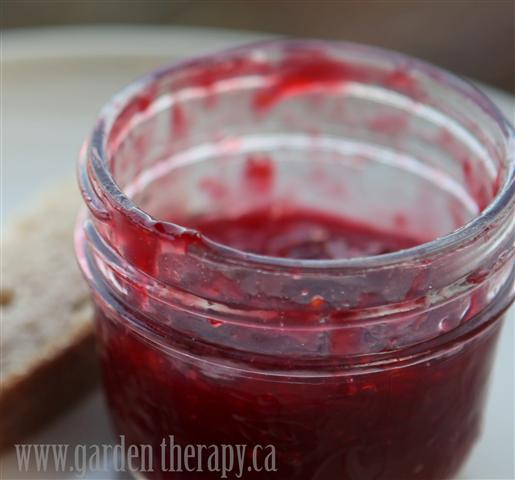
- Process 125ml (aka 1/2 cup) jars for 5 minutes, or 250ml (aka 1 cup jars) for 10 minutes in a boiling water canner.
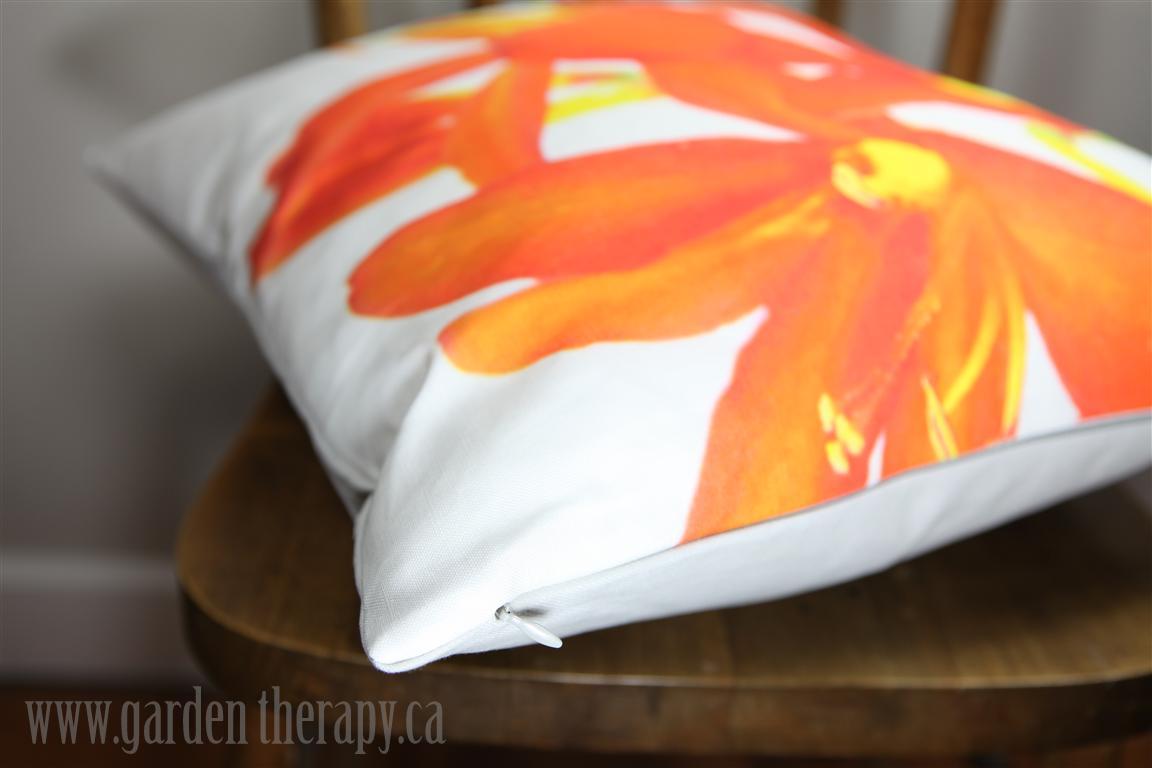
In other news, just as these flavors came together organically, it seems that right at the same time I’m all ramped up about citrus, I have a few new Garden Therapy Handmade pillows to launch. This one seemed particularly fitting to announce today, given the citrus-y color of the crocosmia blooms. For those of you who haven’t yet, please visit the Garden Therapy Handmade shop and take a look at all the bright-colored blooms. Hopefully they will bring some cheer to your winter’s days.




По моему мнению Вы не правы.
Могу это доказать. Пишите мне в PM,
поговорим.
Hmm is anyone else experiencing problems with the images on this blog
loading? I’m trying to find out if its a problem on my end or if it’s the blog.
Any responses would be greatly appreciated.