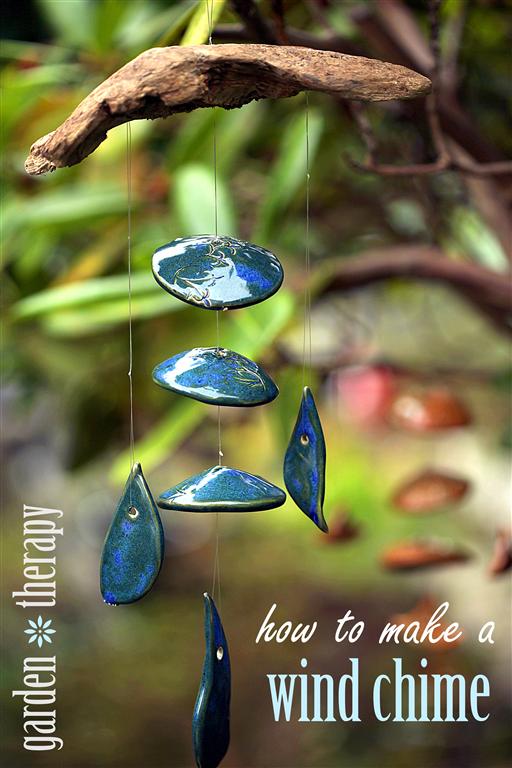
Organic clay shapes strung up on branches make for beautiful art that brings melody and movement to the garden. Follow my instructions to make your own elegant wind chime.
Materials:
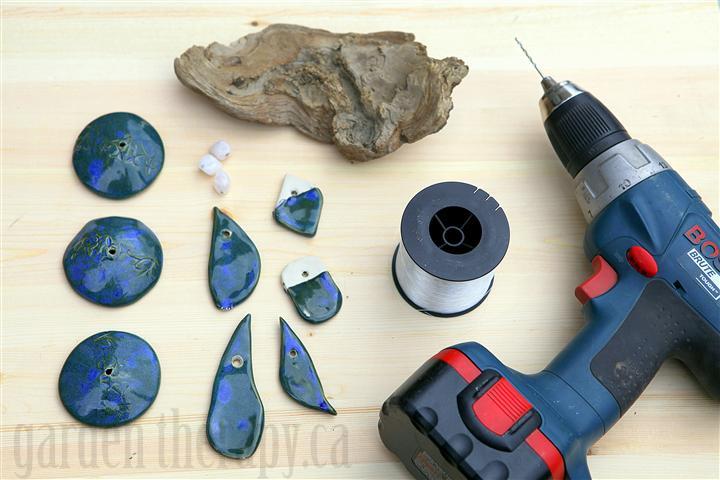
- Dried branch or driftwood
- Clay shapes
- Fishing line
- Beads
- Drill
Make it!
1. Pick Your Pendants and Drill a Hole in Each One.
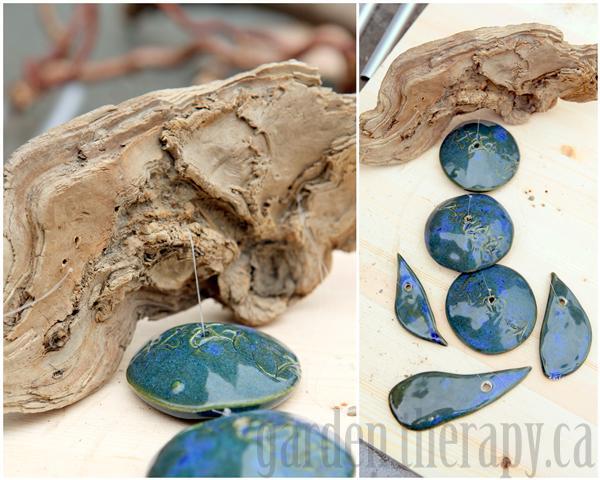
Collect clay pendants or pieces, or make your own with a modeling clay that can be baked at home in the oven. I made these shapes at a pottery studio, and if you have access to one as well, the possibilities are endless. You could also use shells or beach glass for this project. Make holes in those by covering the area you want to drill with a piece of masking tape, then using a fine bit to drill the hole. Be sure to let the drill do the work (read: don’t push too hard) or you could break the shell/glass.
2. Make the Top of Your Wind Chime.
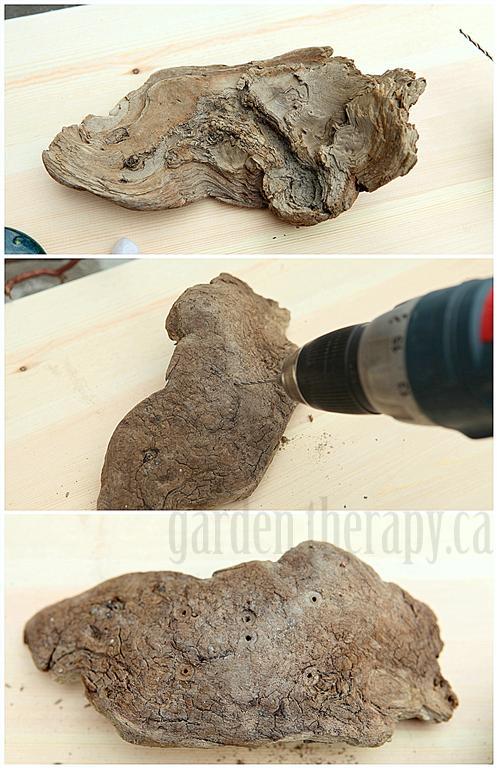
Drill holes in the branch or wood that you have chosen to top the wind chime. Make 2 holes in the center, and two on either side. This is where you will thread and tie your fishing line through.
3. Thread Your Line and Add Clay Pieces.
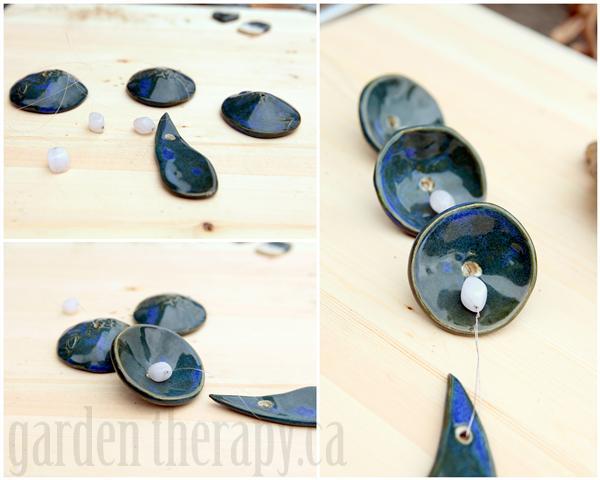
Thread the first of the clay pieces on the fishing line and tie a knot just above it. If you are using pieces with larger holes, use beads to hold them in place. Tie a knot where you want the bead to sit, thread on the bead and top with the clay shape. Continue to thread 3-5 items onto the fishing line – this will be your center piece.
4. Tie Ends Together for a Hanging Loop.
Now put one end of the fishing line through one of the center holes and put the other end of the line through the second hole. Tie them together tightly, leaving 2 inches above the knot. Tie the top ends together with a few knots-this will be your hanging loop.
5. Add Pieces to the Side.
Add 2 or more clay pieces to the sides by looping them through a length of fishing line and tying them off through the two holes in the top sides of the wood. Measuring the spacing between the clay pieces is all based on what you are using and preference. Lay them out and mark where you want them to fall. Spacing should be close enough that they will clink together with a breeze, but not so close that they get tangled up.
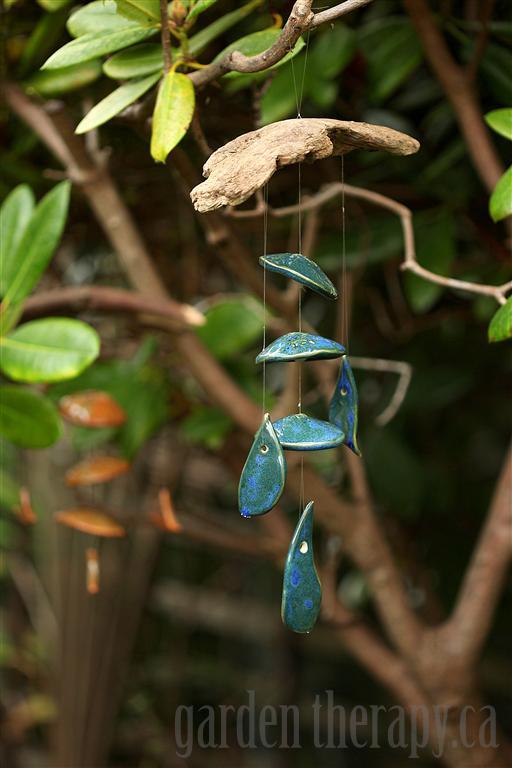
Hang your wind chime on trees with contrasting foliage for a striking look that highlights a feature in the garden.
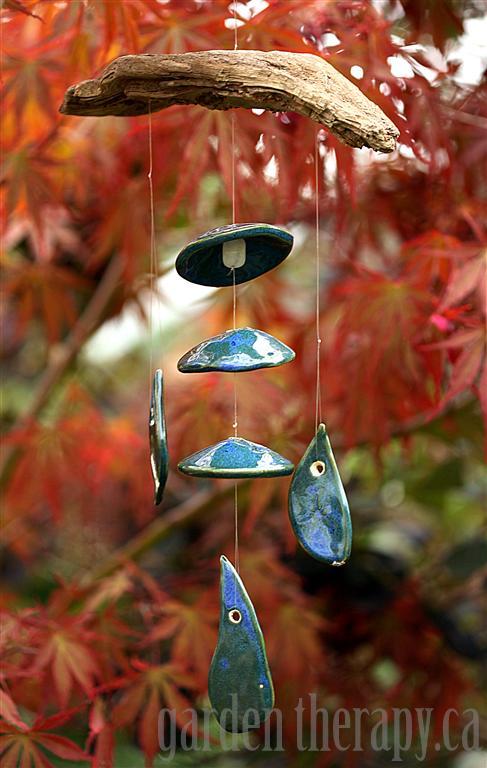
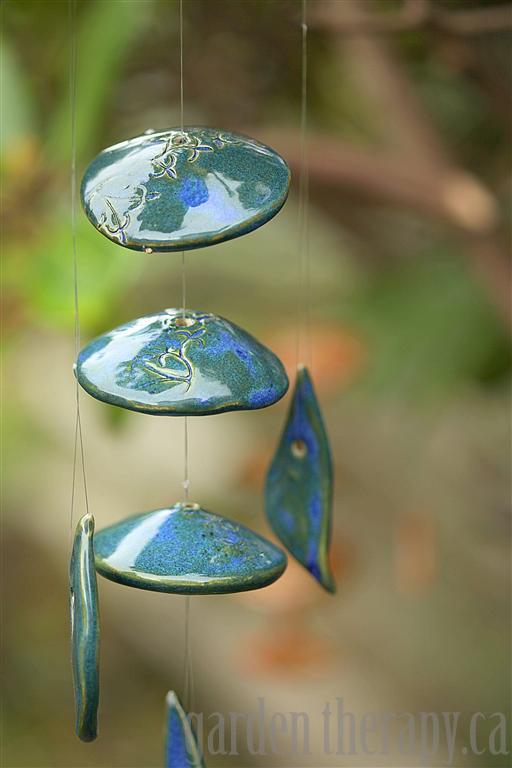
I love the look of this peacock blue glazed wind chime with the turning leaves on my Japanese Maple ‘Bloodgood.’
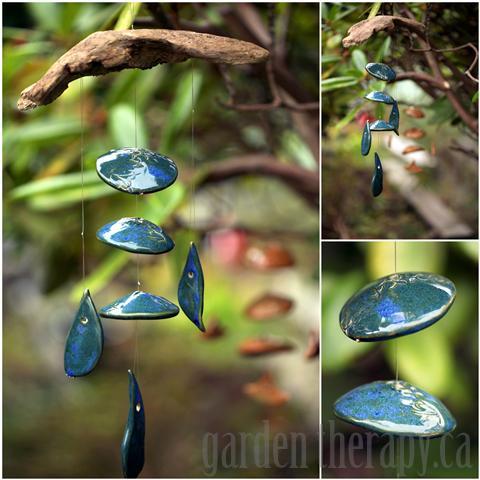
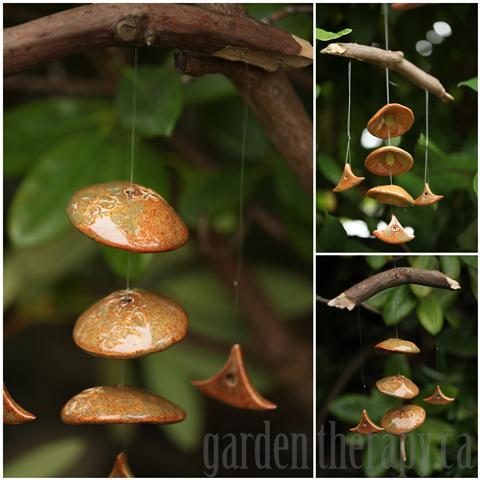
I made a second wind chime with a bamboo glaze that stands out well with the deep green leaves and thick branches of a Rhododendron.
Thanks for visiting weekend project #50. Only two more and we will have made a tutorial for a fabulous garden project every weekend for a year! Never fear, the weekend projects and all the other crafty–foody–gardeny goodness will keep on coming. Check out more ideas by clicking through the tabs just below the header.


Great decoration. Ideal for the garden. I will copy your DIY only will use this sea shells :)
Where do you find the clay pieces? I have googled and looked into stores and could not find them anywhere! Please tell me where you got the clay pieces. This is beautiful btw. Thank you!
Love your wind chimes. I live in Hawaii and collect shells. I have learned how to clean and drill them and would like to make wind chimes out of some of them. I’m having a problem with tying knots in the fishing line. Is there a trick to it. Mine won’t hold. Also what size fishing line are you using ? Thanks for your help.
Hi Nancy, those sound beautiful! I used beads to hold the clay shapes in place – look up at step 3 above. Tie a few knots below the bead and it will hold the shell in place for you. For the shapes that don’t use beads (the hanging teardrop ones), I looped the fishing line through the hole and knotted it at the top.
Thanks Stevie. I will try the beads and maybe a different fishing line..