I’m always on the look out for new craft projects that can easily double as handmade gifts for friends and family. While sifting through my collection of vintage craft magazines, I came across the idea of a scented tea trivet. How nice it would be to sit down for tea, and have the heat of the teapot release the scent of cinnamon or herbs? What a unique way to add extra fragrance to the tea-drinking experience!
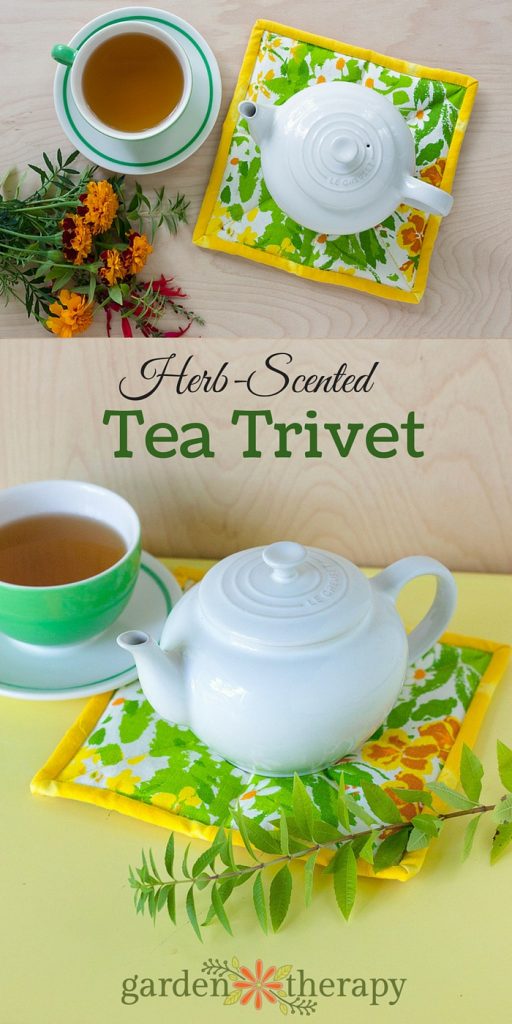
This is a fairly simple sewing project, but a sewing machine is definitely necessary. I always like to make a ‘practice’ one first (using scrap fabric) so that I can work out any kinks in my process without using up my favorite fabric. The following tutorial will walk you through each step and give you instructions that are straightforward and easy to follow.
Materials:
- ½ yard cotton fabric
- 1/6 yard coordinating cotton fabric for binding
- Batting (I used some polyester fiberfill I had on hand)
- Coordinating cotton thread
- Herbs or spices
Tools:
- Sewing machine
- Iron and ironing board
- Fabric scissors
- Pins
- Cutting board and rotary fabric cutter
- Ruler & pencil
- Mortar & pestle (for grinding herbs)
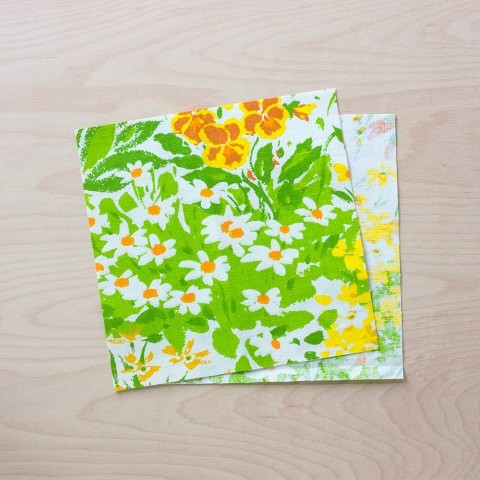
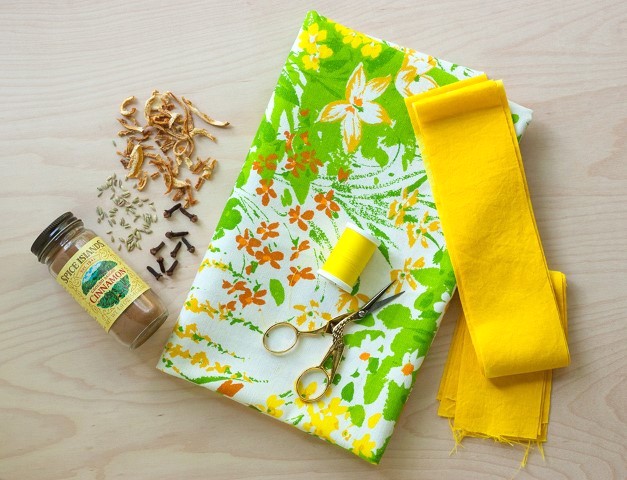 Cut 2 squares from your fabric. I cut mine to be 8” x 8” but you can make your tea trivet any size you like. For this project I chose to use vintage fabric I’ve had in my stash for years paired with some yellow cotton I hand-dyed using turmeric.
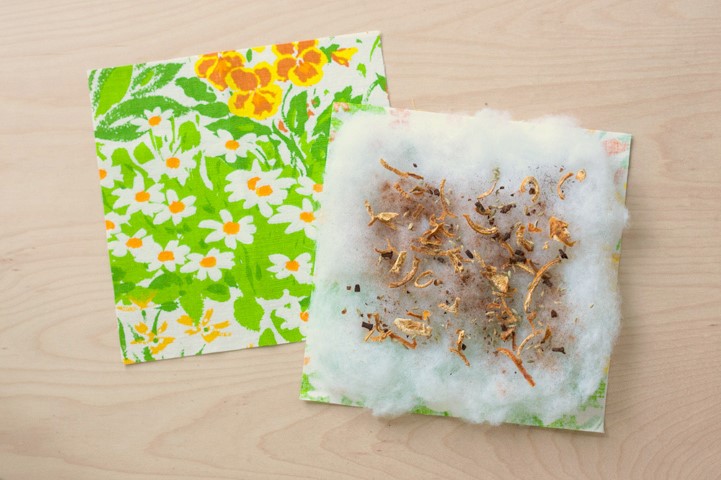
 Place one square, right side facing down. Then lay your batting over the top and sprinkle with herbs. I wanted a fall scent so I chose to use cinnamon, orange peel, clove, and fennel. I originally just broke up the spices with my hands and sprinkled them on, BUT while sewing my needle hit a hard piece of clove and broke, so I would definitely recommend grinding up any large herbs/spices using a mortar & pestle beforehand.
Take the second square and use a ruler and pencil to mark guides to follow when you start sewing. I lightly drew lines diagonally (corner to corner like an X) and perpendicular (middle to middle like a +).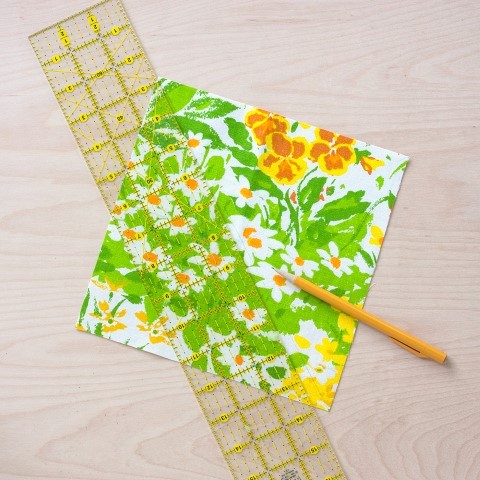 Place marked square (right side facing up) on top of the batting and herbs. Pin in place.
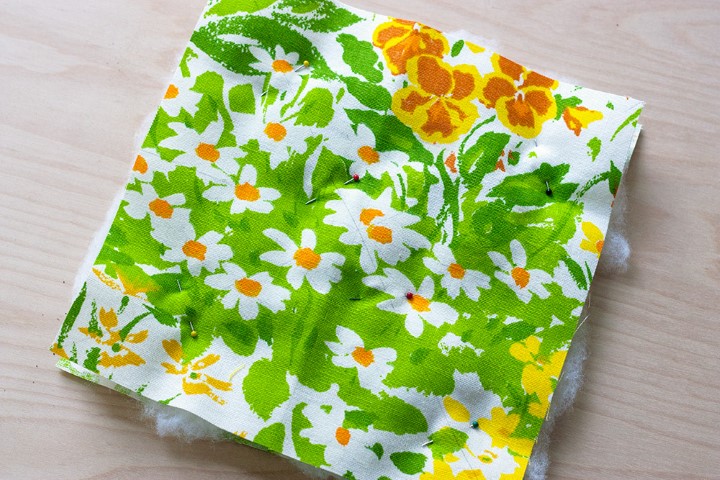
With your sewing machine quilt the square as indicated by your pencil guides. Trim any excess batting from the edges.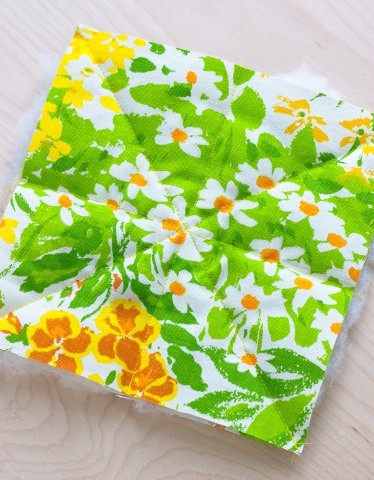
Next, make your binding by cutting your coordinating fabric into 2.5” wide strips. You’ll need a piece that is approx. 34 inches in length, so go ahead and sew two pieces together now if you need to. Fold your strip in half and press with an iron. It should now be 1.25” wide.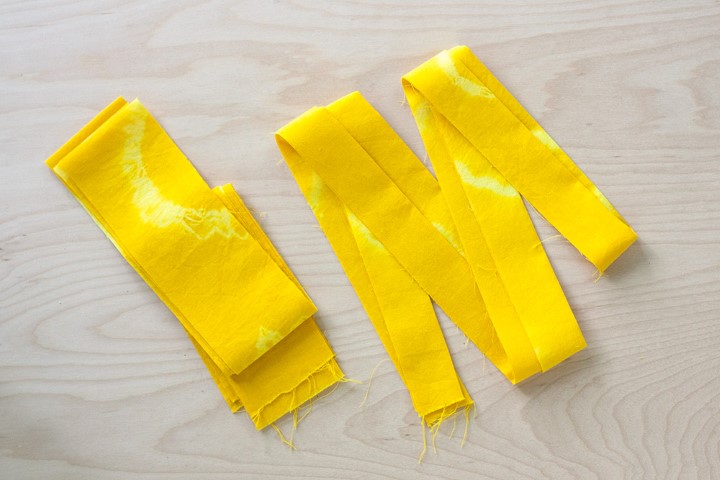
Place the binding strip along one side of the trivet with the folded edge pointing toward the center of the trivet and the raw edge of the binding strip matching up with the edge of the trivet. Start sewing (1/4” seam) about 1.5” from the corner of the trivet. Stop when you get to 1/4” from the edge. Backstitch. Clip threads.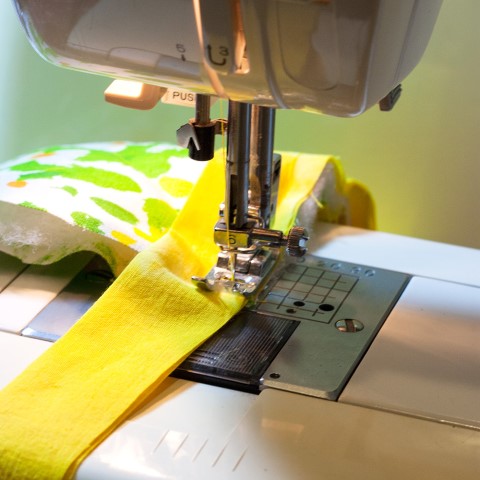
Fold the binding strip to the right so that it is perpendicular to where you were just sewing.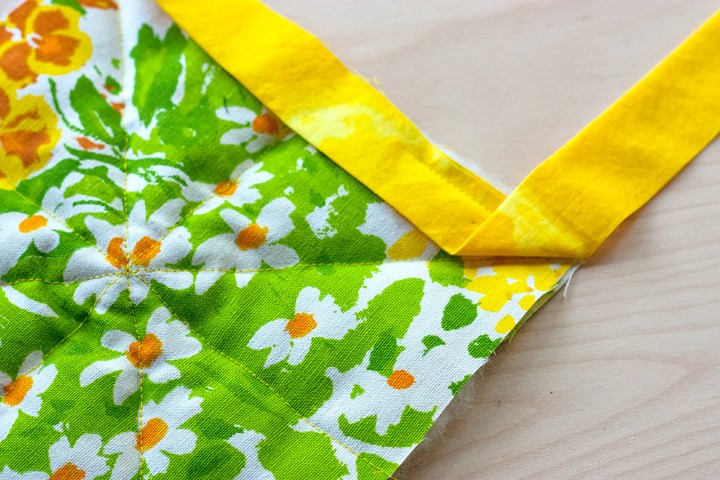
Then fold it back on itself to the left so it lines up with the next edge of the tea trivet.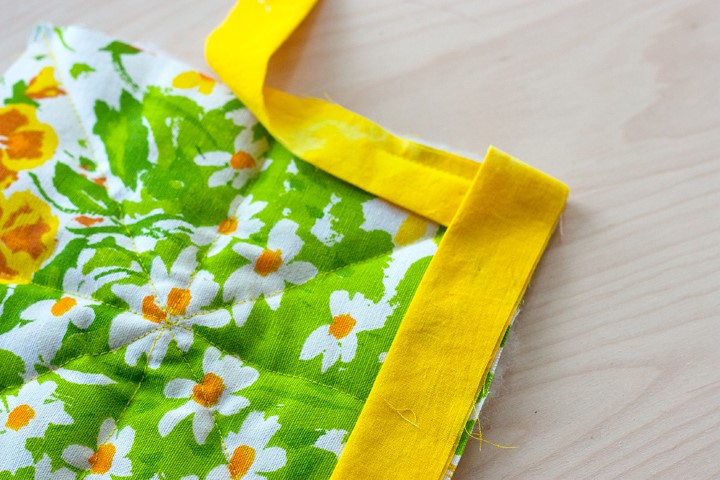
Turn the tea trivet 90 degrees and begin sewing the next side (1/4” seam.) Start right at the edge and backstitch just a little as you begin. Sew all the way down this side, stopping ¼” from the end. Repeat the steps above for the next corner.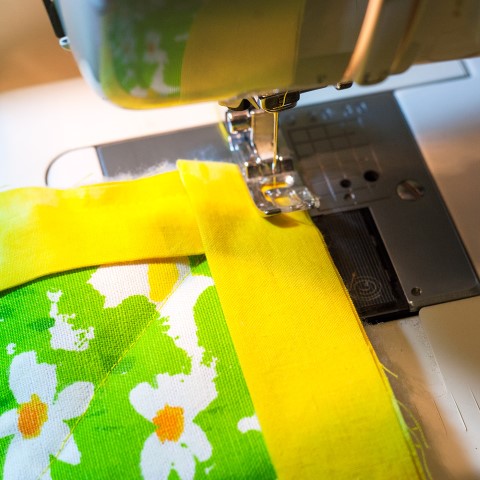
Continue around the tea trivet until you’ve sewn the final corner. Sew down the last side 1.5” only, then backstitch, clip threads and remove from the machine.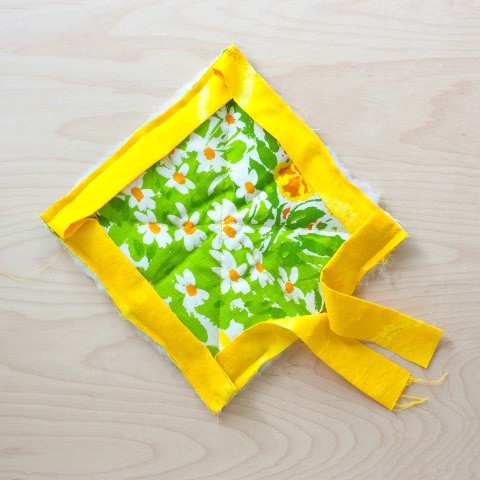
To join the two ends of the binding, first unfold the binding a little and use a pin to mark where they meet up.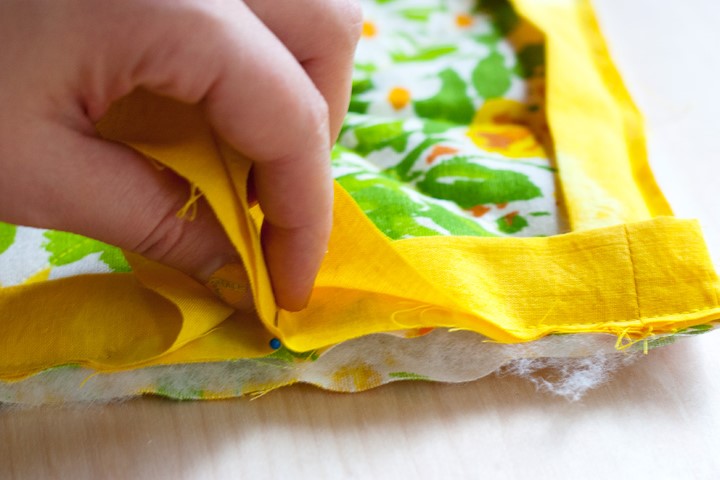
Sew across the two binding ends to join them. You may have to roll or fold the tea trivet in half to make enough room to sew.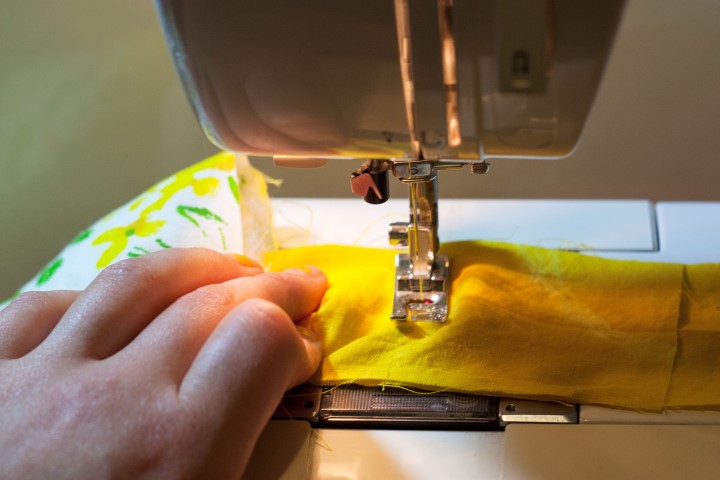
Use scissors to trim the excess binding, leaving about ¼” from the seam. Lay the binding down onto the edge of the tea trivet, using your fingers to press the seam you just created. Finish sewing down the last side.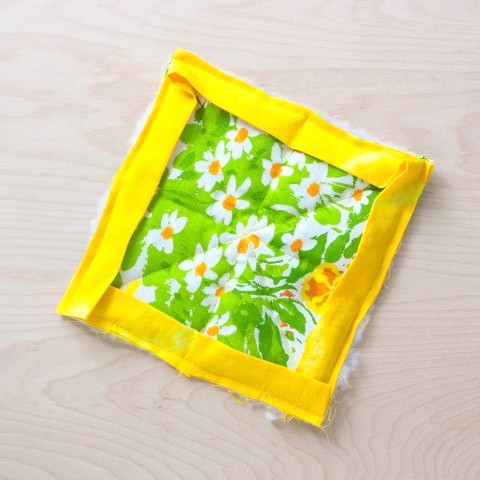
Beginning in the middle of one side, flip the binding over to the back so that it covers the stitching line. Hold in place with pins.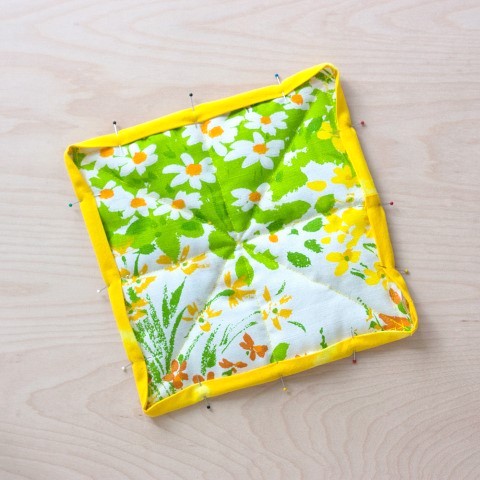
Once all sides are pinned, flip over and sew right in the ditch (this will catch the folded edge of the binding on the other side). When you reach a corner, stop 2” before the end. With the presser foot and needle down, flip over the corner so you can see the underside. Fold as shown to create the corner, holding in place as you sew. Leave the needle down, pivot the corner and continue sewing down the next side.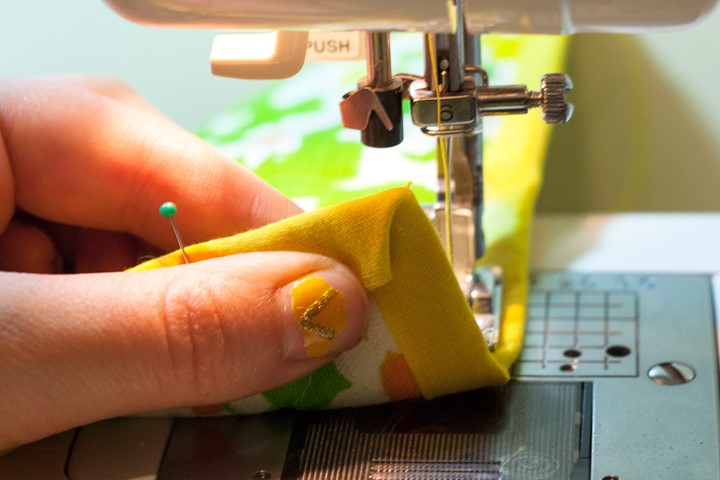
Once you’ve sewn around all four sides, you are finished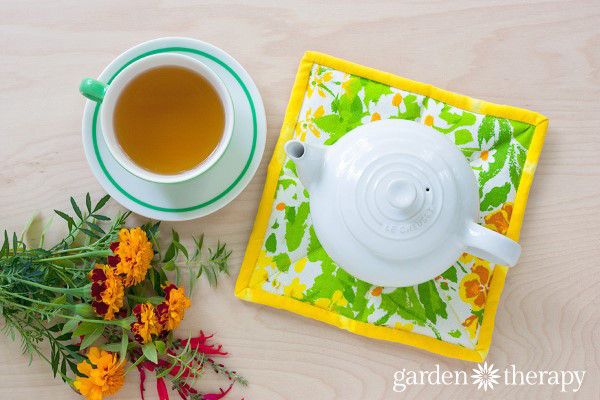
Some Additional Tips:
- Instead of using spices, harvest herbs from your own garden. Lemon balm and lavender would make a wonderful scent combination.
- If using large or hard spices, be sure to grind them up using a mortar & pestle first. This will prevent you from breaking a needle while sewing.
- I tried adding a few drops of essential oil when I sprinkled on the herbs, but it ended up soaking through and staining my fabric, so I’d recommend using herbs only.
Hey, there’s more crafty stuff you might like!


