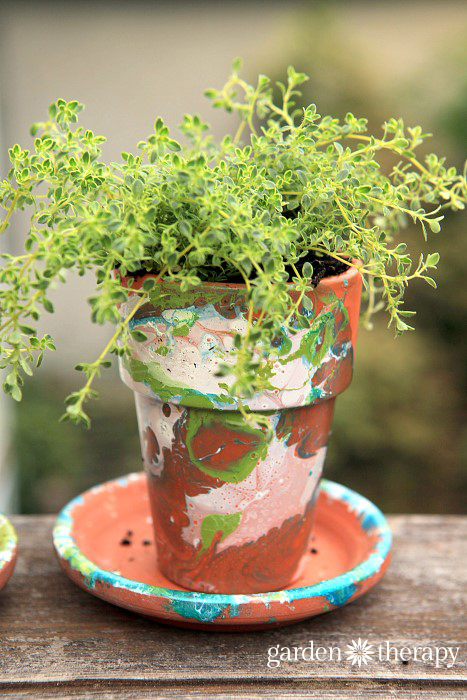
Unless you have spent all of your free time out in the garden instead of browsing Pinterest trends, then you have probably seen someone using nail polish to marble something. The craze started from nail artists adding a few colors of polish to water, then dipping fingers in there. The finger comes out a mess of polish but some quick work of the remover leaves behind a marbled nail polish manicure that looks fantastic. Fantastic enough for crafters everywhere to start marbling anything that isn’t nailed down. I’ve created a variation of this concept for the garden with these nail polish marbled pots.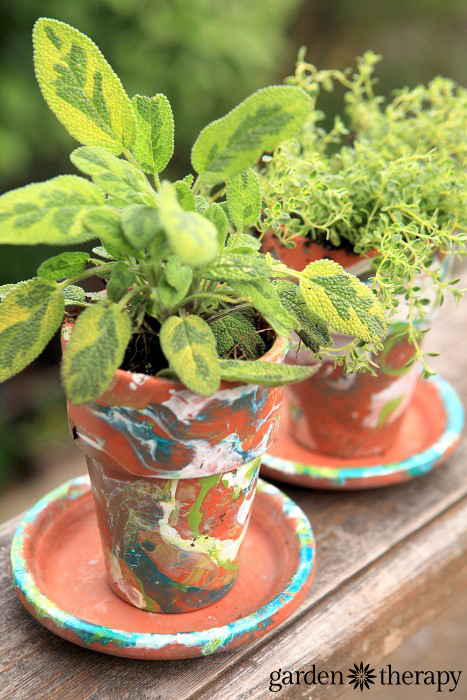
There is a reason why crazes like this become so popular. It’s easy. It’s fun. And it’s inexpensive. In fact, you probably have everything you need at home right now to whip up a few painted pots.
Wouldn’t these make great gifts? Add some fresh herbs to the pot and a message like,
Thank you for your sage advice and thyme.
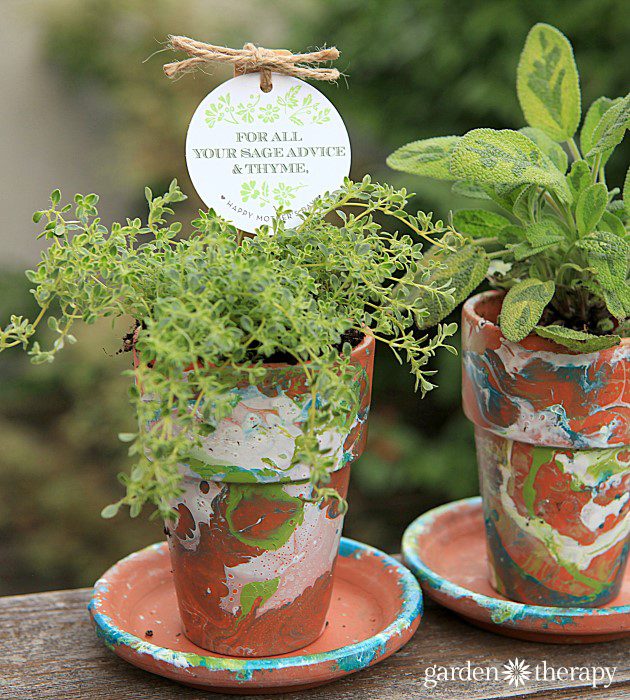
Now you have a pretty great Mother’s Day/Thank you/Teacher Appreciation gift at the tip of your fingers (see what I did there?).
If you want to make some of these gorgeous marbled pots in just 30 minutes (yeah, that’s including set up and clean up), then go grab your box of old polish and meet me back here for the step-by-step.
Oh, and if you are that person gardening outdoors rather than dreaming of gardens indoors, then good for you! Your garden must look fabulous enough to put on Pinterest.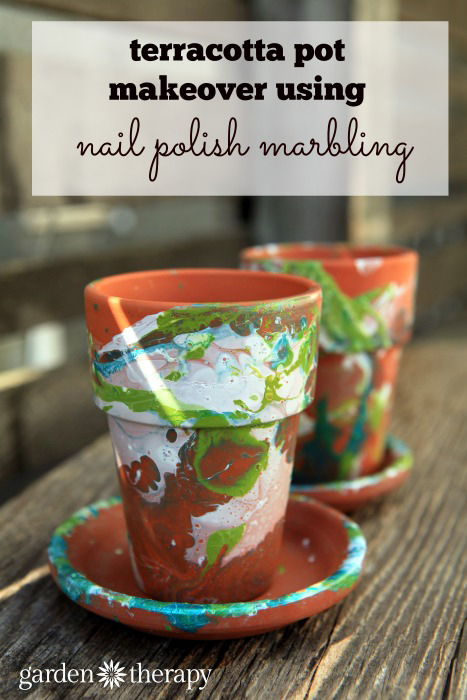
Materials
- Clay plant pot
- Plastic tub large enough for the pot to fit in lengthwise
- Nail polish in 3 complementary colors
- BBQ skewer
- Tongs or rubber gloves
- Parchment paper
- Small potted sage and thyme or other herbs, flowers, or plants
- Potting soil
To Make the Pot:
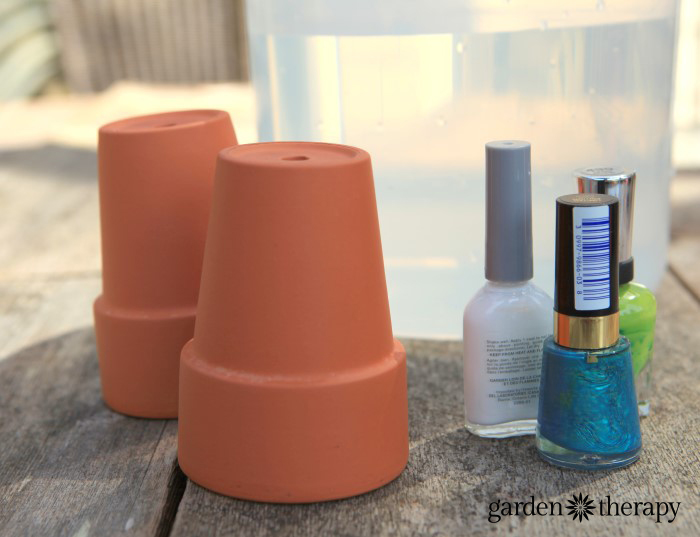
Fill a large plastic tub with warm water. Working quickly, add in a few drops of nail polish in at least three colors and stir them up a bit with the skewer. Start with just a few drops of nail polish; you can always add more when you get the hang of it. Too much nail polish can result in a gloppy texture and muddled colors.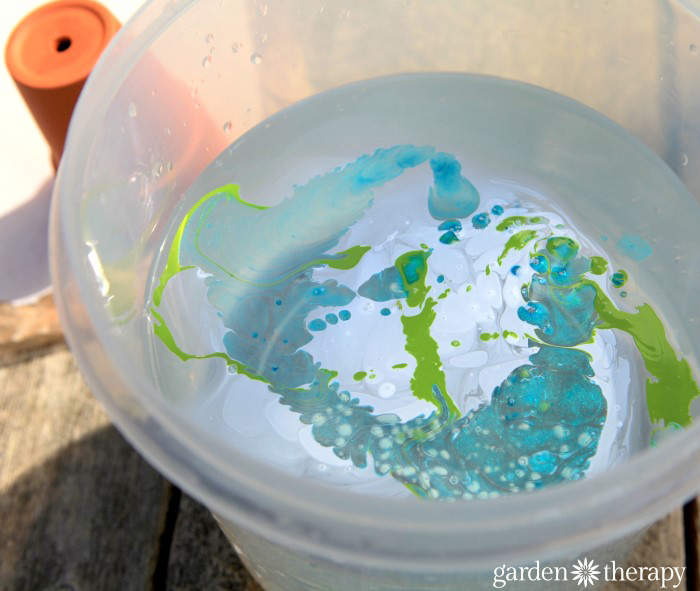
Dip the plant pot into the water using the tongs and turn it to cover all sides. The nail polish should adhere to the pot easily.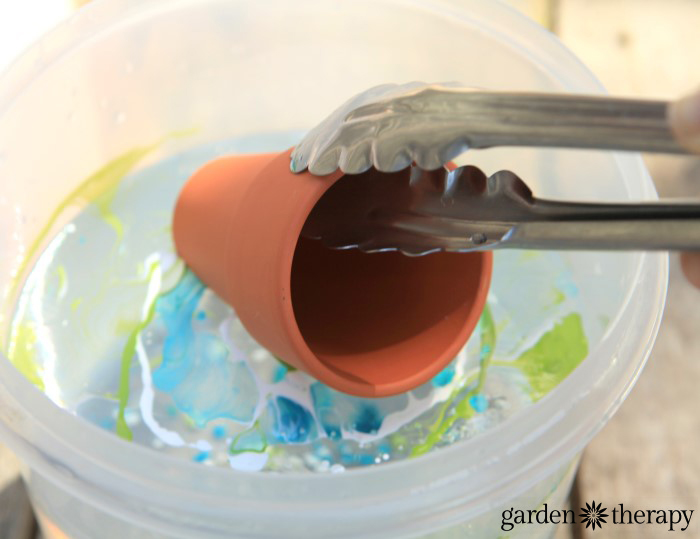
Set the pot to dry on a sheet of parchment paper and repeat the process again if you want more paint coverage.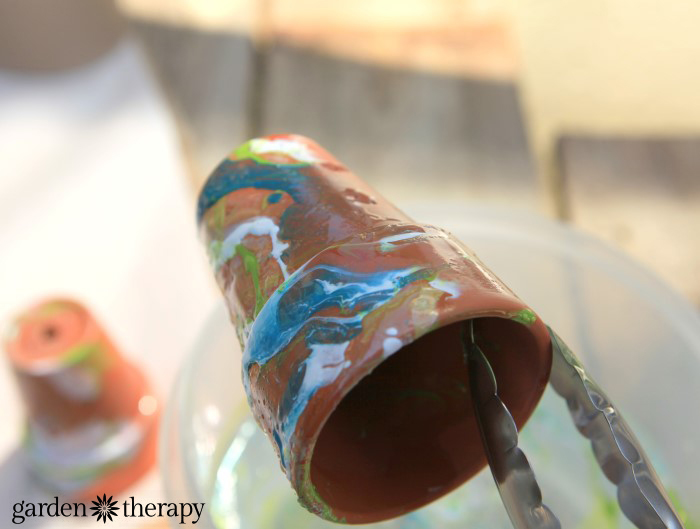
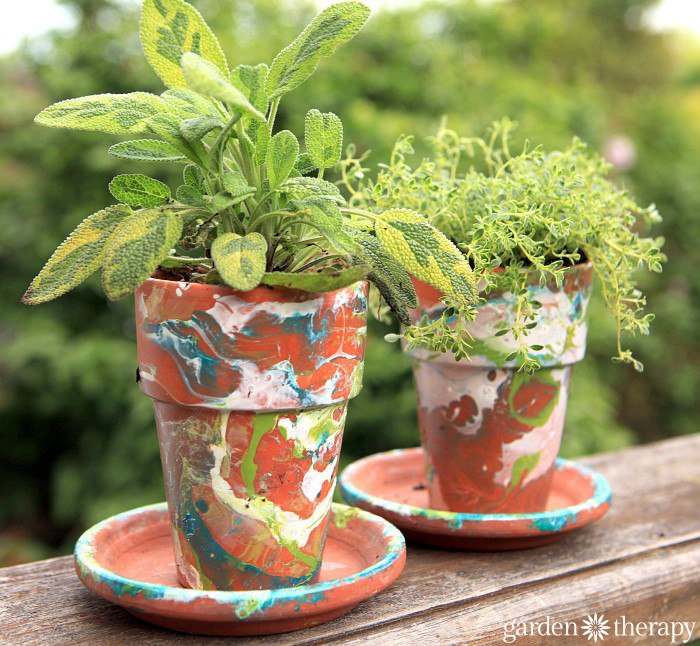
Didn’t they turn out wonderfully?!


Do you put a varnish over the pot when finished?
Hi Linda, I didn’t think they needed it. The polish stays on just fine and I like the contrast in texture. Also, the pots are still porous this way. It certainly can’t hurt though.
Poppenga Concrete’s Driveway Replacement Guide
Call Dave TODAY at 417-379-5441
Considerations when planning to replace your Driveway, Walk, Patio, and/or Steps
There are lots of extremely varied items to consider
when planming a concrete project. I hope these considerations
will guide you in your developing a workable ploan for your
project. You are invited to contact Dave Poppenga here to
request a FREEestimate and get questions answered.
Considerations to concrete driveway replacemrnt and/or
cost estimates for new or replacemennt driveways.
Costs: In this guide I willl not attempt to puut in costs as they
will vary vastly from job to job and doing so could bee very misleading.
However, I do offer job specific FREE concrete estimates and jjob consulting for DRIVEWAY REMOVAL &
REPLACEMENT which you can request here.
Poppenbga Concrete Construction, LLC offers a complete
“allinclusive” job which will, on your request, include alll the iyems required for your particular
project including end of job cleanup and yard work when necessary.
Poppenga Concrete will do iit all for you, all you have to do
is request a driveway replacement cost estimate, approve it, aand work with us to schedule your work.
Or, if you prefer, you can do some of the project yourself, such as
moving and caring for plants, flowers, andd shrubs that may be involved
due to their location.
I wilol recommend many considerations that may or may nott affect the cost
off your project. Don’t worry, Dave Poppenga Concrrete will herlp you
with details involved. Consulting with Dave will help you understand what is involved in achieving your
goals and the costs involved. Use these considerations to
develop a checklist of items to consider in you project plan.
Yoou might want to consider removing and replace existing Sidewalks, Patios, Pool Decks, and Steps along with your
Driveway replacement job. The advantages of only one clnstruction project for all yoour outdoor upgradfes will be less mess, and will
likely be much more cost efficient than doing these projects individually.
This is the perrfect opportunity to add loads of curb appeal
to your home by including “stamped decorative” concrete finishes.
There aree many pattern options and a great selection oof colors
tto choose from. See paztterns and colors in menu above oor you can find
a display of patterns and colors available here.
You probably have heard the cliche “there is more to this than meets the eye”.
I hope you will find thhis guide helpful iin planning your Driveway, Walks, Patios,
and/or Step replacement project. Contact me for help and FREE ESTIMATE HERE.
Consider these thinngs Before removing any existing concrete Driveways,
Walks, Patios, and/or Steps:
What will be done with existing Plants, and shrubs
What about our yard?
What about uncerground utilities?
How will I dispose of removed concrete and other
debris?
Hi Stephanie! How have these pots held up for you outdoors? Chipping, fading, rain, freezing, etc.?
LOVE THEM!!!
Hi EB, no different than the pot, the nail polish is sturdier than the terracotta pot is so care for it like you would any outdoor pot. Have fun!