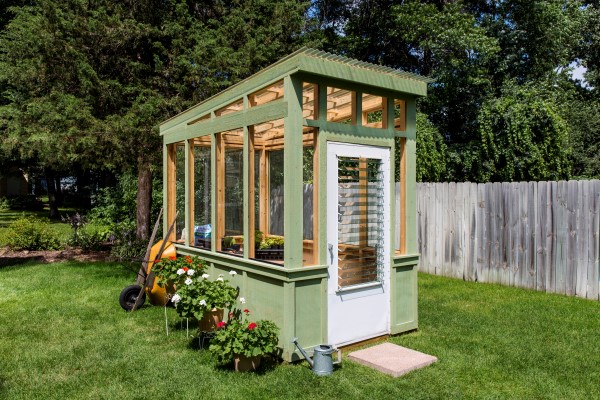
It’s hard to believe, but this beautiful greenhouse used to be a bunch of discarded windows without a use. With a lot of creativity and a little know-how, they were transformed into the gorgeous structure you see here.
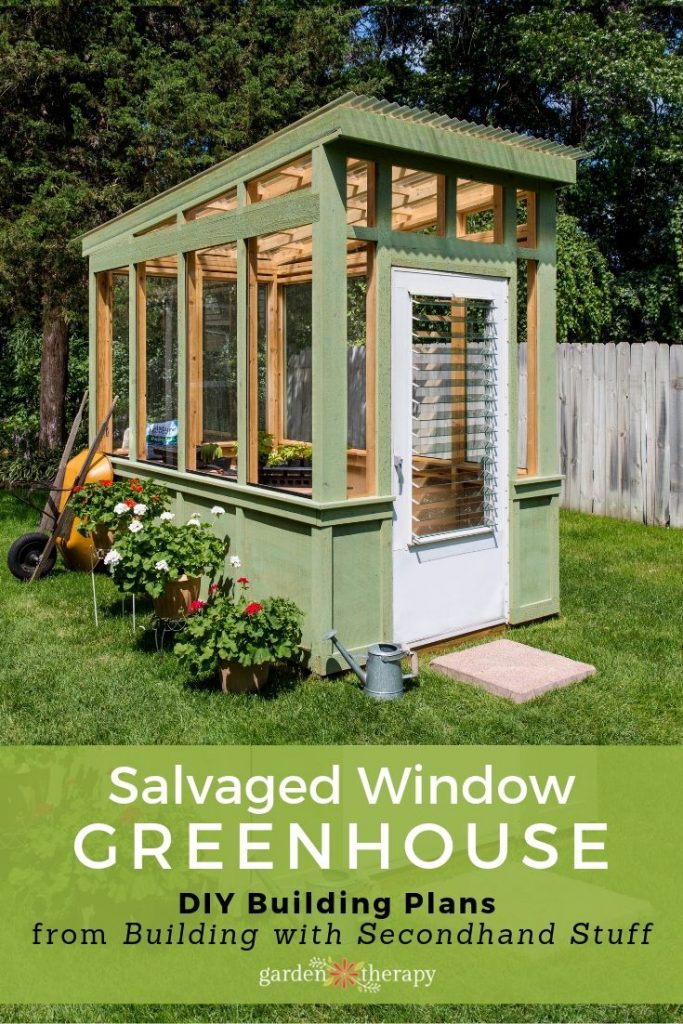
You can learn to make your own old window greenhouse with the help of today’s guest blogger Chris Peterson. Chris is the author of the fabulous book Building with Secondhand Stuff: How to Reclaim, Re-use & Upcycle Salvaged & Leftover Materials and this upcycled greenhouse is just one of many inspired projects from the book.
If you like this project, be sure to check out Chris’s DIY Pallet Planter tutorial as well.
How to Build an Old Window Greenhouse
By Chris Peterson
As homeowners across the country upgrade to insulated windows, older windows are relegated to the junk heap. These include wood-framed units that have seen better days, aluminum-framed storm windows that are no longer needed, and even vinyl-clad insulated windows that have come to the end of their lifespan.
You can find them in dumpsters, piled up on remodeling job sites, for sale cheaply through salvage companies, and online through various sources—often for free.
The trick to reusing these windows for a greenhouse is that you have to take what you get. Sizes vary, sometimes radically. The design shown here is typical, featuring a small footprint and a simple shed roof.
The recycled windows used are 28 inches wide by 62 inches high; the larger windows are used in the walls, and the smaller ones are used in the roof. In both cases, these instructions assume wood-framed units. Wood framing is always best when it comes to adapting old glazing to a new hobby greenhouse, but you have to make sure that the wood is in good shape.
The lumber used is all of common sizes and should be readily available through salvage companies or from job sites. The design can be scaled up or adapted to different sizes of windows fairly easily, as the framing details have intentionally been left somewhat crude to allow adaptation without a lot of fuss.
A kneewall base ensures that no matter what windows you reuse, they’ll be well supported. We’ve also used fiberglass panels, which are widely available and simple to install, for the roof.
When creating a design such as this, using mostly recycled materials, it’s a great idea to lay the windows and framing studs out on a big, flat work surface—for example, a garage floor or expanse of lawn. If you’re not good with the nitty-gritty of detailed measurements, this can be a way to verify that everything will fit and to make quick adjustments without having to tear things apart.
Whatever the case, it’s always wisest to try to find multiple windows in the same size; cobbling together windows of odd sizes throughout the structure can lead to a nightmare and create an unstable and unsafe greenhouse.
That said, any upcycling project involves certain compromises. This greenhouse will not be as airtight as most polycarbonate panel or plastic-film kit greenhouses would be (and certainly not as much of a high-quality custom structure), so it is at best going to serve you as a three-season structure—it just wouldn’t be cost effective to heat it over a cold winter.
You can make the structure a little more efficient by recaulking the window panes in wood-framed windows and covering smaller openings or gaps between the windows in the roof and the wall top plates with plastic.
Tools and Materials
- Cordless power drill and bits
- Claw hammer
- Paintbrush
- Sealant or paint
- Stepladder
- Clear silicone caulk
- Construction adhesive
- Caulk gun
- 6d and 8d nails
- Finishing nails
- Circular saw
- 12″ spikes
- Jigsaw
- Tamper
- Paint or stain (optional)
- Eye and ear protection
- Work gloves
- Inspect all of the windows for significant defects you might have missed during the reclaiming process. Look for rust, excessive warping, and hidden insect damage or rot (if you’re using wood-framed units). Clean up the windows and sand or use a wire wheel to remove loose or flaking finishes or rough areas. Paint the frames with primer or coat with preservative. Fasten the 4 × 4 frame together by joining the timber at the corner with 12″ spikes, countersunk. Measure and mark the trenches for 4 × 4 foundation timbers. Dig them 4″ deep and fill with crushed gravel. Tamp the gravel down all around.
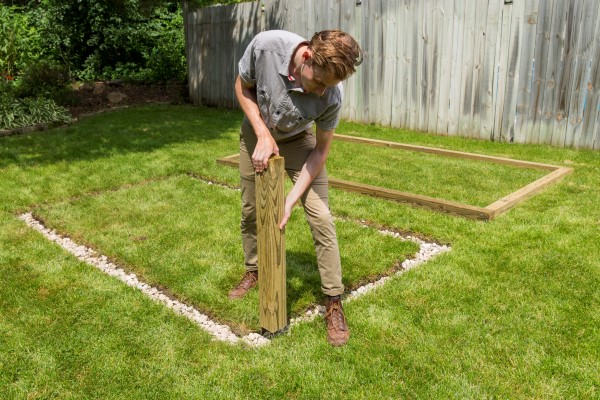
- Check the frame for levelness on all sides, side by side, and diagonally. Add or remove gravel under the foundation to level any one side.

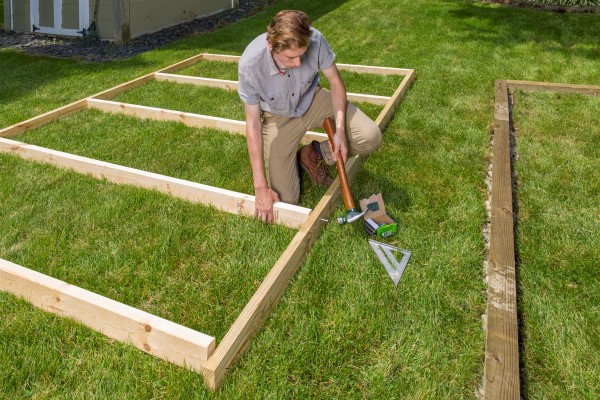
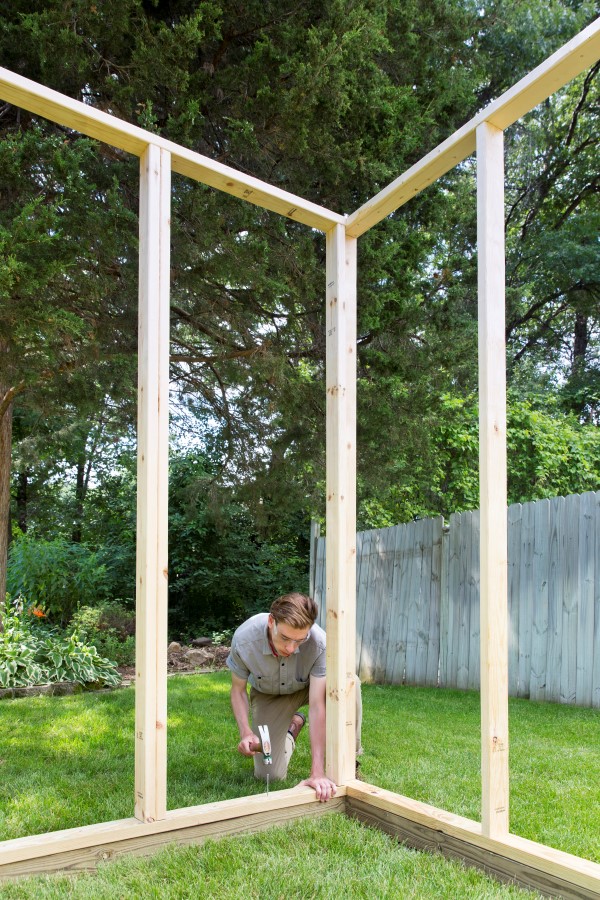
- Working on a clean, flat surface such as the lawn here, lay out and build one side wall. Nail the sole and top plates to the studs after ensuring that each stud is at a 45° angle to the plate with a speed square.
- Raise the wall, check for plumb, and brace it into position. Nail the sole plate to the foundation timber with 8d nails.

- Once the two side walls are constructed and nailed into position, build and raise the rear (non-door) wall into place and nail it to the foundation 4 × 4.
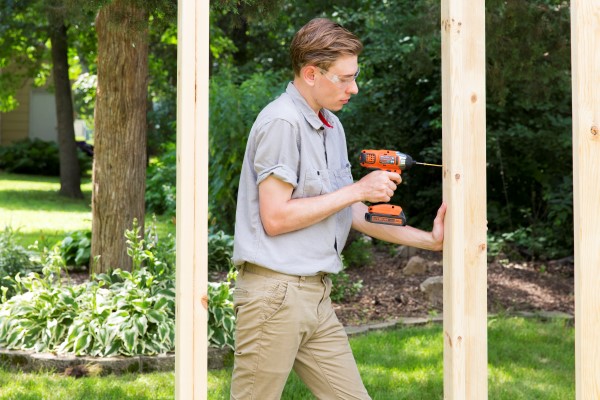
- Screw the walls together at the corners with 3″ wood screws.
- Screw 2 × 4 × 28 ¼” spreaders in the stud cavities of the side and back walls.
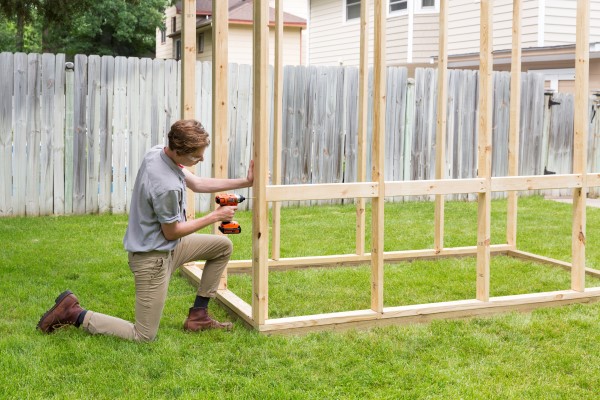
Toe-screw the spreaders on the inside edges and face-screw through the corners. The tops of spreaders should be 32″ above the 4 × 4 base, faces flush with the outside edges of the wall studs.

- Screw 2 × 4 × 28¼” spreaders in the stud cavities of the side and back walls. Toe-screw the spreaders on the inside edges and face-screw through the corners. The tops of spreaders should be 32″ above the 4 × 4 base, faces flush with the outside edges of the wall studs.

- Use a jigsaw to cut notches in 5/4 cedar decking to use as window sills on top of the spreaders.

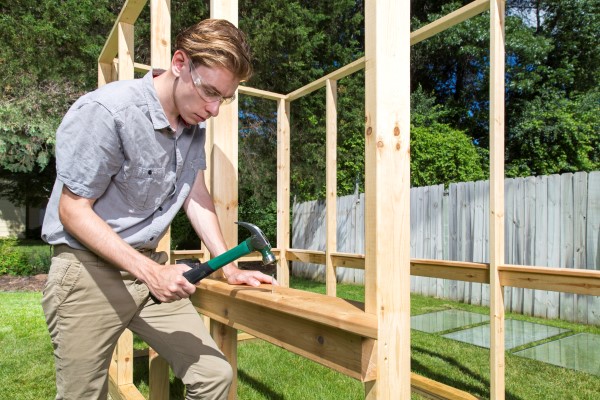
- Dry-fit the cedar sills and then miter the corners if the fit is correct. Coat the tops of the spreaders with construction adhesive and nail the cedar sills in place with exterior finish nails.
- Miter-cut retainer strips from ¾” quarter-round stock for the window openings. Drill pilot holes for nailing, then coat the bottom faces of the strips with construction adhesive and nail them in place with exterior finishing nails. You may have to adjust for the windows you reclaim. The windows here varied in height by up to ½”.
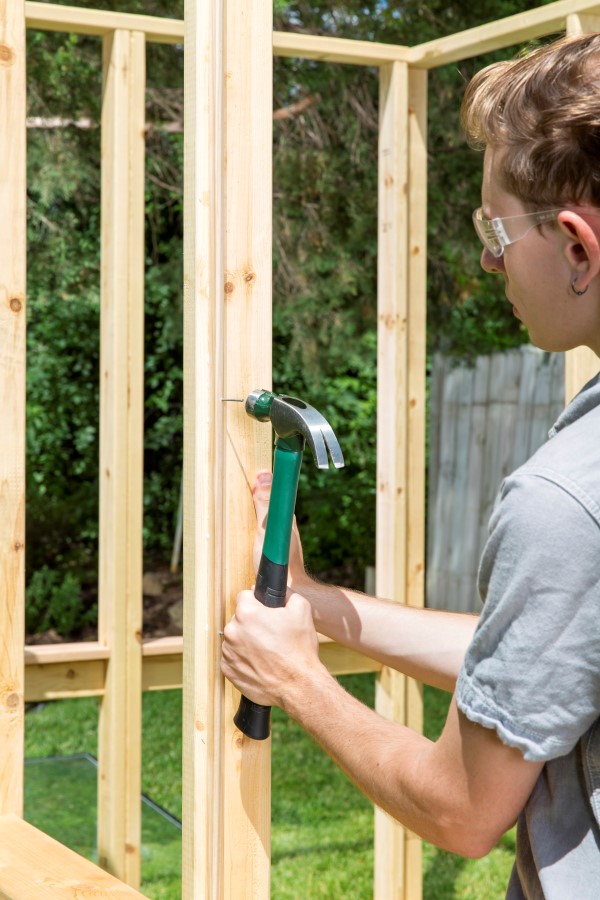
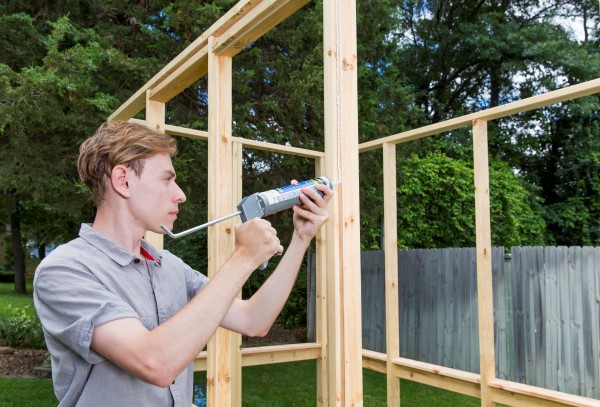
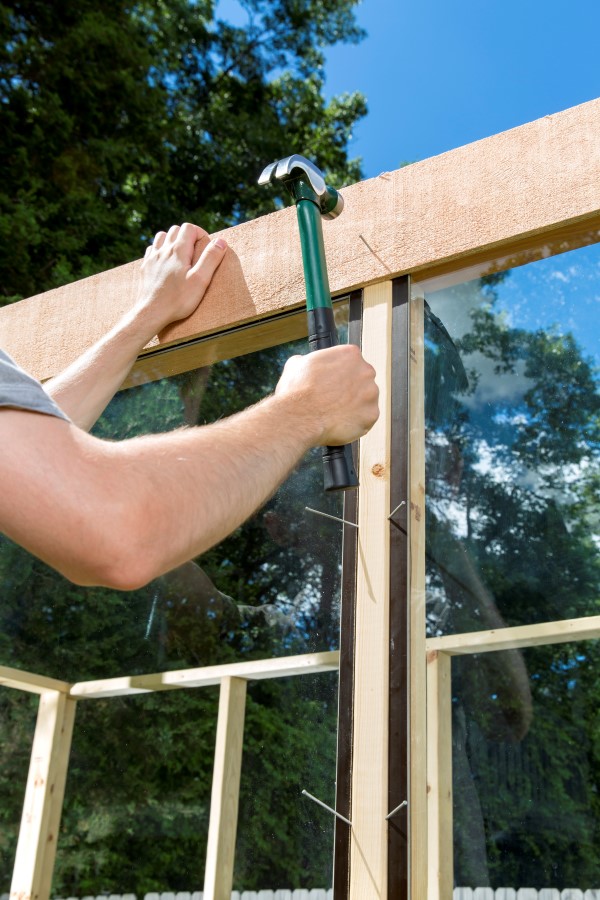
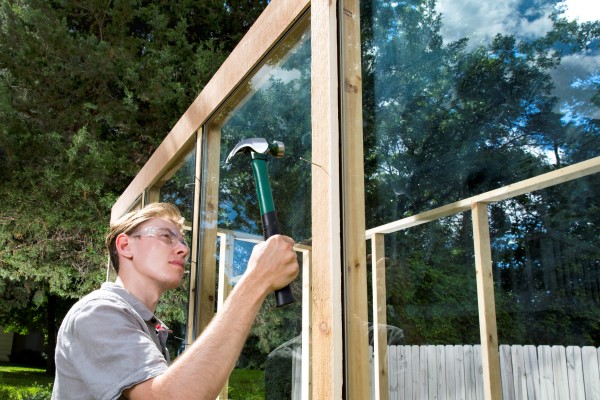
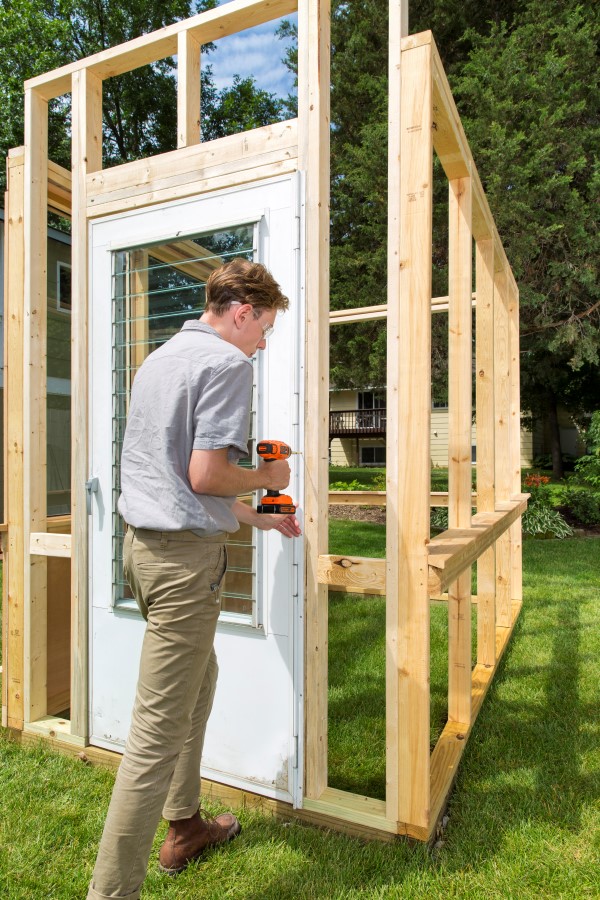
12. Lay a thin bead of clear silicone caulk into the retainer strip channel for the first window.
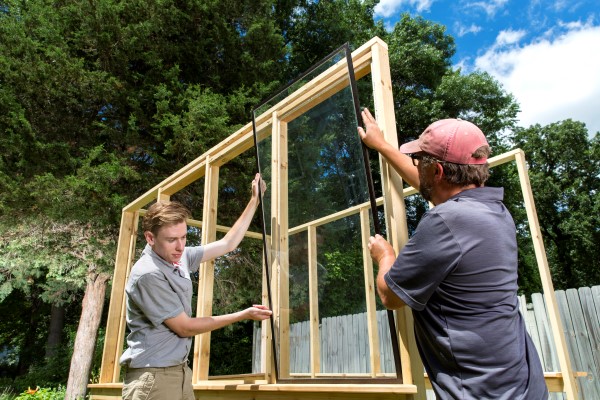
- With a helper, carefully and evenly set the window into position. Have the helper hold the window in place for the next step.
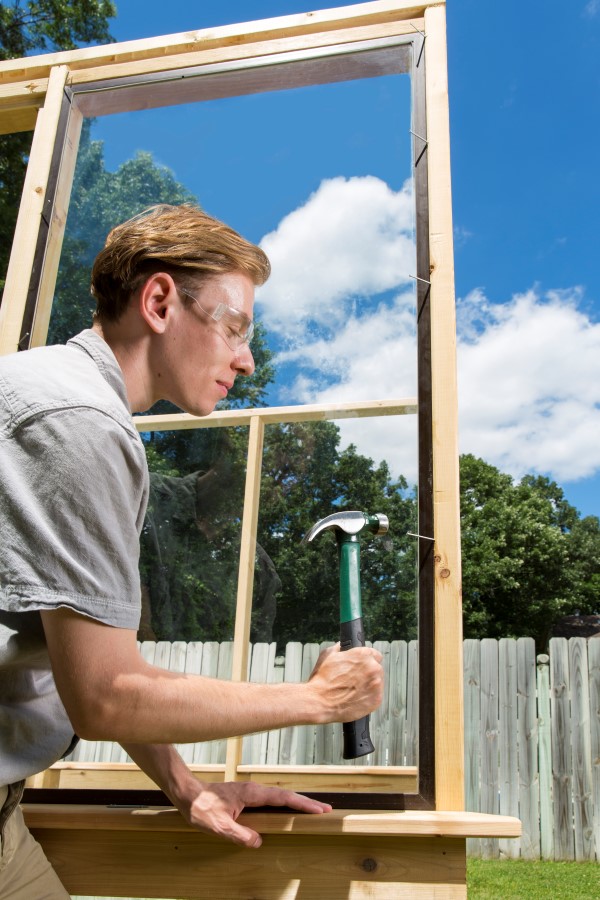
- Pin the window in place with small brads to allow the silicone to set. Repeat the installation process with the rest of the windows for the three walls.
- Measure and cut 2 × 6 fascia boards for the top of each wall. Use 3″ 6d galvanized nails to tack the board to the top plates of the wall all the way around. The fascia should cover any gaps at the tops of the windows.
- Measure and cut 1 × 3 cedar strips to run between the fascia at the top and the sill. Drill pilot holes and nail the strips in place on the studs with 3″ 6d nails.
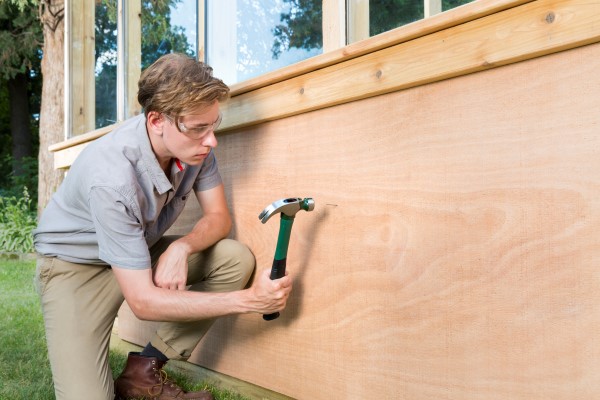
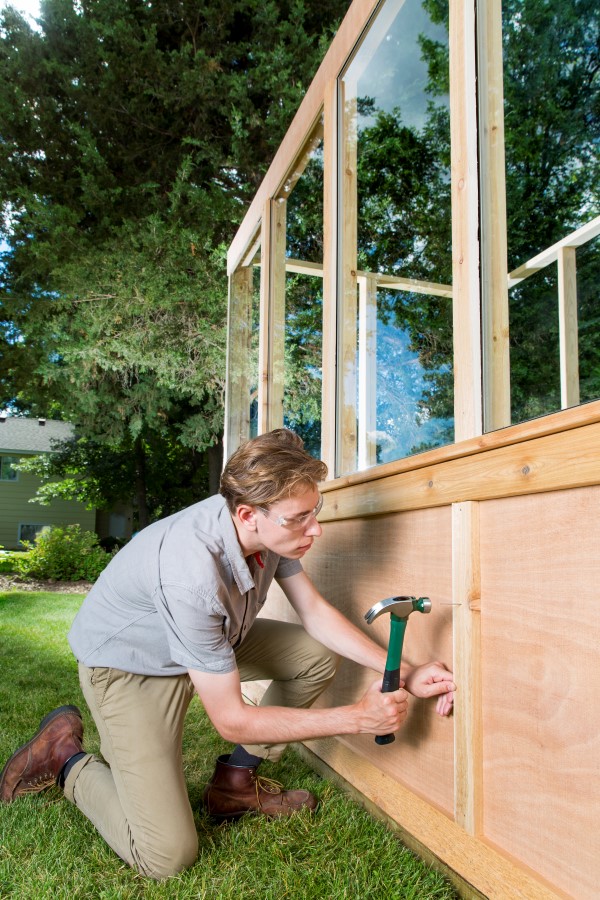
- Measure and cut ½” exterior grade plywood for the half-wall cladding at the bottom of each wall. Nail it in place with 2″ 6d nails.
- Measure and cut 2 × 4 cedar base trim, 1 × 3 cedar corner boards, and 1 × 3 cedar battens. Nail them in place with exterior finishing nails, positioning the battens between the base trim and the underside of the sill, continuing the vertical line of the stile trim.
- Frame the front wall (12″ higher than the side walls) in place by measuring and marking stud and door-jamb positions and toe-nailing the members in place. Nail the top cap to the top of the studs and install the door header. Install the door so that it opens outward.
- Use 2½” deck screws to toe-screw the front cripple studs for the triangular top walls on both sides.
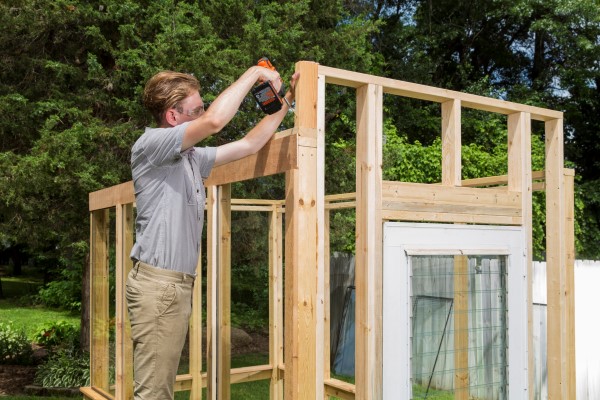
- Measure and cut the other cripple studs in each top wall and toe-screw them in place with 2½” deck screws. Check that each is plumb and square to the top plate. Miter each end of the top plates and screw them to the cripple studs on each wall.
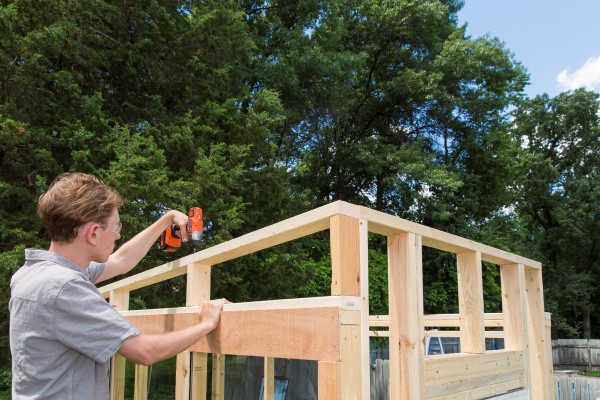
- Measure and cut the 2 × 4 rafters and toe-screw them running front wall to back wall. There should be a 6″ overhang on both ends.

- Measure and cut the 2 × 2 purlins for the gaps between the rafters. Toe-screw them in place, spaced 11½” on center.
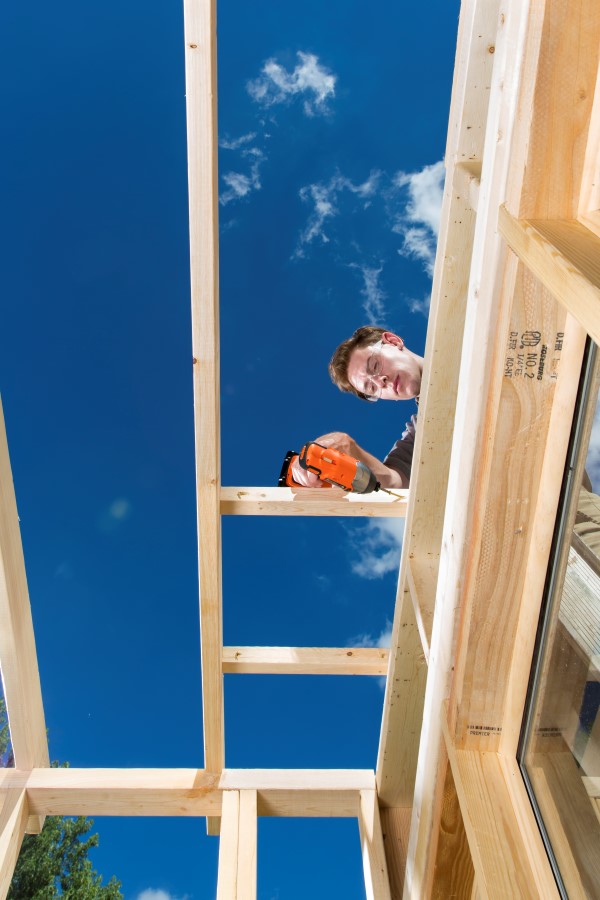
- Cut and screw the fiberglass panel, nailing strips to the top of each purlin.

- Drill pilot holes for the fiberglass panels and screw them in place to the purlins using 1″ screws and rubber washers. Paint or stain the exterior of the greenhouse and, if using in a cooler season, cover all the clerestory windows with 6 to 8 mil plastic sheeting stapled in place.

Reprinted with permission from Building with Secondhand Stuff: How to Reclaim, Re-use & Upcycle Salvaged & Leftover Materials by Chris Peterson © 2011. Published by Voyageur Press. Photography courtesy of Voyageur Press.
About the Author

Chris Peterson is a professional writer and editor based in Brooklyn, New York. An expert in home design, repair and renovation and an avid cook, he’s the author of When Duct Tape Just Isn’t Enough: Quick Fixes for Everyday Disasters, A Man’s Whirled: Every Guy’s Guide to Cooking with the Blender, and several other books.


I love it. Will have to show Hubby so he can make me one.
Cute greenhouse! One idea would be to attach a gutter and capture rain water off the roof to water your plants in the greenhouse.
I have one water barrel in my greenhouse that gets filled from the roof. And the bonus of having it in the greenhouse is that it heats up during the day when it is sunny out and then the heated water radiates out into the greenhouse at nighttime to moderate the temperature.
There is an example of my rain barrel setup in this post: https://tranquilgarden.ca/top-7-essential-greenhouse-features/
Where do I find a door like that? I tried searching but have no idea what to even call it. =)
The windows in the door are called jalousie windows. So try looking up a jalousie door. These windows were used in older homes (esp. in warmer climates) and are now pretty inefficient for a main house. But they would be great for a space that has air going through it. You may find one in a salvage place.
It looks like it would be from a mobile home. Also check garage sales in your area or flea markets.
Love the greenhouse! The jalousie door is a sweet touch for ventilation. However I think in step 3 you’ll find that he’s nailing the studs to the top and bottom plates at 90º , not 45º.