John Gillespie & Christina Symons, the authors of Sow Simple: 100+ Green and Easy Projects to Make Your Garden Awesome, join us today to share some decorative projects to inexpensively make your very own concrete containers and hypertufa planters. I have done my fair share of concrete projects, and yet it amazes me how many unique shapes can be created. I love how these containers came out, don’t you?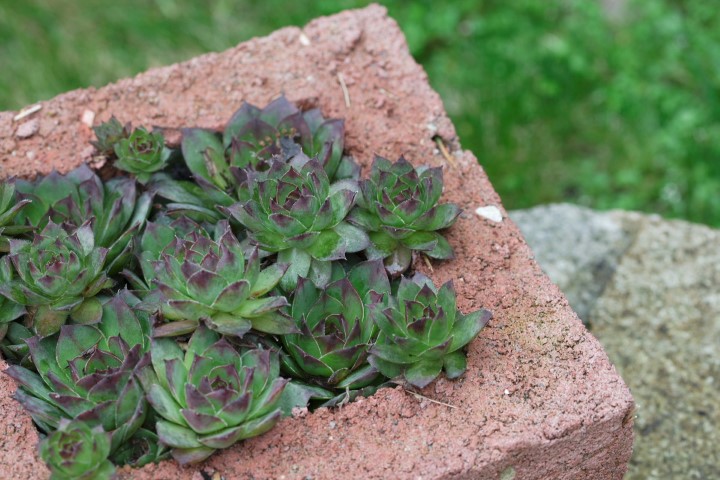
If you have wanted to work with concrete in the garden but are hesitant because of the weight of the final projects, let me introduce you to hypertufa! Hypertufa is traditionally made with a mix of peat moss, perlite, and Portland cement. It can be molded into many forms and is much lighter than a solid concrete structure. In addition, it is porous and is therefore a good choice for plants who need good drainage.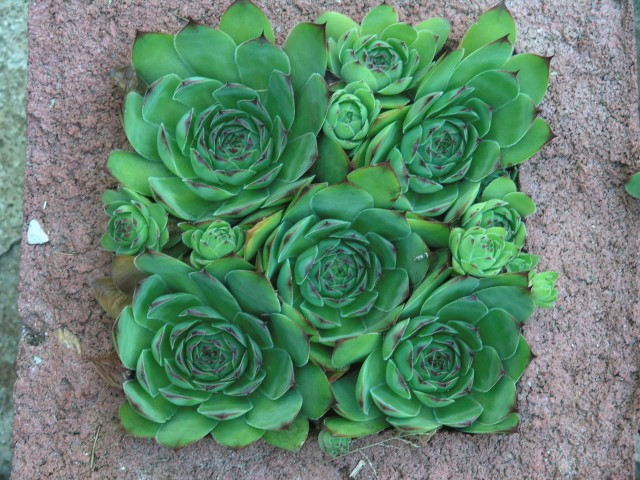
Concrete planters and hypertufa troughs are easier to make than you might think. The only difference: one is smooth (concrete) and one is rustic and rough (hypertufa). The following shows the steps to make a concrete bowl.
Materials
- A pair of similarly shaped molds, one 25 percent smaller than the other
- Concrete ready mix
- Organic matter (for hypertufa): peat moss, perlite*
- Rubber gloves
- Nonstick cooking spray (for plastic molds)
- Plastic lining (for cardboard molds)
- Sticks to create drainage holes
- Water
*NOTE: To make this project in hypertufa, add a mix of 2 parts perlite, 2 parts peat moss, 1.5 parts Portland cement, and enough water to have it just stick together. Mix well and adjust the ingredients as needed until you can form a ball in your hands that sticks together without being able to squeeze water out.
Make it!
First, decide on a shape. Squat shapes are easiest for beginners and make wonderful troughs and low bowls for succulents and other plants typically grown in rocky areas.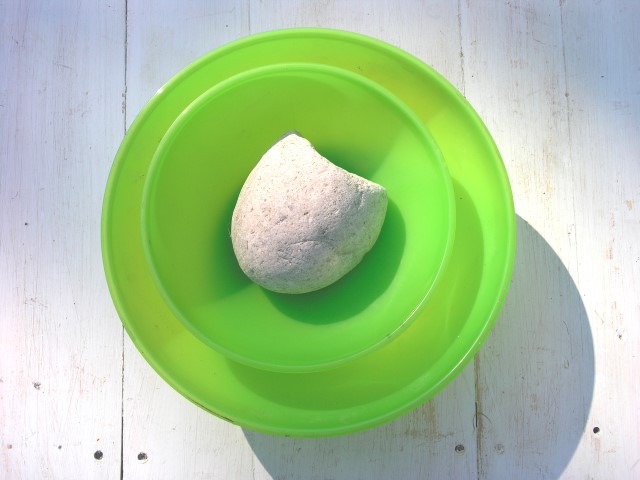
Create a pair of molds (inside and outside) by selecting or fashioning two identical shapes, one approximately 25 percent smaller than the other. For example, two plastic bowls in similar shapes that fit one inside the other with a little more than an inch (about 3 cm) of space between them. Cardboard boxes also work well. Spray plastic containers with nonstick cooking spray. If using cardboard, line your molds with plastic.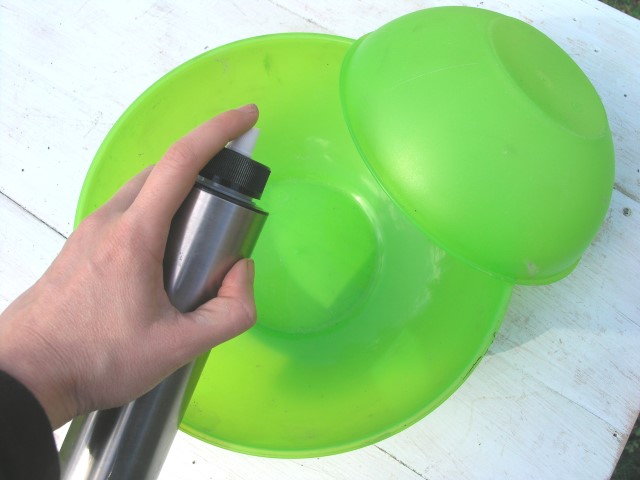
Mix your concrete according to package directions. To create a hypertufa blend, add approximately 30 percent peat moss, cocoa husks, wood chips or sawdust to the mix prior to adding water. This will result in a stiffer mix. A plain concrete mix will not be as rigid.
Fill the bottom and sides of your molds with your mix of choice to a thickness of 1.5 in. (4 cm). Insert lengths of sticks cut the same depth as your mix to create drainage holes.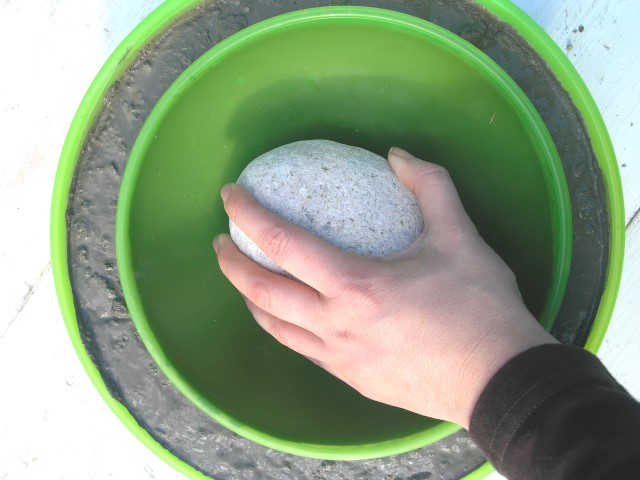
Place your inner mold on top. Press down until the bottom and sides are of an even thickness. Position stones or other weights inside the top mold to hold it down. Tap the mold several times to remove air bubbles.
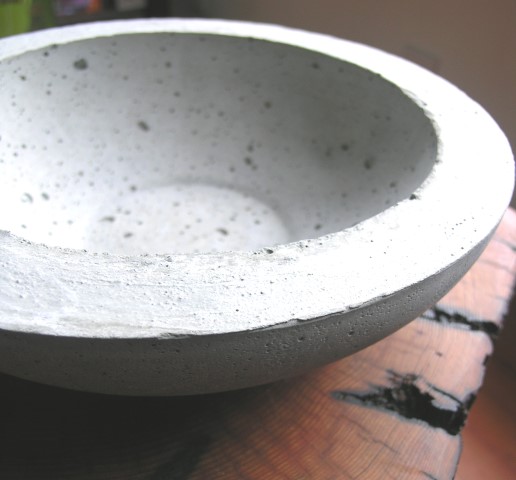
Allow your pot or trough to dry for several days. Then release the concrete from the molds and remove drainage sticks. Allow the containers to cure, preferably outside where rain can wash over them for several weeks before planting.
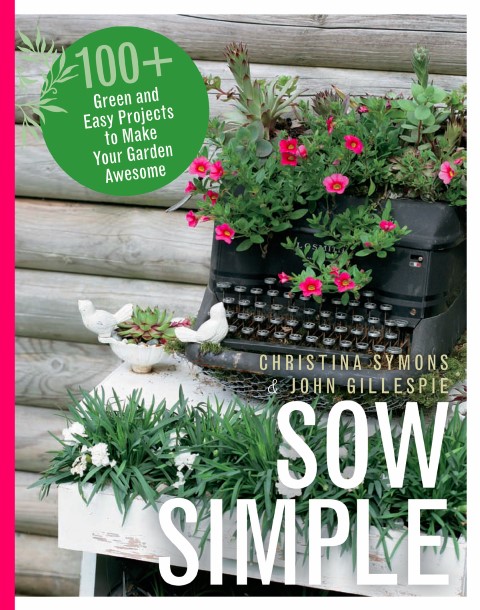
From home-crafted concrete troughs stuffed with succulents and strong alongside dry-stack stone walls, to simple ideas for playhouses, gazebos and backyard benches, Sow Simple will keep readers busy through all seasons. Grab a copy today!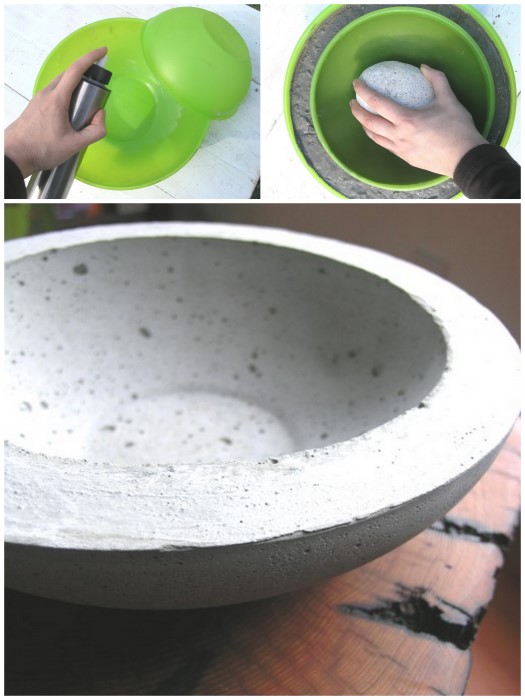



Just wondering where and when you put in the drainage sticks?
Hi Shauna, I have a project in my book, Garden Made that shares the exact how to of that. I use PVC pipe to make the hole. https://gardentherapy.ca/product/garden-made/