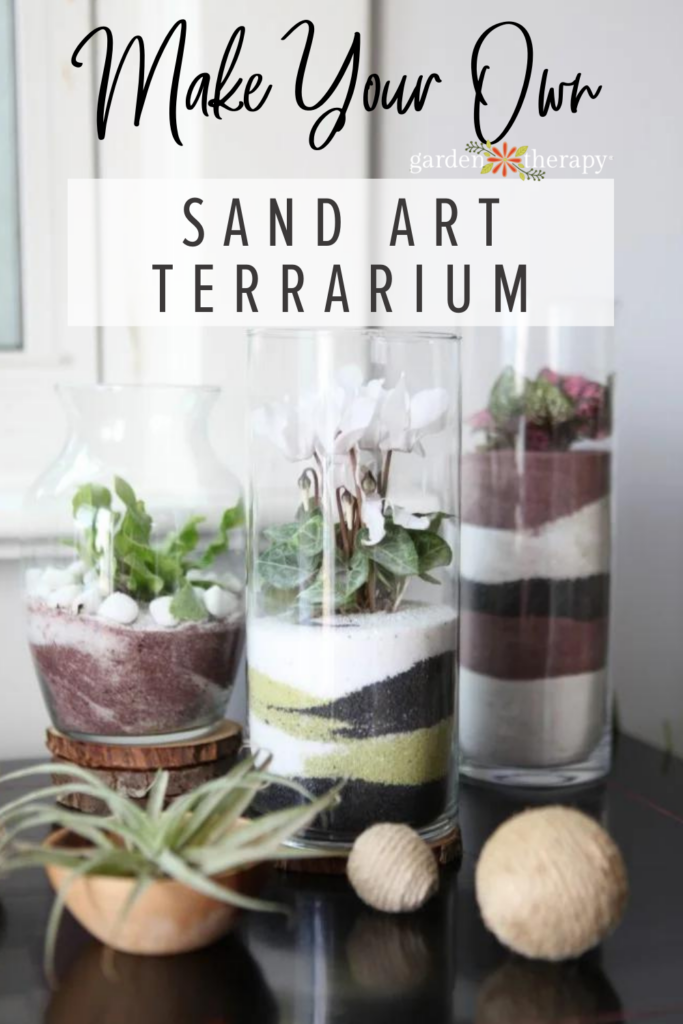
Once again, terrariums have taken the plant community by storm. With a little bit of a crafty twist, this DIY sand art terrarium is a great way to spice up the living room, hallway, bedside table, or even bathroom. So, get your plant on and make your own terrarium!
This post will cover…
- Make a DIY Sand Art Terrarium
- Materials
- Instructions
- Frequently Asked Questions About Making a Sand Art Terrarium
- More Posts About Terrariums
Terrariums are no longer just seen as a revival of a retro 1970’s craft. Modern versions have popped up in florist shops, furniture stores, and lifestyle shops. Attending a terrarium workshop is now a common activity for a bridal shower and mini terrariums grace the tables of many a wedding.
This newfound popularity is likely because terrariums are charming additions to home decor, along with being incredibly fun to make. These terrariums revive another craft from an earlier era…sand art!
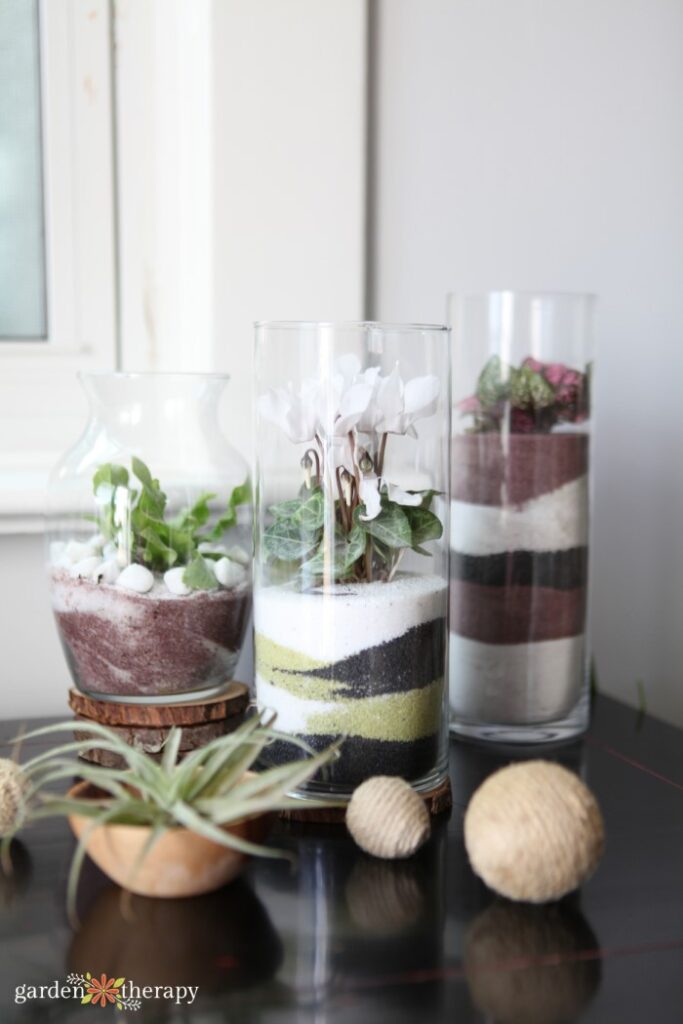
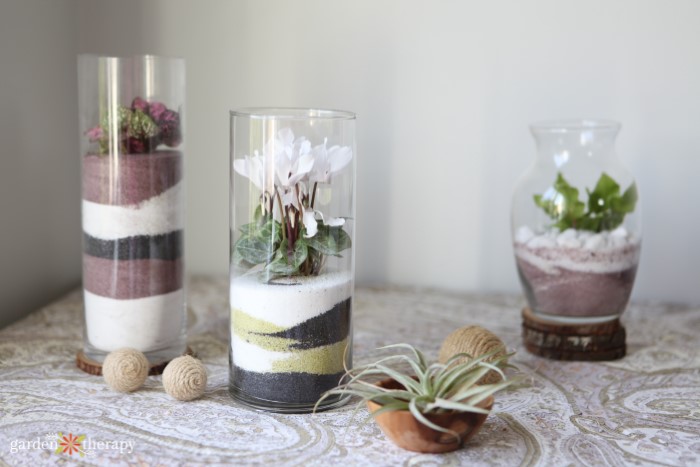
Pouring layers of coloured sand around the roots of a tropical plant gives this project as gorgeous a display below the leaves as above.
This is one of the many garden-inspired projects from my book, Garden Made. Be sure to check it out for more green projects inside and outside the home.
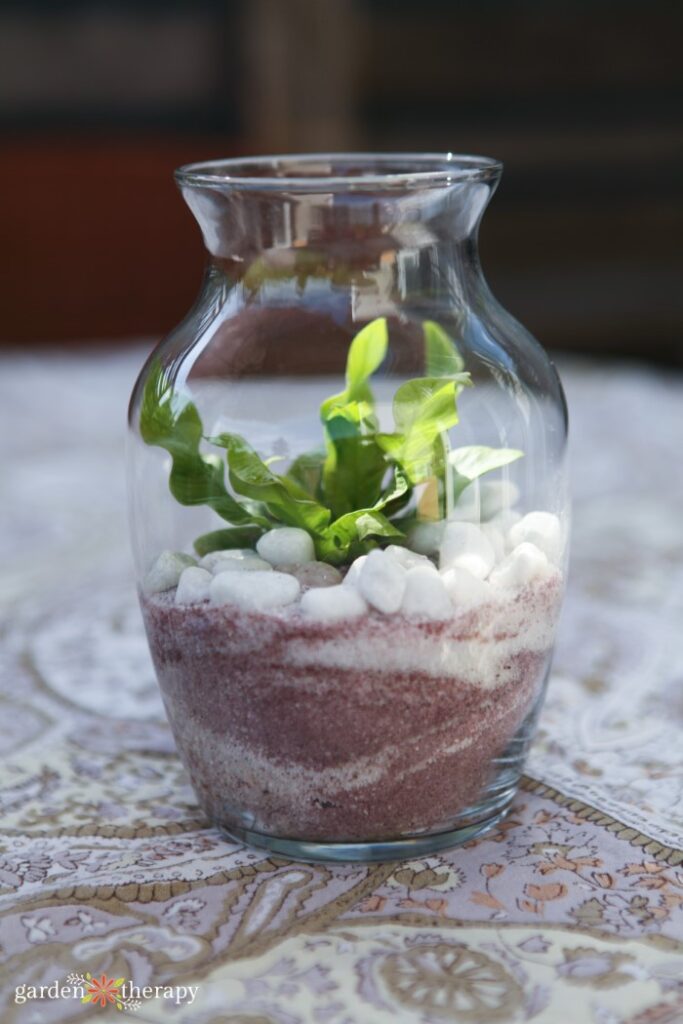
Make a DIY Sand Art Terrarium
Making your own sand art terrariums are quite simple. With some florist’s foam hiding beneath the surface and layers of coloured sand, it’s the perfect addition to your indoor garden.
Materials
- Florist foam
- Knife
- Glass vase
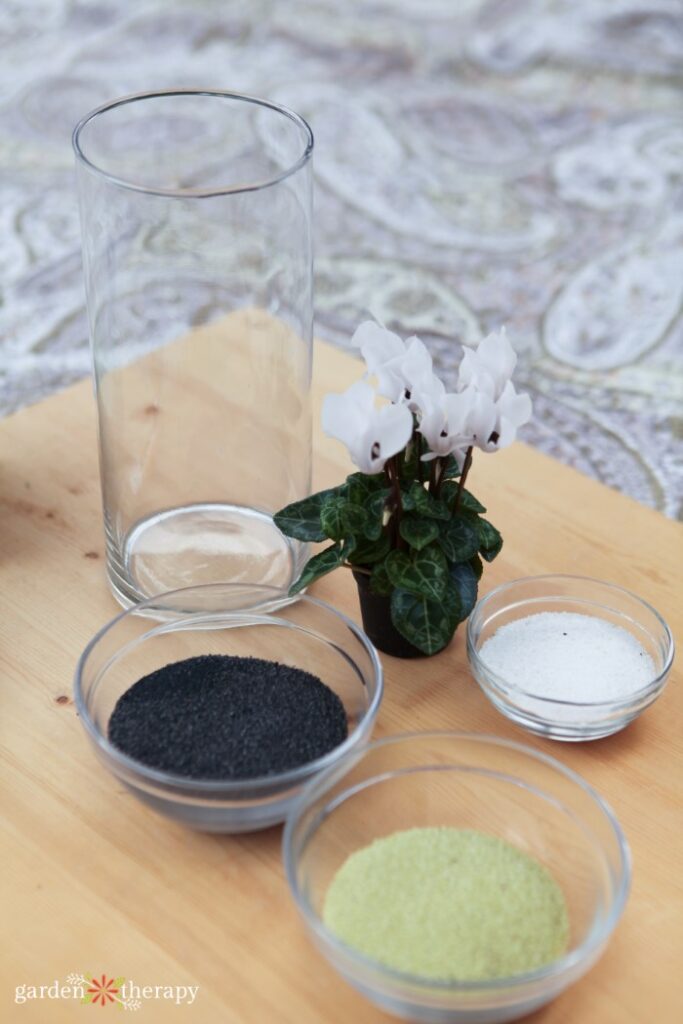
- Miniature tropical plant for terrariums, such as Cyclamen, Hypoestes phyllostachya “Pink,” and Phyllitis scolopendrium
- Coloured sand
- Paintbrush
- Cloth
Instructions
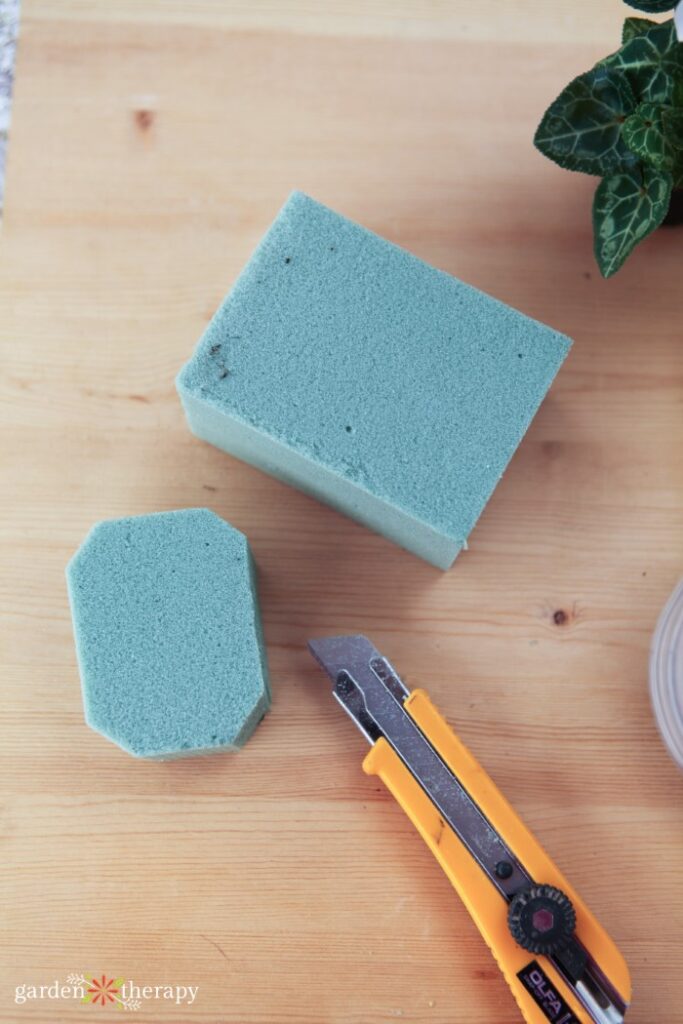
With a sharp knife, cut the foam to both fit in the vase, and at a height that will allow for the plant you have chosen to be completely contained.
Pour one colour of sand around the foam to hold it in place. Layer another colour of sand and fill to the height of the florist foam.
Set your plant, in the pot, on the florist foam.
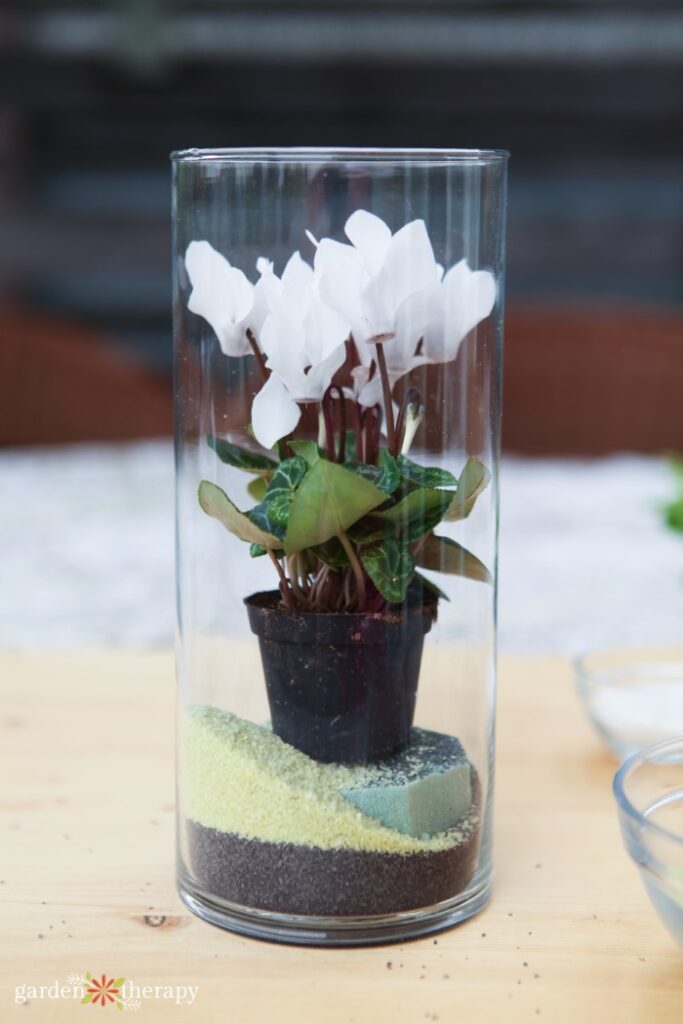
Pour layers of coloured sand down the sides of the vase until you completely conceal the small pot. Use the end of a thin paintbrush to hold the leaves aside while you add the sand, and then use the brush to dust the sand off the leaves. Use a cloth to wipe the sand dust from the sides of the vase, inside and out.
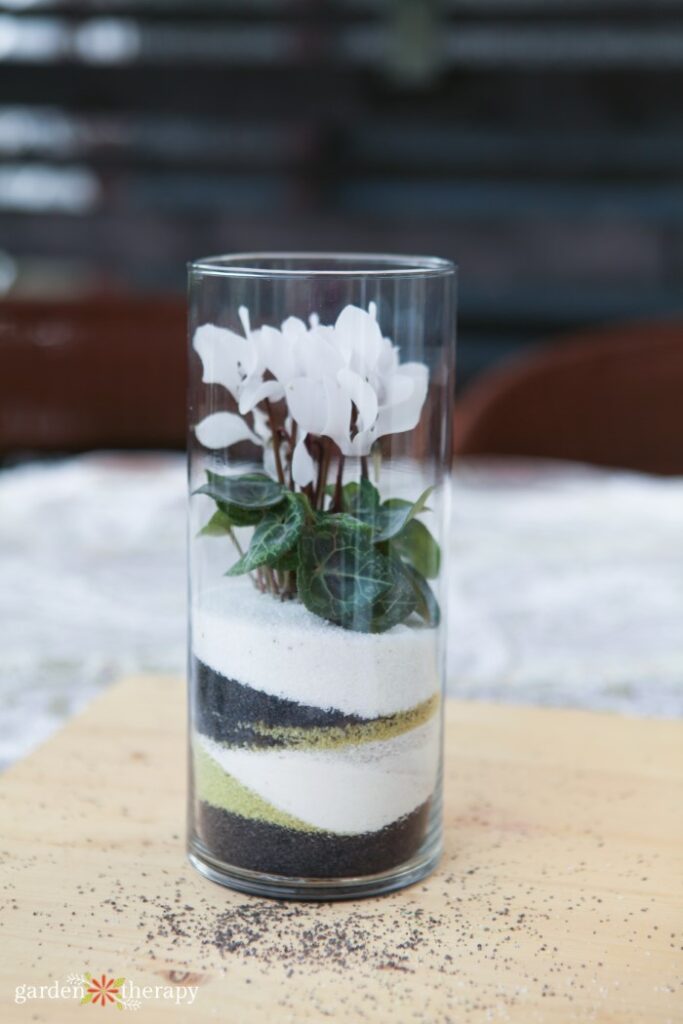
For a longer-lasting terrarium, give your plant lots of room to grow. If the plants’ roots are crowded in the pot it was purchased in, pot it up into the largest container that still fits inside the vase.
Water with a dropper, turkey baster, or watering can with a thin spout that can direct the water to the soil just under the leaves. Excess water will flow into the highly absorbent florist foam. Set the terrarium in bright, indirect light and trim back plants as flowers fade or leaves grow tall.
Frequently Asked Questions About Making a Sand Art Terrarium
Cyclamen, polka dot plant, and hart’s-tongue fern are featured in my terrarium. Other great plants include nerve plants, peperomia, pilea, selaginella, and air plants. You can learn more about how to care for these terrarium plants here.
Overall, look for smallish plants of varying heights and colours to get a beautiful terrarium. For enclosed terrariums, choose tropical plants that like humidity.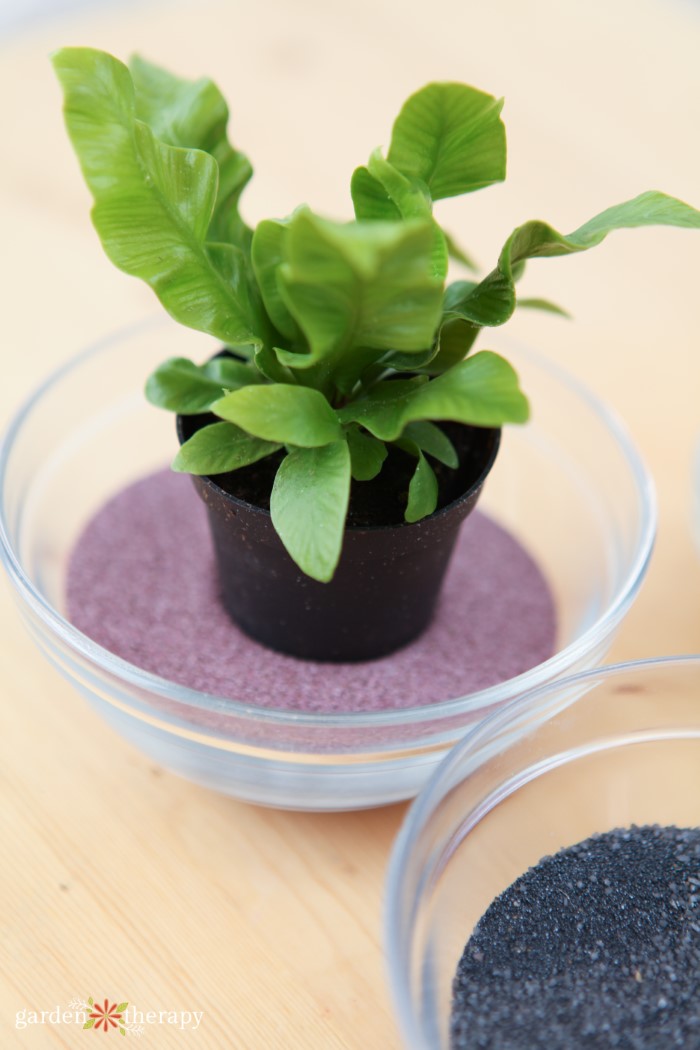
In my terrarium, I used coloured sand as it makes the terrarium pop and comes in all kinds of colours. When purchasing coloured sand, look for aquarium-grade sand. It is already treated and safe for use with living things.
Avoid play sand unless the plants are nowhere near it. Made of finer grains, it fills holes rather than creates them. It does not easily allow water to pass through and onwards for our plants.
For cheap and readily available sand that will work, you can also use builder’s sand or horticultural sand. You won’t find these ones in fun colours though!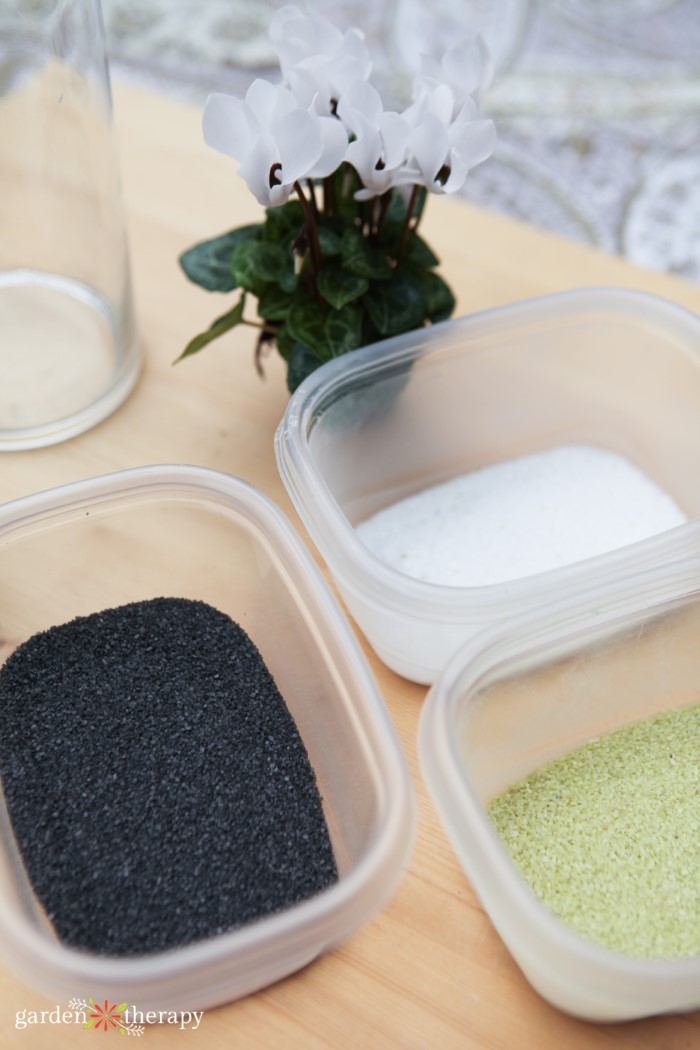
The less movement the better! Once your plant is nestled within your sand art, leave it alone until it’s time to repot it. To avoid your sand layers from mixing with each other, you can add a layer of white glue and wait for it to dry. Similarly, you can use clear candle wax to keep each layer in place.
Terrariums that are in enclosed containers will not need very much water. Through evaporation, it will produce quite a bit of humidity on its own. All it will need is a little bit of water every few months with a narrow-spouted watering can directed to the base of the plant. Otherwise, the terrarium is fine all on its own.
For my terrarium, the top remains open. In this case, I water it as frequently as I would normally, according to the plant’s needs. Learn more about terrarium care here.
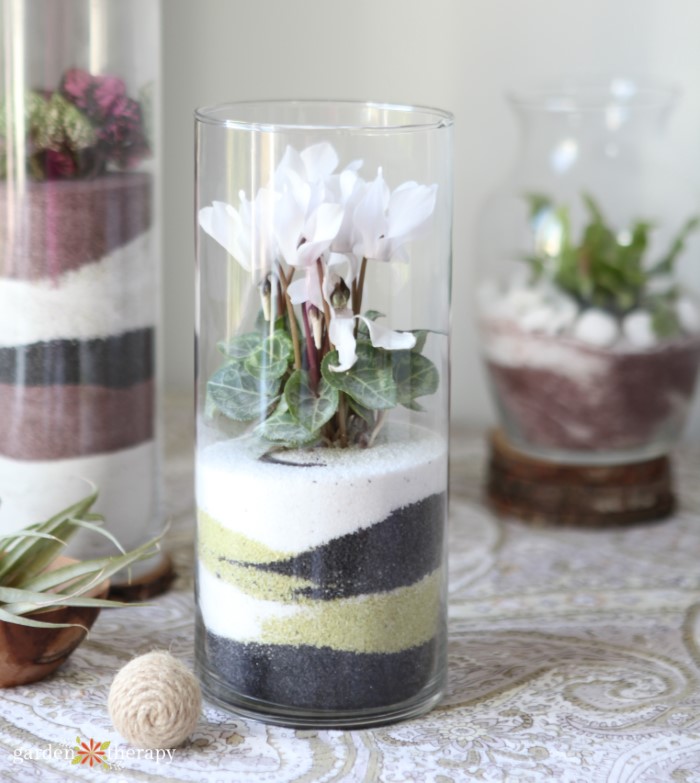
I think these sand art terrariums are very chic and quite easy to make in under an hour. Let me know how yours turn out in the comments down below!
More Posts About Terrariums
- How to Grow Tropical Plants in Geometric Terrariums
- The Best Terrarium Plants for Stunning Displays
- How to Refresh and Care for A Terrarium
Sand Art Terrariums
Equipment
- Knife
- Cloth
Supplies
- Florist foam
- Coloured sand
- Glass vase
- Small tropical plants nerve plants, peperomia, pilea, selaginella, and air plants are a few that work well
Instructions
- With a sharp knife, cut the florist foam to fit in the base of the glass container and to give your plant the right height within the container.
- Pour your first layer of sand around the foam to hold it in place. Add a second layer of another colour to the top of the foam.
- Set your plant atop the foam.
- Pour more layers of sand until you reach the top of your pot. Use the end of a paintbrush to carefully hold the leaves out of the way from the sand while pouring.
- Use the paintbrush to sweep any remaining sand from leaves and the inside of the vase.
- Water with a turkey baster or watering can with a narrow spout to the base of the plant. The florist foam will help contain excess water. Place in bright, indirect light.

