Making seed paper is one of my favorite crafts. You would never know from the organic look of this artisan paper that the materials come from such humble beginnings. I showed the steps for how to make homemade seed paper using a DIY mold and decal fashioned from two-dollar frames and shredded bills in my book, Garden Made: A Year of Seasonal Projects to Beautify Your Garden and Your Life.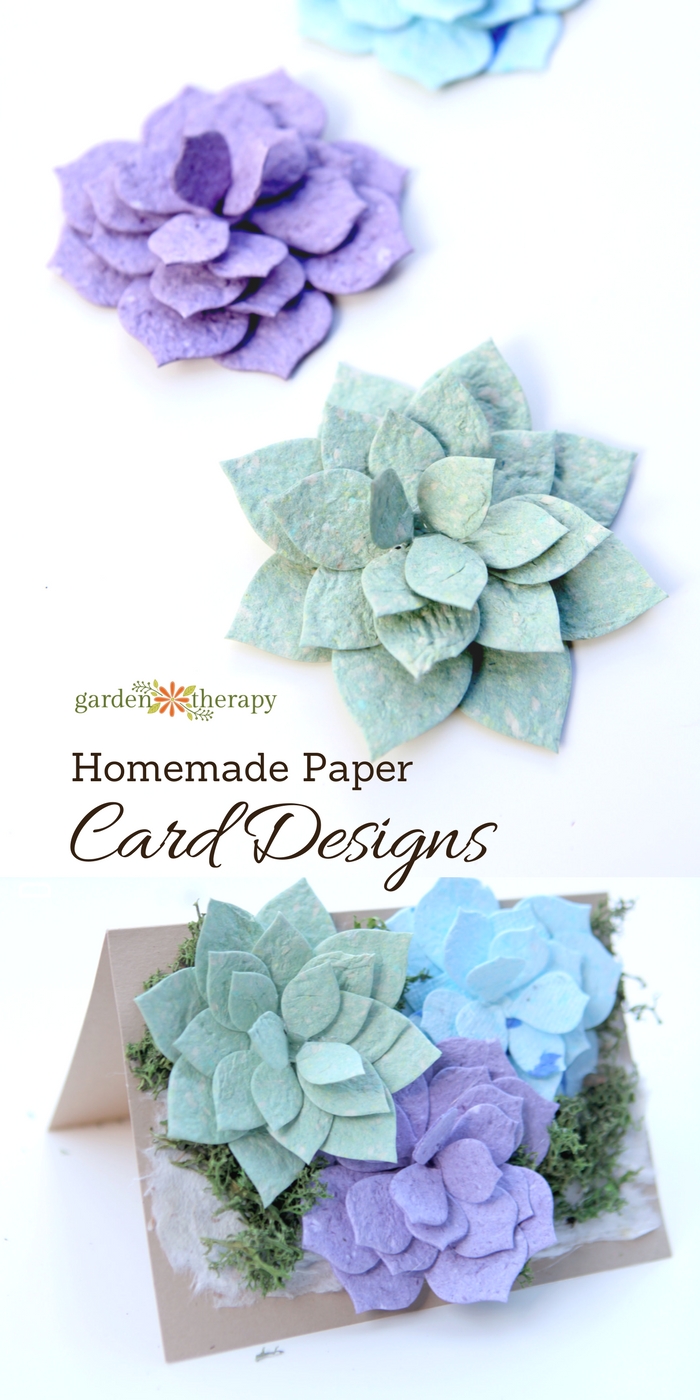
I’m taking the show on the road this spring to do live demos of how to make seed paper in Seattle at the Northwest Flower and Garden Show and in Florida at the Epcot International Flower and Garden Festival. I hope you have a chance to see me make paper live but if you miss it, there are detailed instructions in Garden Made.
My workshops were sponsored by Ball Seed and Burpee, who provided marigolds and lettuce mix to go in the seed paper, and Spellbinders, who provided a Platinum 6 die cutting and embossing machine to turn the paper into creative crafts.
After the paper is made, there is even more fun to be had! There are so many things that you can make with it, and I enjoy making cards. More often than not, that lovely sentimental card you give away gets tossed into the recycling bin not long after it is read. Making a card out of seed paper is a unique way to give a no-waste gift that the recipient can grow in their garden.
Here are two of the card designs that I made on stage at the garden shows using Ball seed and the Spellbinders Platinum 6.
- Homemade seed paper from Garden Made, p.12
- Platinum 6
- Bye Bye Birdie Contour Steel Rule Die
- Spellbinders Simply Succulent Contour Steel Rule Die
- Spellbinders Sweet & Succulent Contour Steel Rule Die
- Blank cards
- Bird postcard
- Mod Podge
- Hot glue gun and glue
- Moss
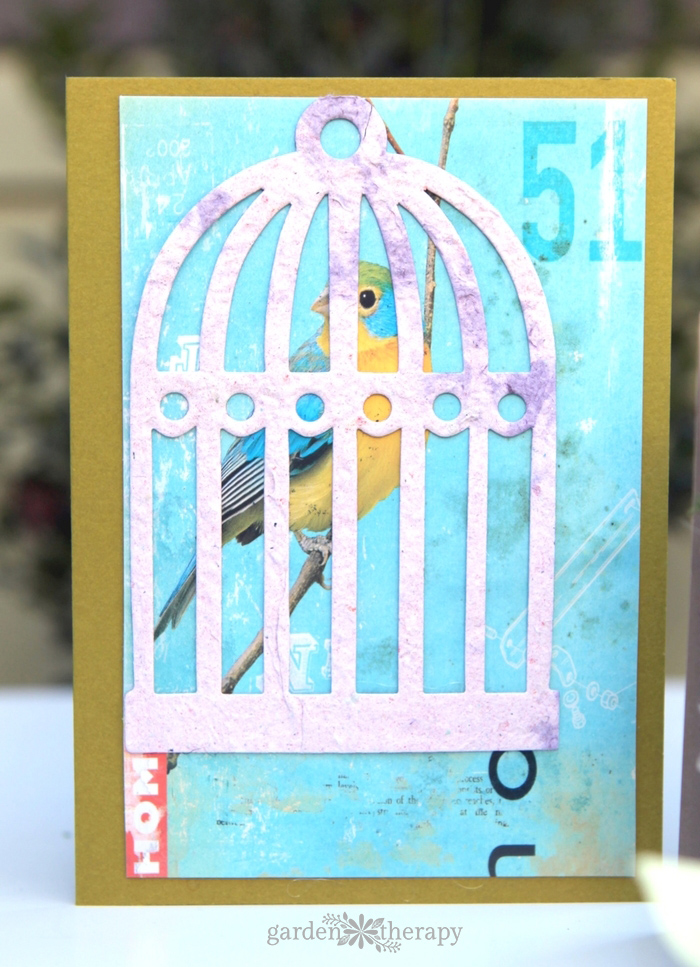
 Freebird Seed Paper Card
This simple-to-make card is fun to give because it allows the recipient to free the bird on their card by planting the birdcage. Make it by gluing a postcard or picture of a bird to the front of a blank card. Line up some homemade seed paper on the Bye Birdie die and put it through the Platinum 6. Then use a few glue dots to attach the seed paper birdcage over the bird.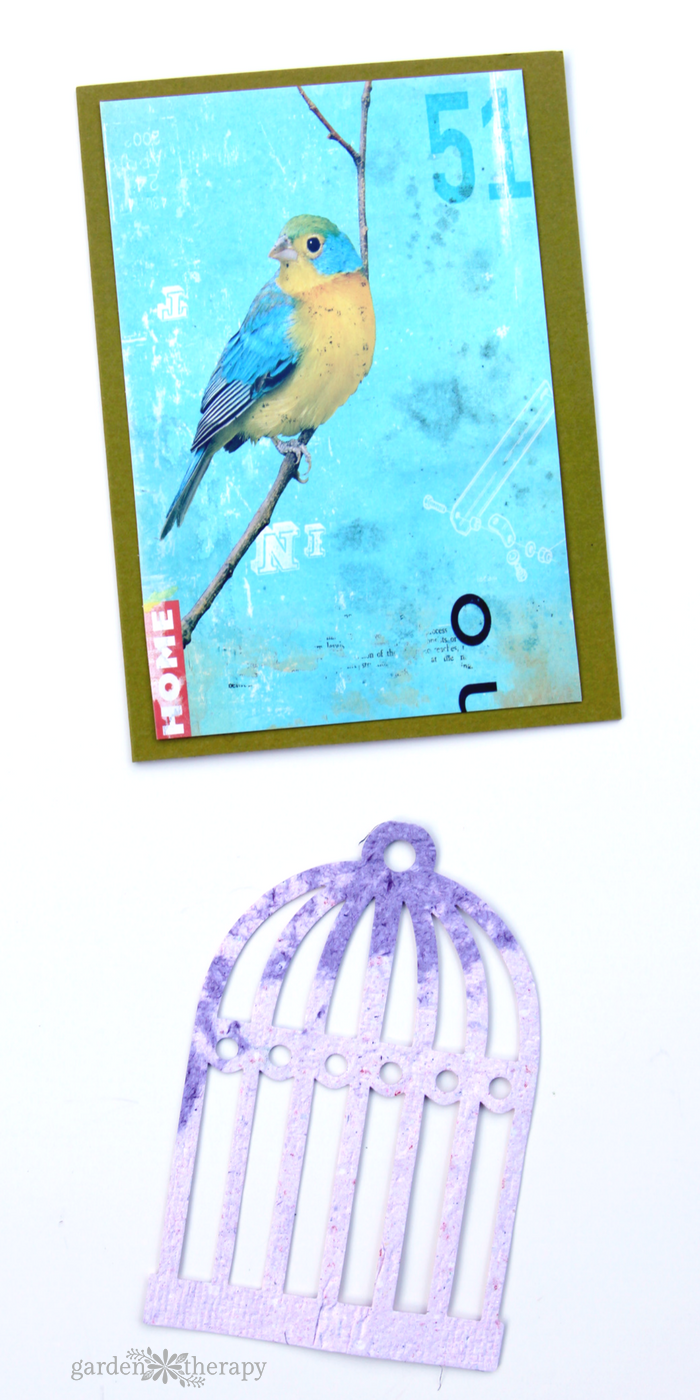
Succulent Seed Paper Card
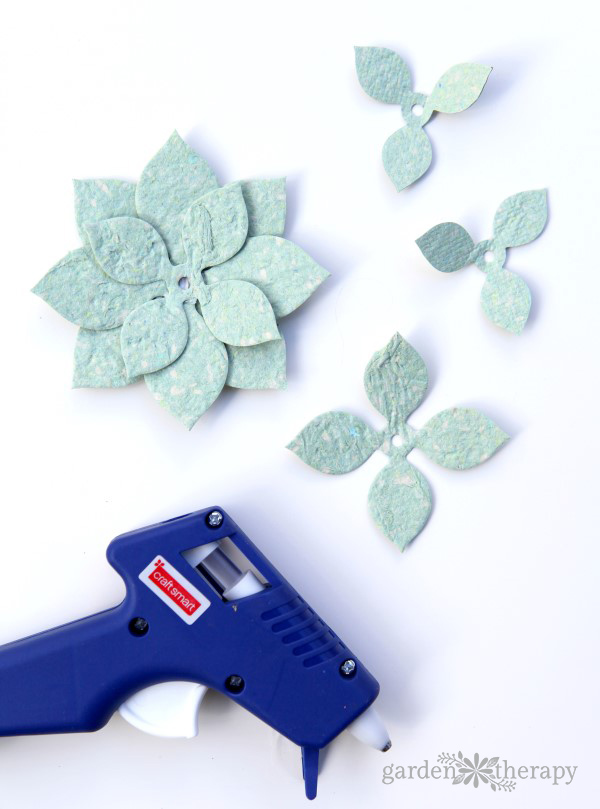
Line up a sheet of paper on the bottom of the die and run it through the machine. There should be enough paper to get two cuts out of it, so flip the paper over and line it up for a second cut. You need at least two cuts to produce one succulent.
Assemble the succulents by laying a large succulent shape on the bottom, then building it up with the next largest one at a 45-degree angle. Do the same with the medium-sized shapes and then the smallest shapes. Glue them all together with a hot glue gun, then pinch the top shape together to produce a center rosette. Add three of these succulents to the front of a card in appropriate colors. Hot glue some reindeer moss around the succulents if you wish. 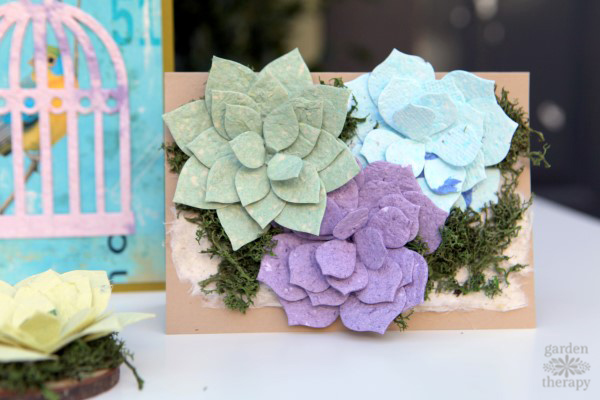
You can also use the Spellbinders to die cut out part of the card as well, like on this decorative border I made on the edge of a bird card. Try adding some reindeer moss into the birdcage as well.
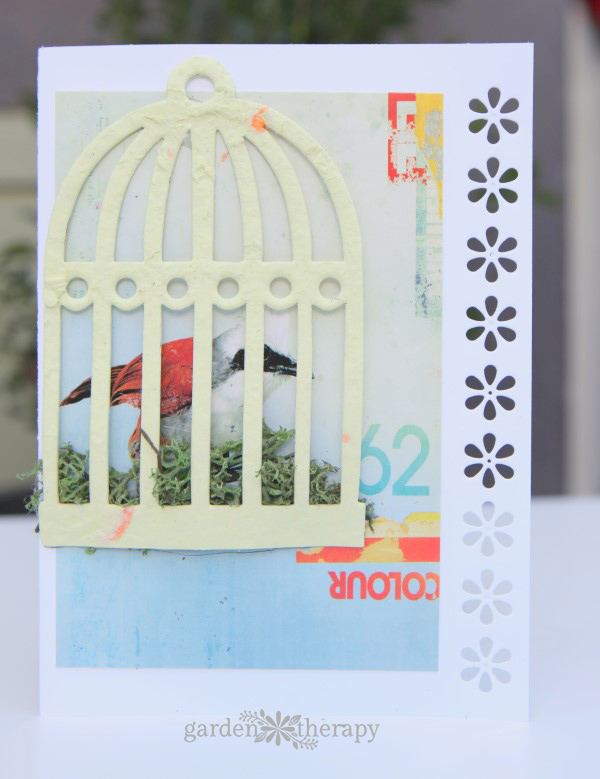
For both of these cards, don’t forget to include planting instructions!

 Freebird Seed Paper Card

