Set the most stunning holiday-themed dinner table this Christmas! These DIY Christmas napkins are made with stamped fabric, creating personalized and festive designs on the simplest napkins. Follow along to make them yourself for your Christmas table or as a bespoke hostess gift.
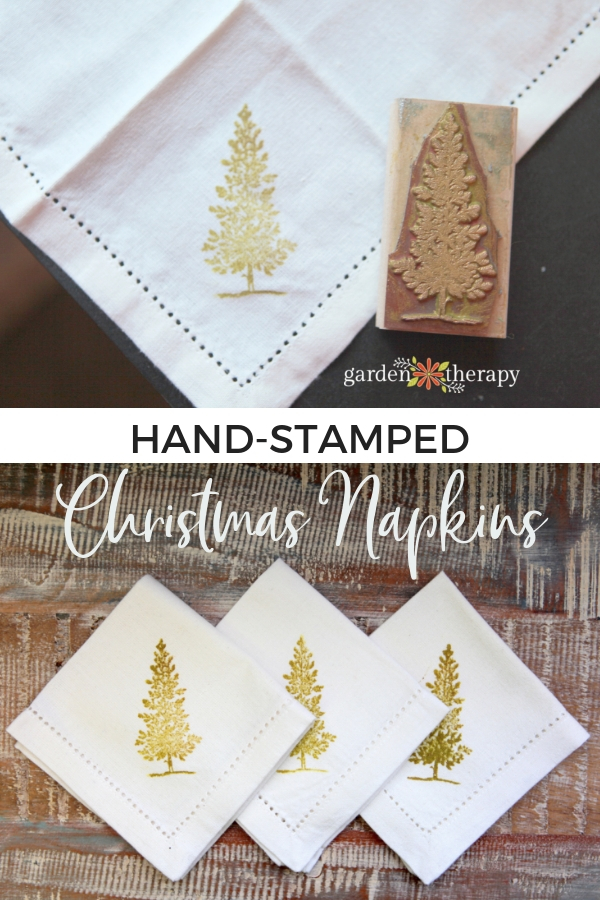
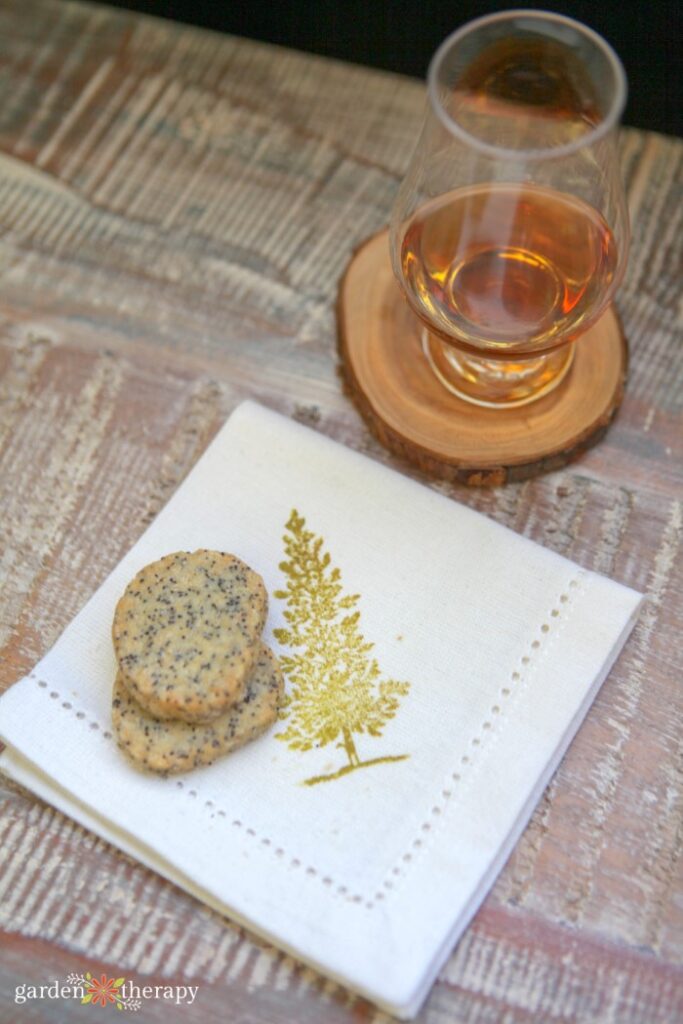
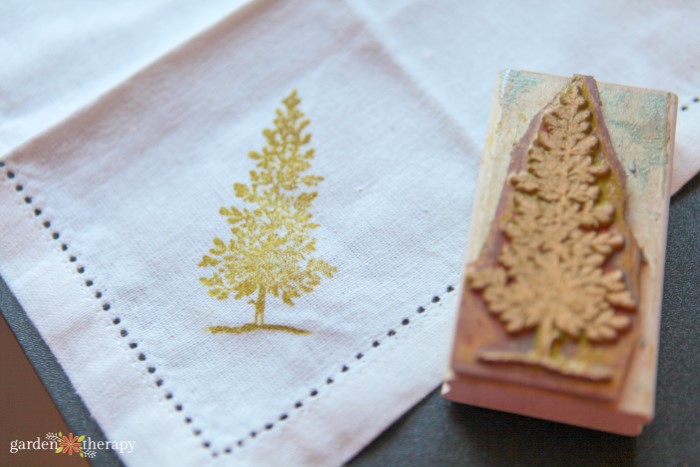
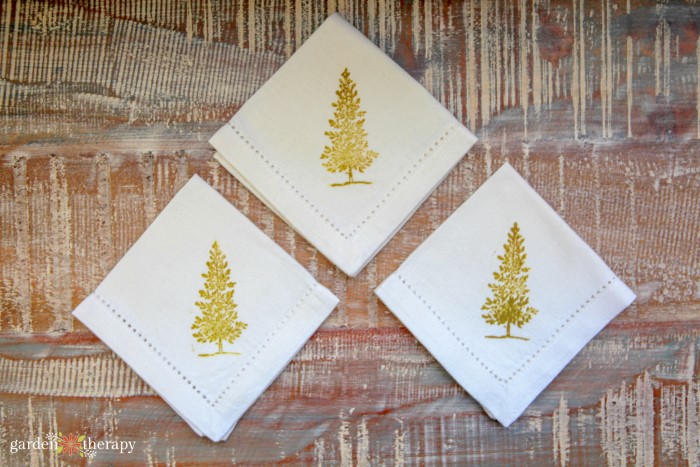
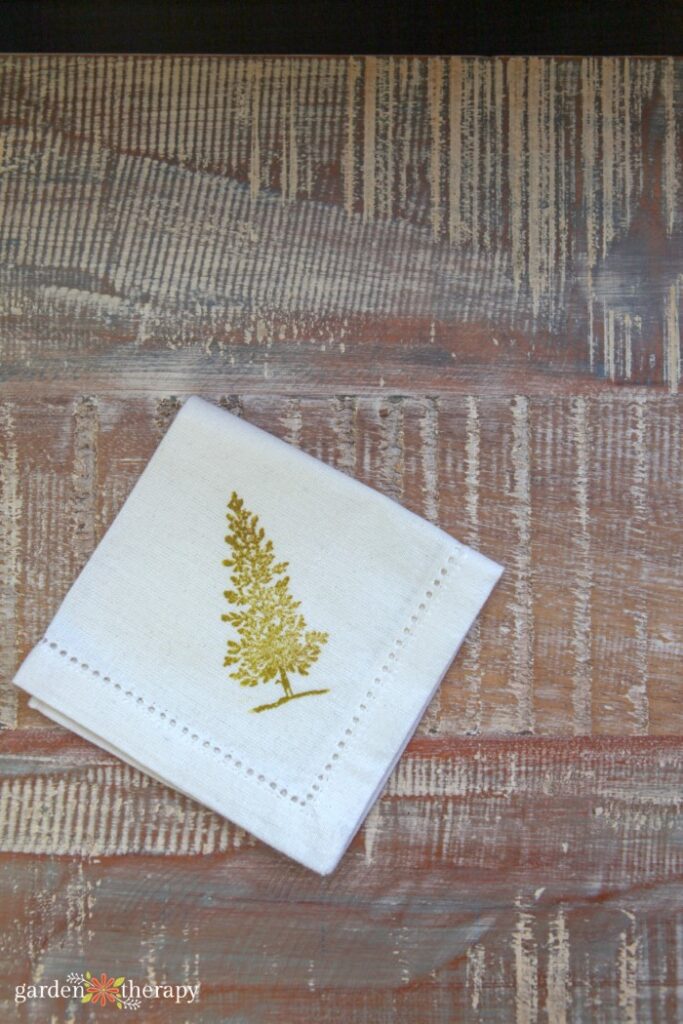
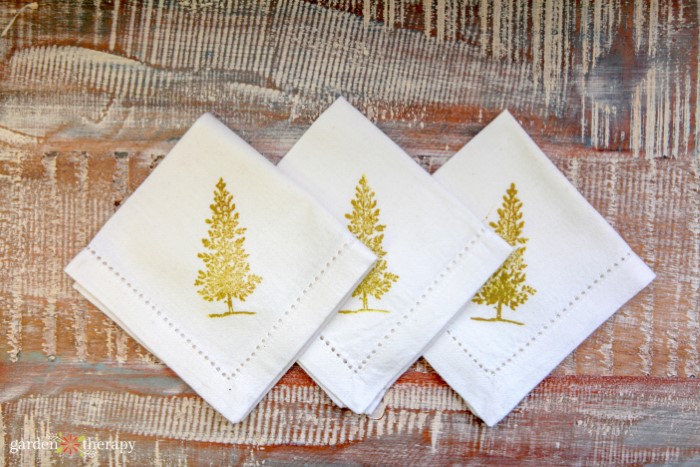
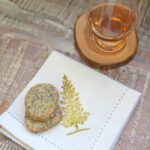
I hand-stamped these cocktail napkins with an evergreen tree as they were intended as Christmas gifts. I found a great set of beautiful white 100% cotton cocktail napkins with a nice detail around the edge. They were simple and neutral but needed just a little something extra.
The evergreen stamp is part of a stamp set I borrowed, and this tree was just the right size. They turned out so pretty—simple but elegant—and I thought they would be just the right thing to serve alongside tapas and cocktails.
These stamped fabric napkins are great for a dinner party, but they are so easy and inexpensive that you could use them every day. I personally like to use cloth napkins at every meal. Even with messy kids at the table. Well, especially with messy kids at the table. I need a new napkin each time we sit at the table, and they get used. Hard.
Which is actually a really good thing. The more you wash good-quality fabric napkins, the softer they get. They even seem to become more absorbent. I’m not sure what the science is behind that last one, but I’m always reaching for my older napkins first for every day use.
DIY Christmas Napkins Tutorial
Stamped fabric napkins are quite simple to make, yet make for a stunning personalized touch at the dinner table. I love that you can use them time and time again as part of your yearly holiday decor. Follow my process for these stamped fabric napkins below!
Materials
- Cotton napkins – you can use cocktail-sized napkins or go for the standard dinner size
- Transparent Setacolor fabric paint or opaque Setacolor
- Plastic lid or paint palette
- Roller brush
- Scrap fabric
- Rubber stamp (like this one, this one, or even this one)
- Iron and ironing board
- Press cloth
1. Wash Napkins
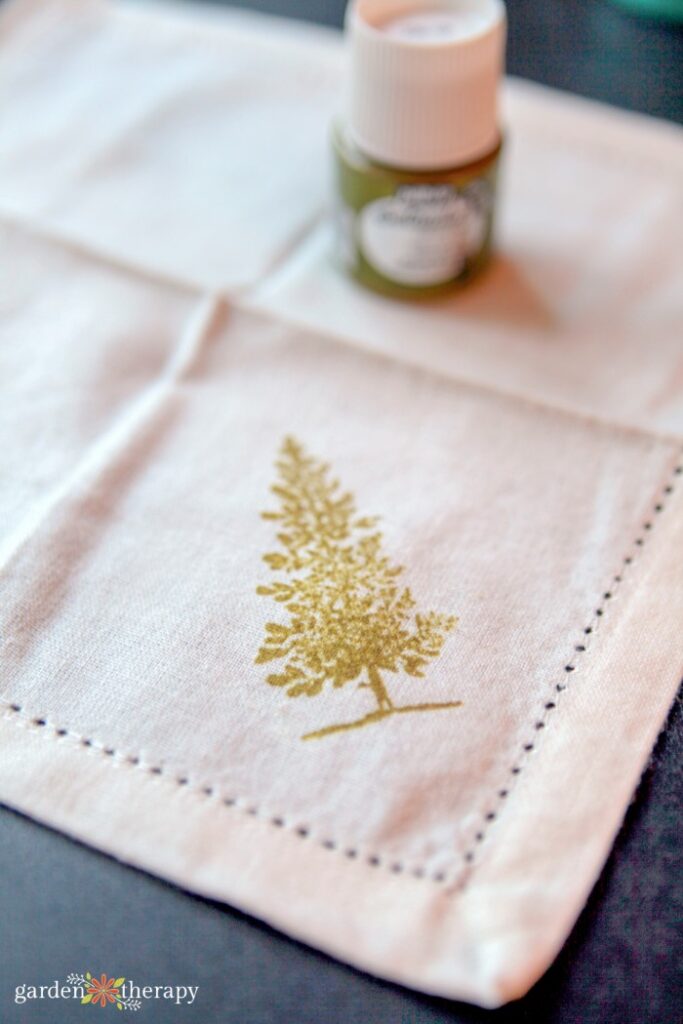
Start by washing, drying, and ironing the napkins to ensure that any chemical finishes added to the fabric are removed before stamping. Chemicals are often used in finishing to give the fabric a wrinkle-free look and to prevent mildew.
2. Prepare Paint
Pour a small amount of paint on the plastic lid or paint palette. I used a shimmery green-gold for this project that feels very festive, but there are many colour options.
The key is to use paint made for fabric, not a regular craft paint. This will ensure that the print is permanent once it is heat-set.
NOTE: If you use light-coloured fabric, choose either dark-coloured transparent or opaque paints. A light-coloured transparent paint will not show up well on a light fabric, but opaque will cover any colour. If you are using dark-coloured fabric, it is best to choose opaque paints because even the light-coloured transparent will not appear well.
3. Stamp Fabric
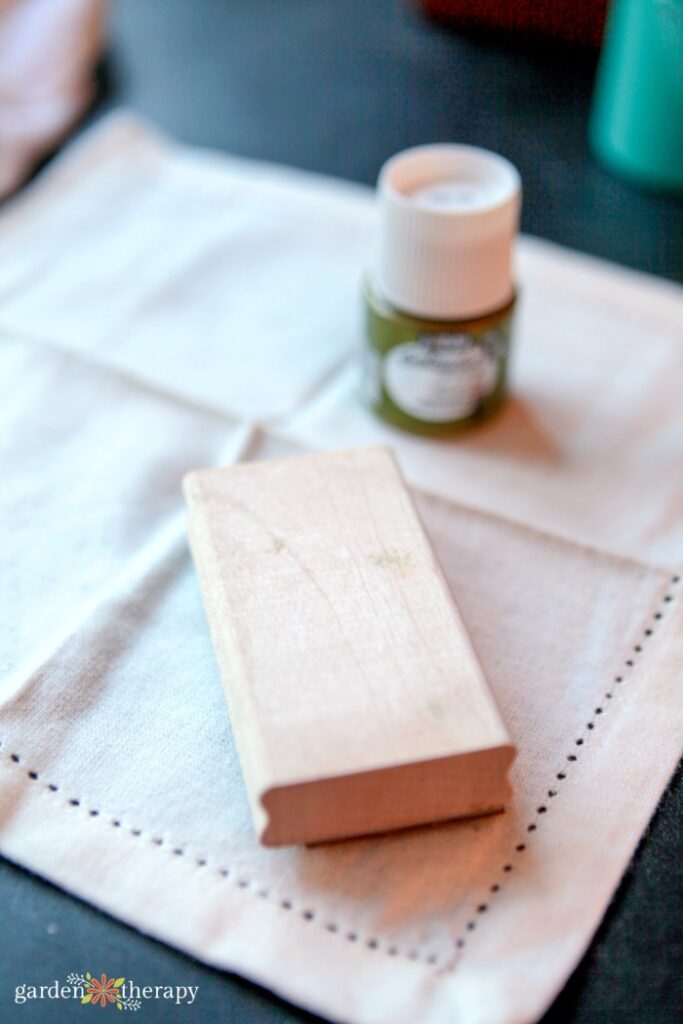
Use the roller paint brush to absorb the paint, then roll it onto the stamp. Test the stamp on a scrap piece of fabric until you get the feel for how much paint to use to get a clean but complete stamped design.
When you have the confidence to stamp the real thing, unfold your napkin and stamp away!
Set aside to dry and finish stamping the rest of the set.
4. Set Stamped Napkins With an Iron
Once they are dry, the fabric paint needs to be heat-set with an iron to ensure it won’t wash away. Set the iron to the highest setting allowable for the fabric and turn off the steam. Iron the backside of the stamped area for 3-4 minutes. Use a press cloth to protect your ironing board.
I know, I know, ironing each one for 3-4 minutes seems like torture! So set up in front of the TV and watch a good movie. It will be worth it in the end (promise!) as your personalized napkins will last through many a meal.
Gifting Stamped Fabric Napkins
When I first made these napkins, I intended to make them a hostess gift as they were just so beautiful. As I said, I intended to give them away to friends and family, but I brought them to a craft fair, and they sold out almost immediately. I’m not the only one who thought they would be a great gift!
I often like to get a little creative with hostess gifts, and I think these napkins are just something everyone would love to receive. They can use the stamped fabric napkins time and time again, and they add such a lovely touch to the festive dinner table.
Alongside the napkins, I also make something from the kitchen to gift, like herb finishing salt or olive and fig tapenade. I have ideas for over 50 easy, last-minute gifts from the kitchen!
Of course, I also wrap up the napkins beautifully. Use natural and recycled gift wrap to go alongside the theme of these napkins.
Frequently Asked Questions About Stamping Fabric
You can stamp on all kinds of fabric, it just depends on your fabric paint. Read the label of your fabric paint to double-check if it’s suitable for use on your fabric.
If you use a fabric prone to wrinkles, iron the napkins before stamping them. And if you’re using thin fabric, add paper beneath to ensure the paint doesn’t seep through the fabric.
No, stamp ink can become faded and disappear altogether over time. It depends on the use of the fabric and how you wash it.
To make my stamps permanent, I used fabric paint. It has the exact same effect, and you have many more colour options. Then, I iron the fabric paint so it never ever washes out, no matter how much you use them!
For my napkins, I used 100% cotton since they’re easy to stamp on and soft to the touch. They feel nice on the skin when wiping your face and are fairly inexpensive to source.
Other popular fabrics include bamboo and linen. You can look for a satin or silk blend for extra luxurious napkins. Just ensure your fabric paint can stamp on the fabric.
More Christmas Crafts
- Quick and Easy DIY Ornaments to Dress Up Your Tree
- Make a Festive Evergreen Candle
- Elegant and Upscale Pinecone Crafts
- 20 Crafty Christmas Tree Recycling Projects
DIY Hand Stamped Fabric Napkins
Equipment
Supplies
- Cotton napkins cocktail-sized napkins or standard dinner size
- Transparent Setacolor fabric paint or opaque Setacolor
- Plastic lid or paint palette
- Scrap fabric
- Rubber stamp like this one, this one, or even this one
- Press cloth
Instructions
- First, wash, dry, and iron napkins to ensure they are clean and wrinkle-free.
- Next, pour a small amount of the fabric paint on the lid or palette.
- Use the roller brush to roll paint on the stamp. Test out your stamp on a piece of scrap fabric.
- Once you are happy with the test version, unfold your napkin and stamp it. Then set it aside to dry.
- To heat-set the fabric, use an iron on the highest setting for that fabric and turn off the steam. Iron for 3-4 minutes, using a press cloth to protect the ironing board.



Hi Vanessa, It won’t wash off if you use the fabric paint listed in the materials list and follow the instructions in the tutorial for heat-setting the paint.
Hi Linda, thank you! I borrowed the stamps from my mother. This one is pretty similar though http://amzn.to/1uLtRgj
I can’t wait to see what you come up with Donna!
Thank you Fontini!
Thank you Amanda!